How to Transfer Your Data to a New iPhone

Got a new iPhone? Congrats! But before you can experience all its ultimate features and capabilities, one last thing has to be done. You need to transfer your data, apps, profiles, and everything else from your old iPhone to the new one. Unless, of course, you don’t want to start using your new device completely from scratch.
The most inconvenient way to transfer data from iPhone to iPhone is to do this manually - normally, you don’t want to resort to this time-consuming, suboptimal option. Luckily, there is another way - using the Quick Start feature. In this piece by the Passwarden team, you will learn everything you need to know to transfer data to a new iPhone, how certain authenticators can get in your way, and how to fix any issues throughout the transfer.
Passwarden is also available as part of the MonoDefense security bundle
How to Transfer Everything From iPhone to iPhone Using Quick Start
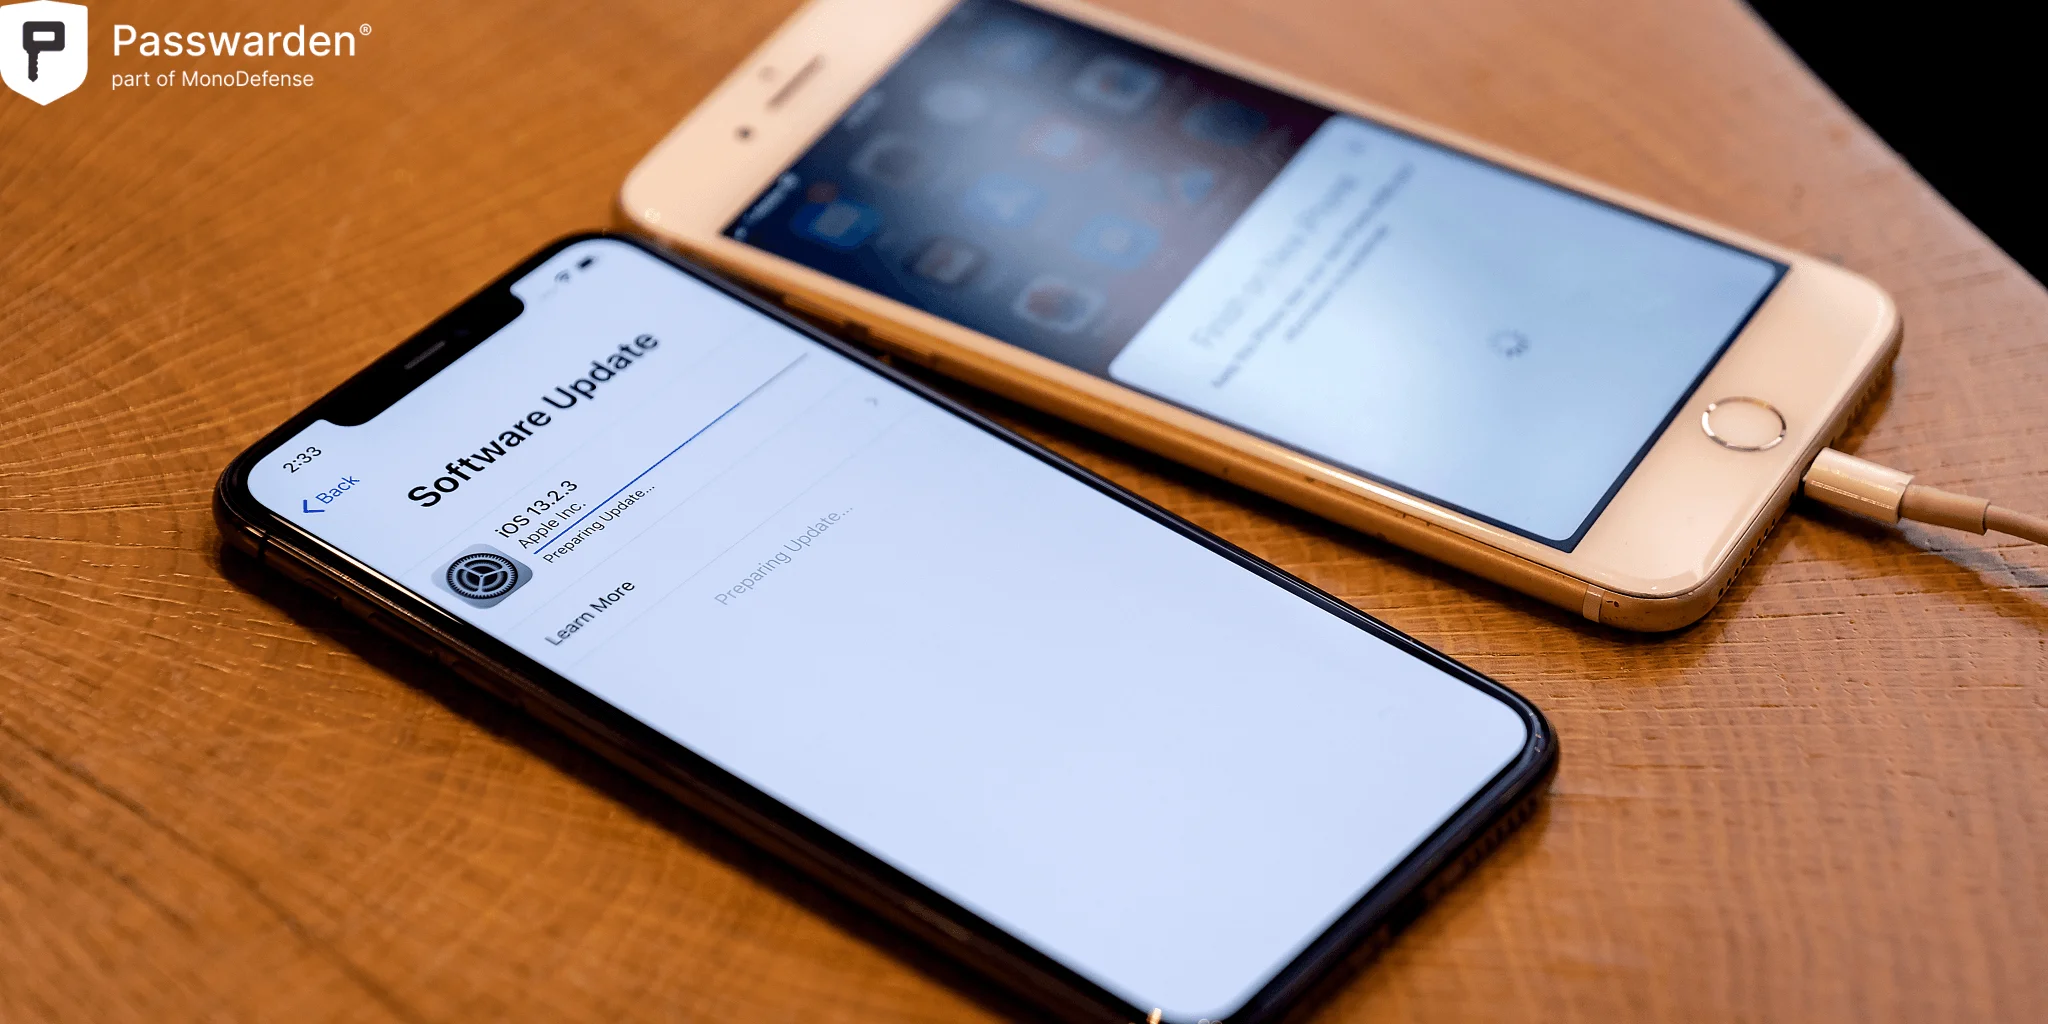
Quick Start allows you to set up a new iPhone (or iPad or iPod, for that matter) and transfer data to your new iPhone without hassle. It uses the information that currently sits on your old device to restore the rest of your content and data via your iCloud backup. Keep in mind though, to utilize the Quick Start transfer, your current device must be using iOS 12.4 or later or iPadOS.
If you’ve got the proper version, you will be able to perform device-to-device migration, wirelessly transferring all your data from your current iPhone to your new one. Also be mindful that the process occupies both devices, allocate enough time (several minutes) when you won't need to use your device, and let Quick Start do its job.
Step-by-Step Guide to Transfering Data to New iPhone
- Turn on Bluetooth on your current device and your new iPhone.
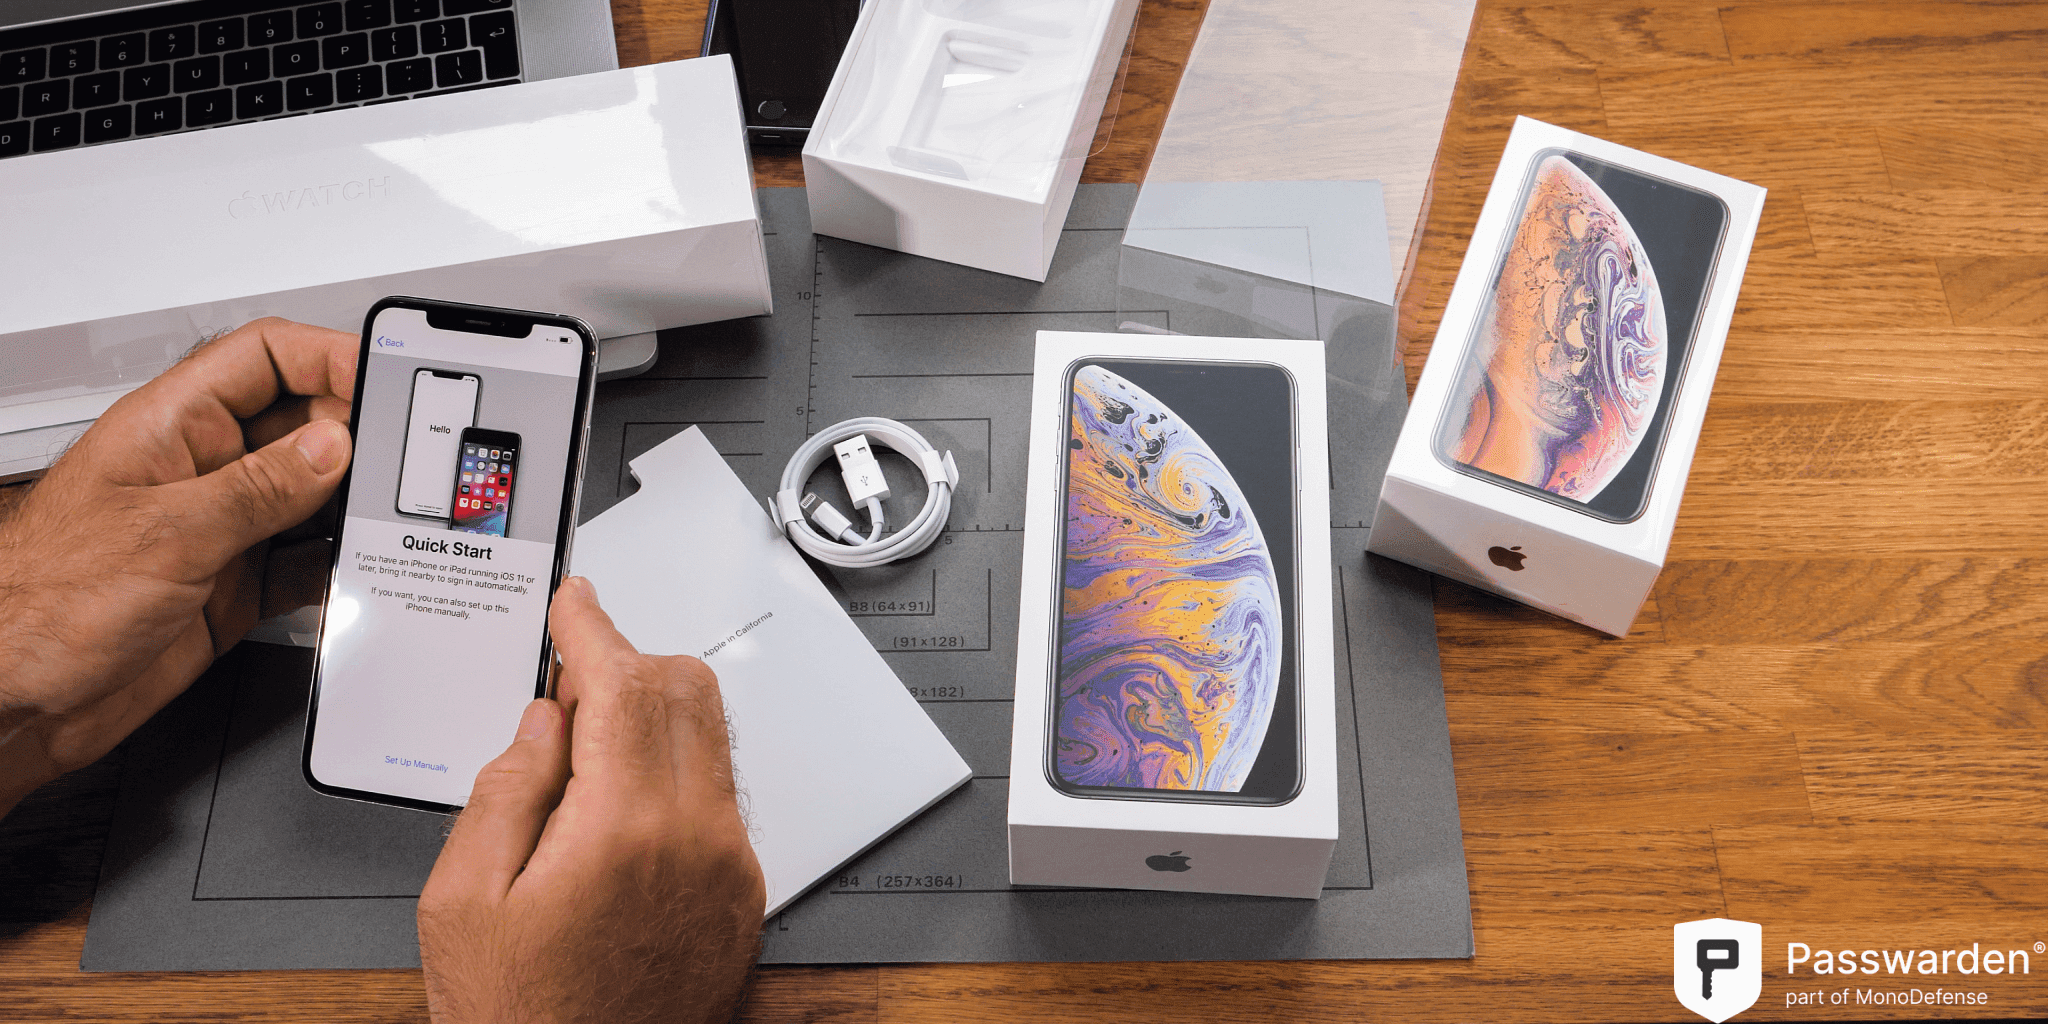
- Place your new iPhone near your current device. On the latter, you will see the Quick Start screen appear and offer to set up your new device using your Apple ID. If everything is correct, tap Continue. If the Quick Start screen doesn’t appear, double check that Bluetooth is turned on.

- You will see an animation appear on the new iPhone. Launch the camera on your current iPhone and center the viewfinder on the animation, holding your old device over the new iPhone. After a few moments, a prompt saying Finish on New [Device] (your new iPhone) will pop up. Alternatively, tap Authenticate Manually, then follow the instructions.
- On your new iPhone, enter your current passcode.
- Follow the instructions to set up Touch ID or Face ID on your new iPhone.
- On your new iPhone, enter your Apple ID password.
- You will be offered to either transfer apps, settings, and other data from iPhone to iPhone, or to restore those from your most recent iCloud backup. Under the Other Options tap, it’s also possible to restore everything from a backup on your computer. If you're using the wired method for device-to-device migration, the transfer icon will indicate that your iPhones are connected.
- After that, you will also be able to choose whether to transfer some of the more personal settings: privacy, location, Siri, Apple Pay, Apple Watch settings, etc.
The Issue of Google Authenticator and Switching Phones
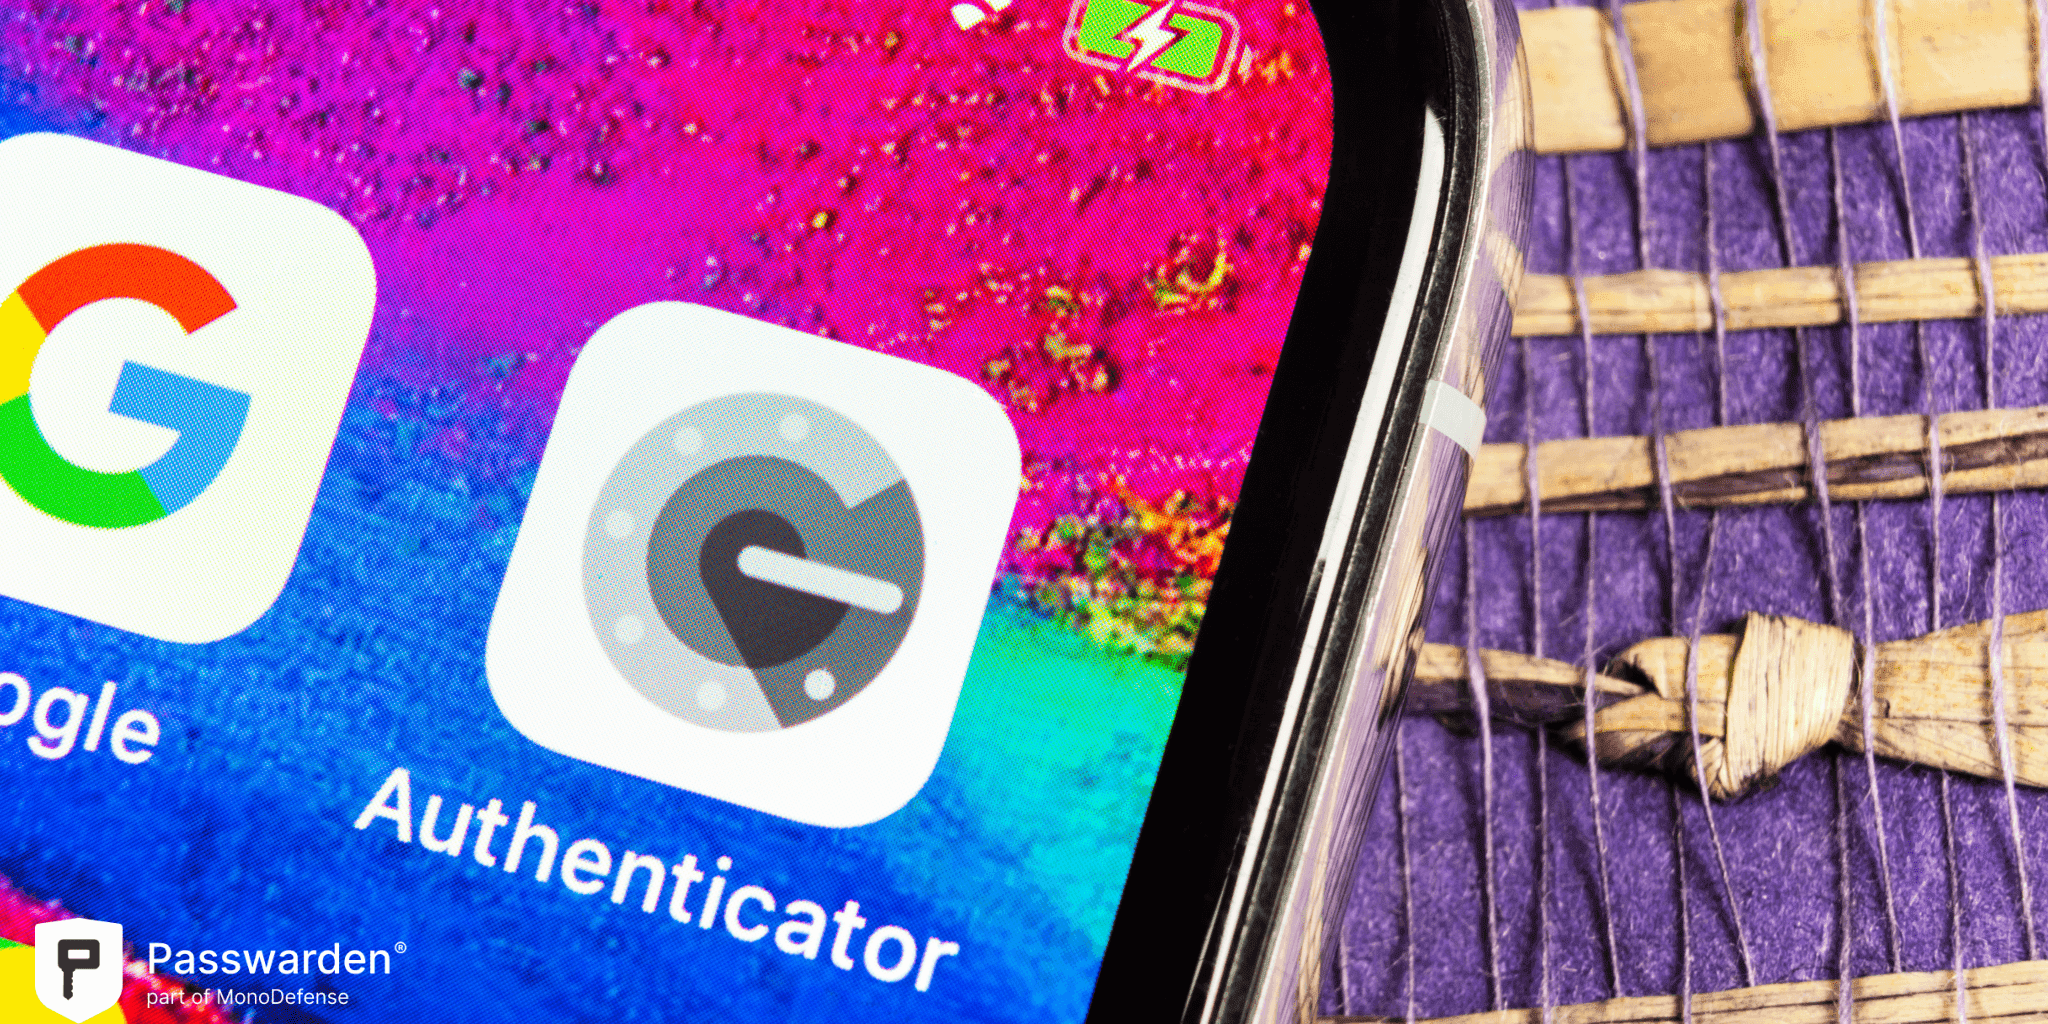
When transferring data to your new iPhone, there’s one common problem that you may face. While the Quick Start method described above will transfer most of your data and applications no problem, sometimes it may come into conflict with authenticator apps. An example of the last is Google Authenticator.
How Google Authenticator works
Two-factor authentication (TFA) codes can be sent to you via an array of channels - from SMS to dedicated apps like Google Authenticator. The former is highly unreliable - hackers can employ all sorts of deceits to bypass it, e.g. fooling wireless carriers into switching your phone number’s SIM card. That’s how Twitter CEO Jack Dorsey got his own Twitter account breached in 2019 - oh the irony!

That’s why apps like Google Authenticator are a far better alternative for adding an extra security layer to your accounts. Here’s how it works:
- Enable TFA for an app that supports it
- Connect the app’s profile to Google Authenticator
- Whenever you try to log in to the app, there are two options:
- Either you’ll receive a confirmation request from Google Authenticator on your iPhone
- Or you will have to go to the authenticator app for a randomly generated code that you should paste into the application you’re trying to access
This technology protects your accounts from any cyber criminals that somehow got their hands on your passwords and credentials. In the modern age of endless security breaches and data hacks, this is a huge asset. Along with password managers, such as Passwarden, two-factor authentication offer you all-important additional security and reliability.
Unfortunately, apps for TFA, like Google Authenticator, can sometimes clash with automatic data transfer on iPhone. Here’s what you can do to switch phones with Google Authenticator on them.
How to Transfer Google Authenticator to New iPhone
It’s vital to not forget about accounts connected to Google Authenticator when switching phones. You don’t want to discard or sell your old iPhone and then find out that you still need it to unlock any TFA-secured profiles. Luckily, it has recently become much easier to retain access to your two-factor authentication codes and not end up locked out of your apps and accounts.
In a recent update, Google Authenticator has added the ability to transfer your profiles from iPhone to iPhone. It was available on Android for some time now and is a welcome addition to Google Authenticator features on iOS.

Step-by-Step Guide to Transfering Google Authenticator to New iPhone
- Make sure you have Google Authenticator installed on your new iPhone, as well as on your old one - you can download the app on the App Store
- Open Google Authenticator on your old iPhone and tap the kebab menu icon
- Select Transfer accounts > Export accounts > enter your PIN code
- Select Google Authenticator accounts you want to transfer and tap Next
- Now, open Google Authenticator on your new phone and tap Get Started
- Select the Import existing accounts? button at the bottom of the screen
- Tap the Scan QR code option
- Scan the QR code on your old iPhone and follow the prompts to complete the transfer of Google Authenticator
Other Recommendations
Generate backup codes
Many apps that support two-step authentication, also provide backup codes. These are one-time codes that you can use to login to your account if you aren’t getting verification codes from your authenticator app or even lost your device.
After you generate backup codes, it’s highly recommended to keep them somewhere safe. Passwarden’s encrypted vault is perfect storage for your codes. With it, your data is reliably protected and always within easy access whenever you need it.
So, if there are any issues with the Google Authenticator app on your new iPhone, backup codes can save your day.
Don’t hurry up erasing data on the old iPhone
We’d also recommend you not to erase your old iPhone for at least a week, just to make sure that everything you need is transferred. In case you’ve missed out any data, you’ll still be able to transfer it before you completely wipe your old device.
Streamline the process of transferring your data
Securely store your data in Passwarden