Ne yazık ki, bu sayfanın içeriği seçilen dilde mevcut değil.
What is KeepSolid User Office and what is it for
User Office is your personal control center where you can easily manage your subscriptions for KeepSolid products and services. This guide provides you with answers to the most frequent questions about the User Office.
Note: Passwarden is available as a part of the MonoDefense security bundle.
Check all of them and become a professional KeepSolid customer:
First of all, open KeepSolid User Office and sign in using your KeepSolid ID, Apple ID, or Facebook / Google accounts.
How to view devices?
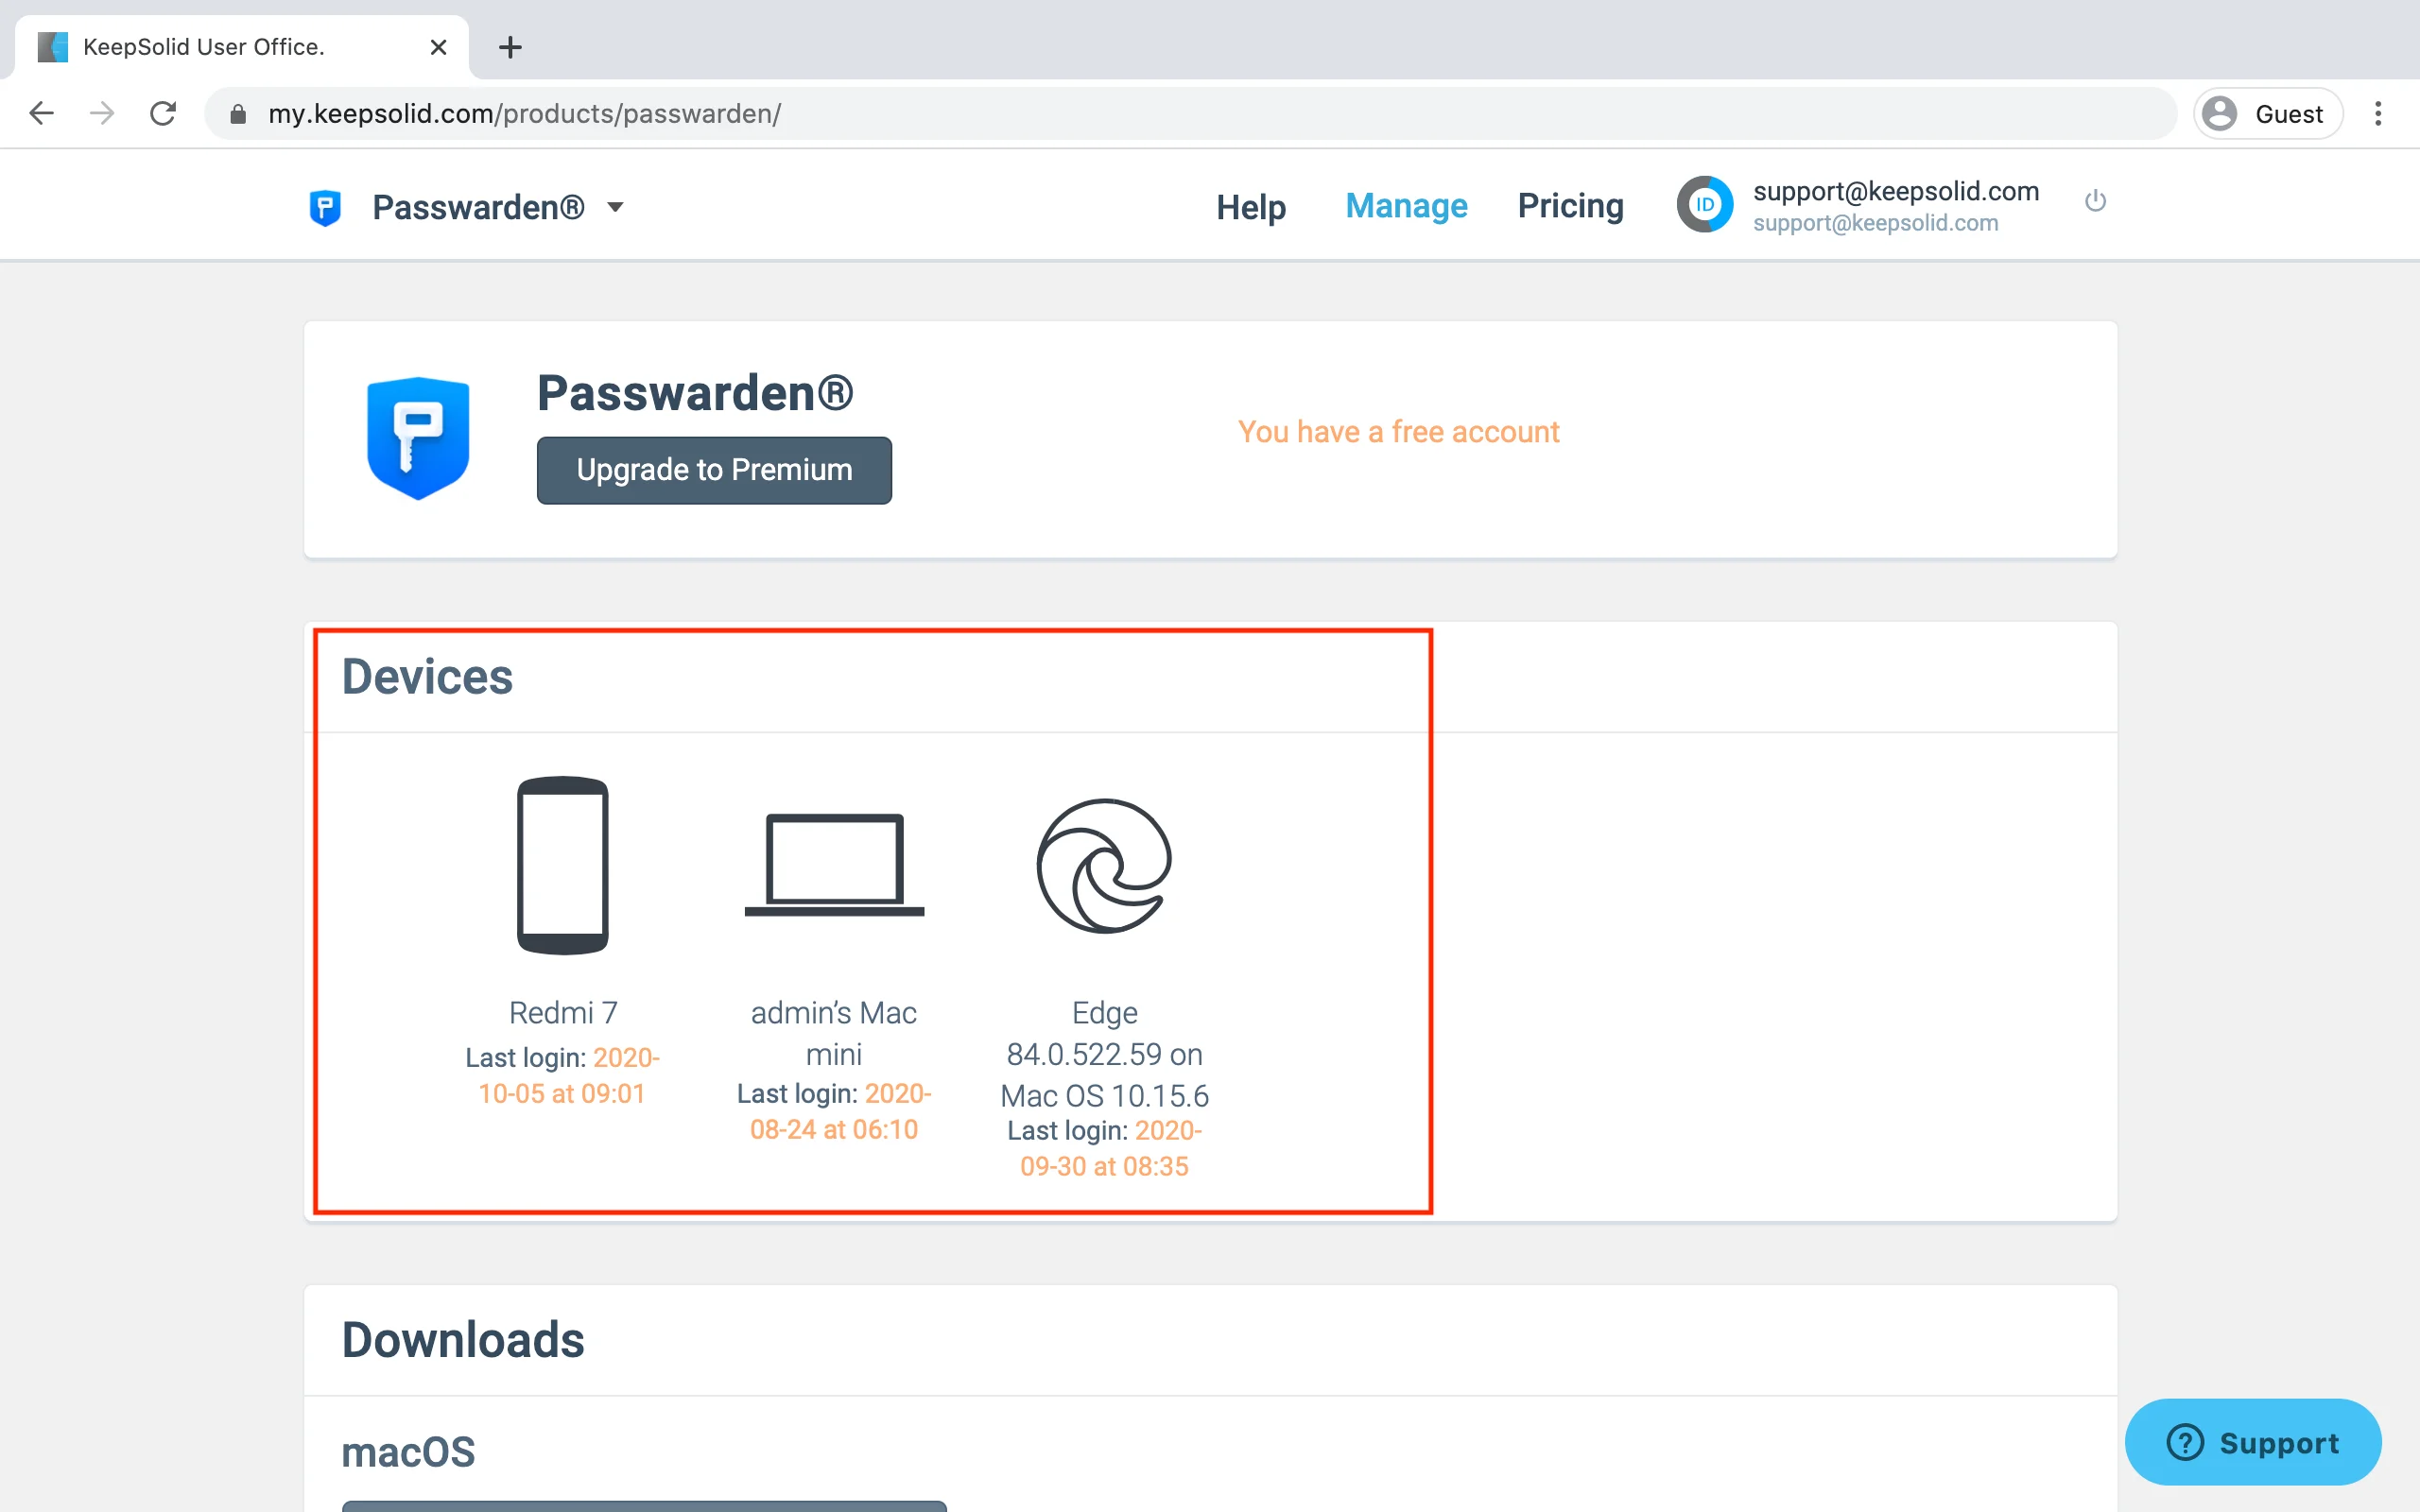
You can freely use our secure password manager on any amount of supported devices and browsers. Thus, you shouldn’t worry you may run out of slots or need to pay for additional devices.
At the moment you sign in to the Passwarden application, the device is automatically recorded in the database.
Note: Devices may duplicate themselves after software, hardware, and OS updates.
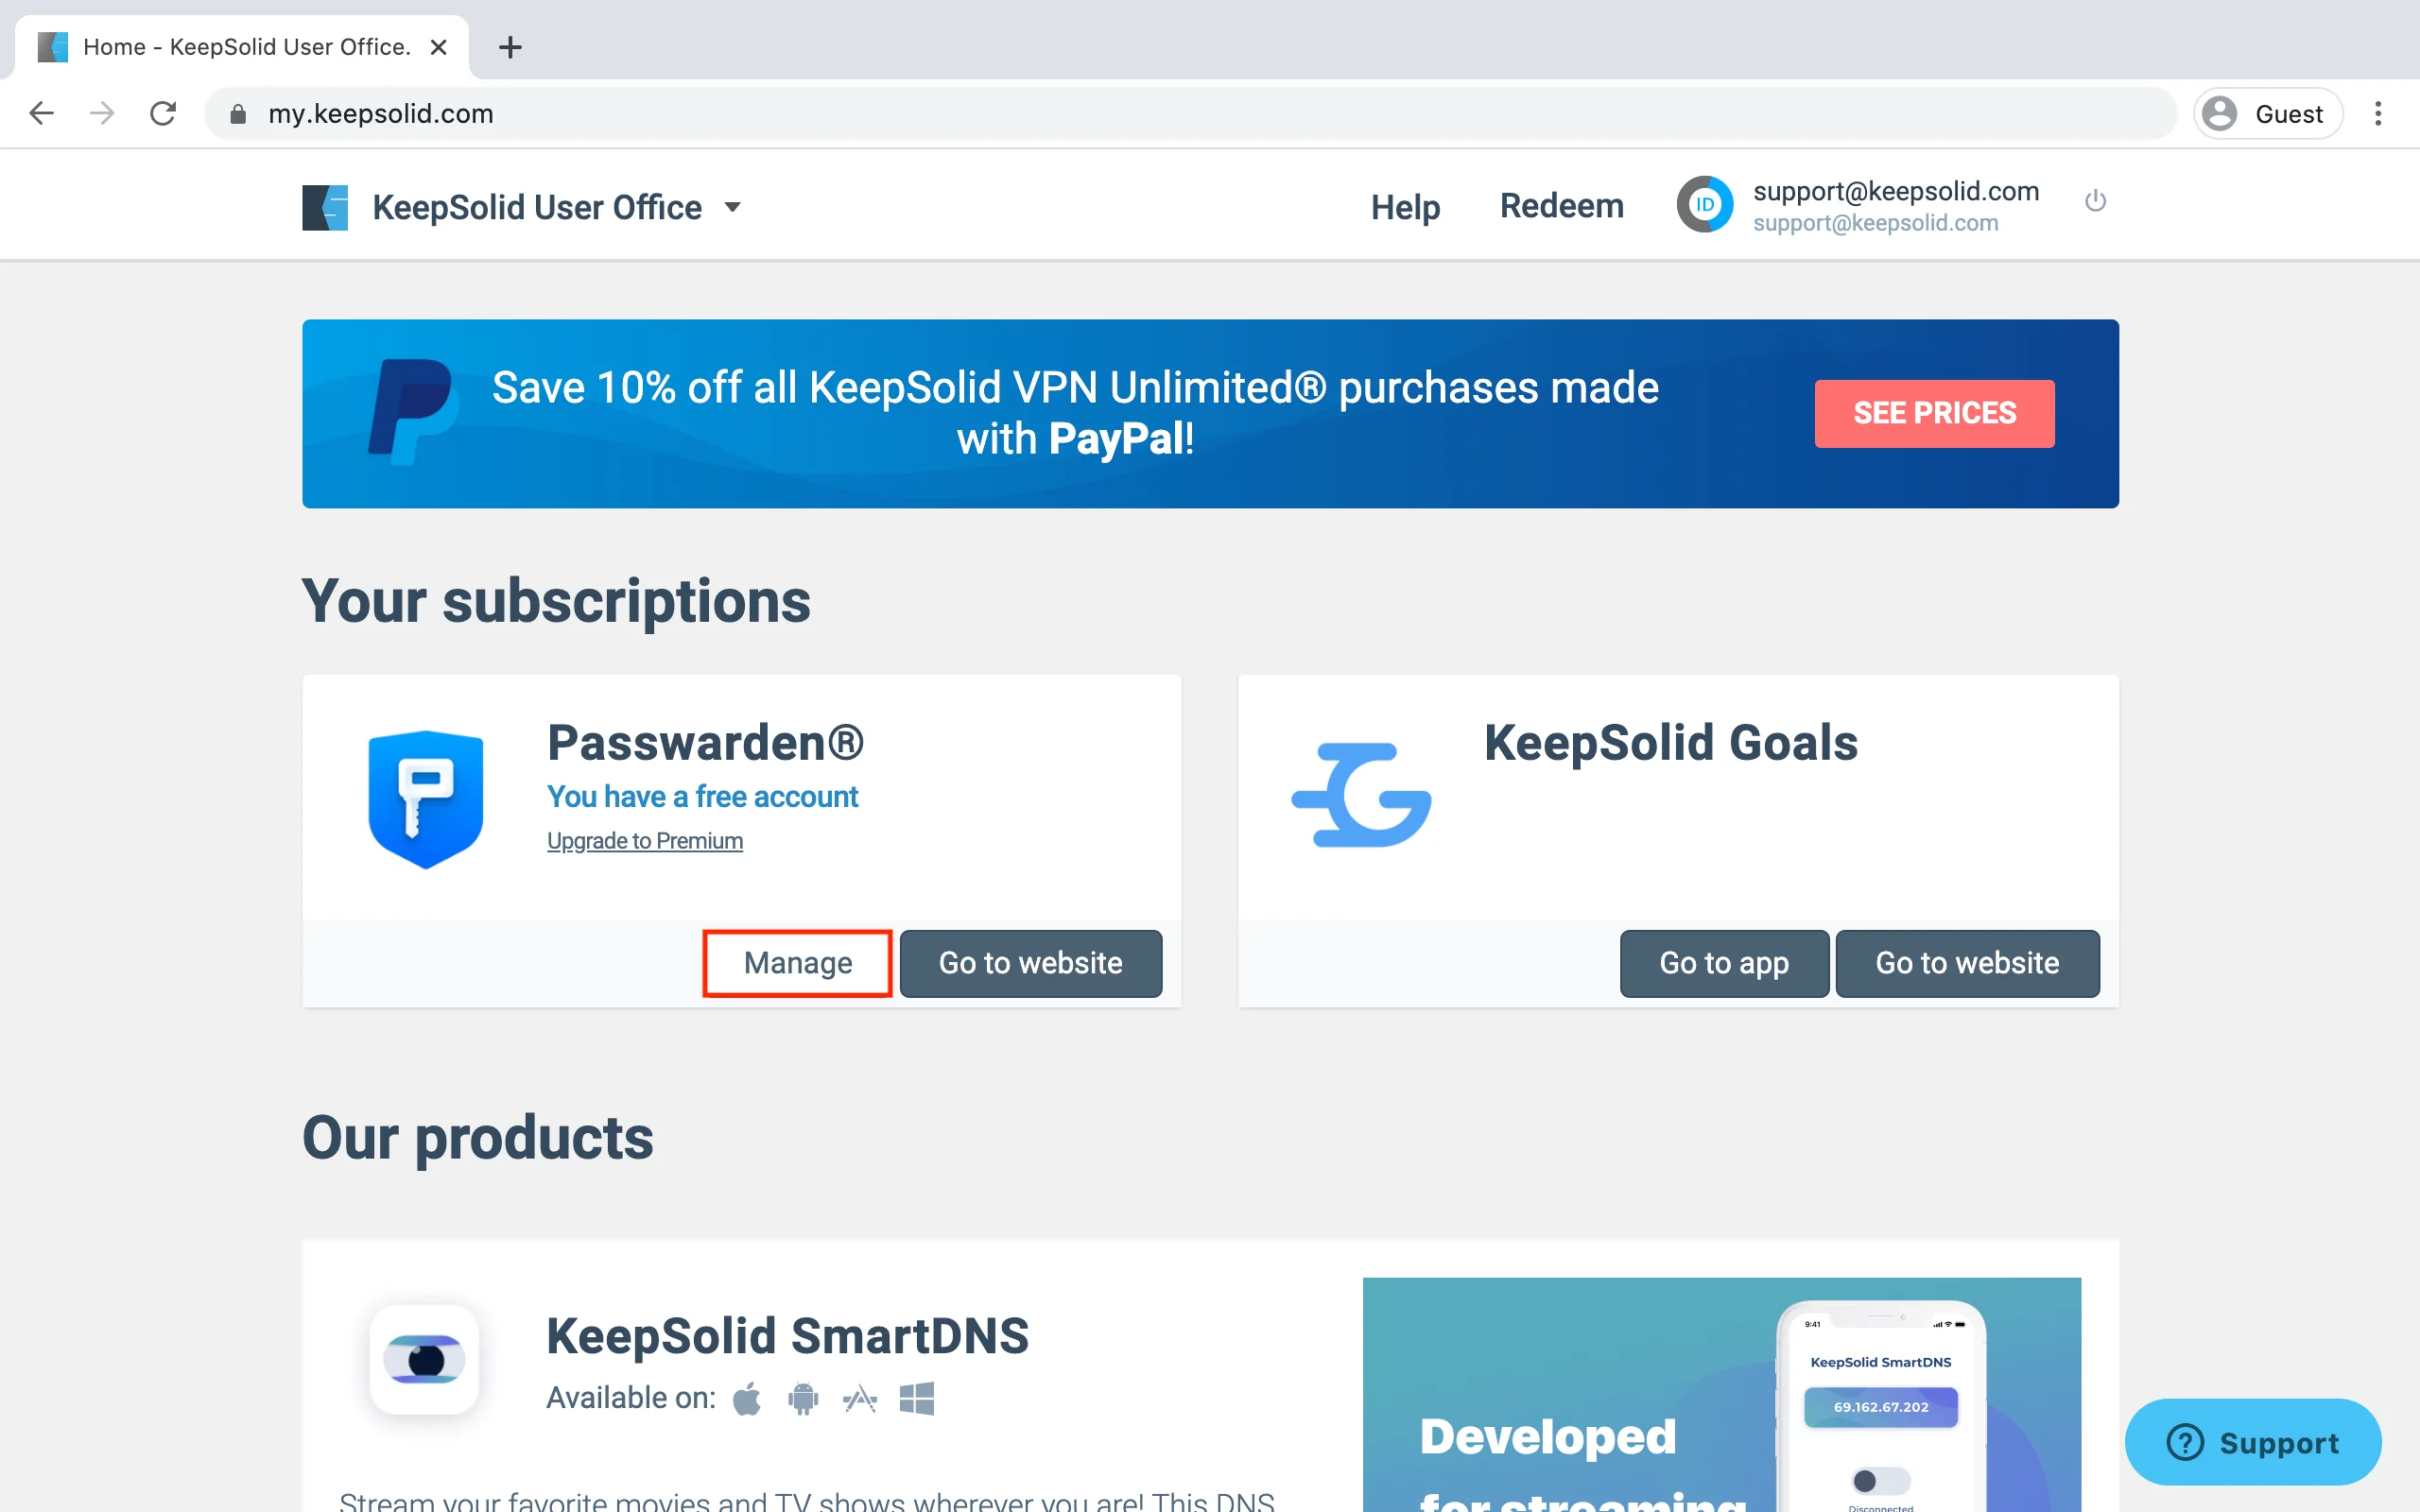
To view a list of used devices, press Manage near to the Passwarden and scroll down to the Devices section.
How to manage entry points?
Whatever sign-in method you use (email/password, Apple ID, or Facebook / Google account), you can easily add a new one. To do this, follow the next steps:
1. Log in to the User Office.
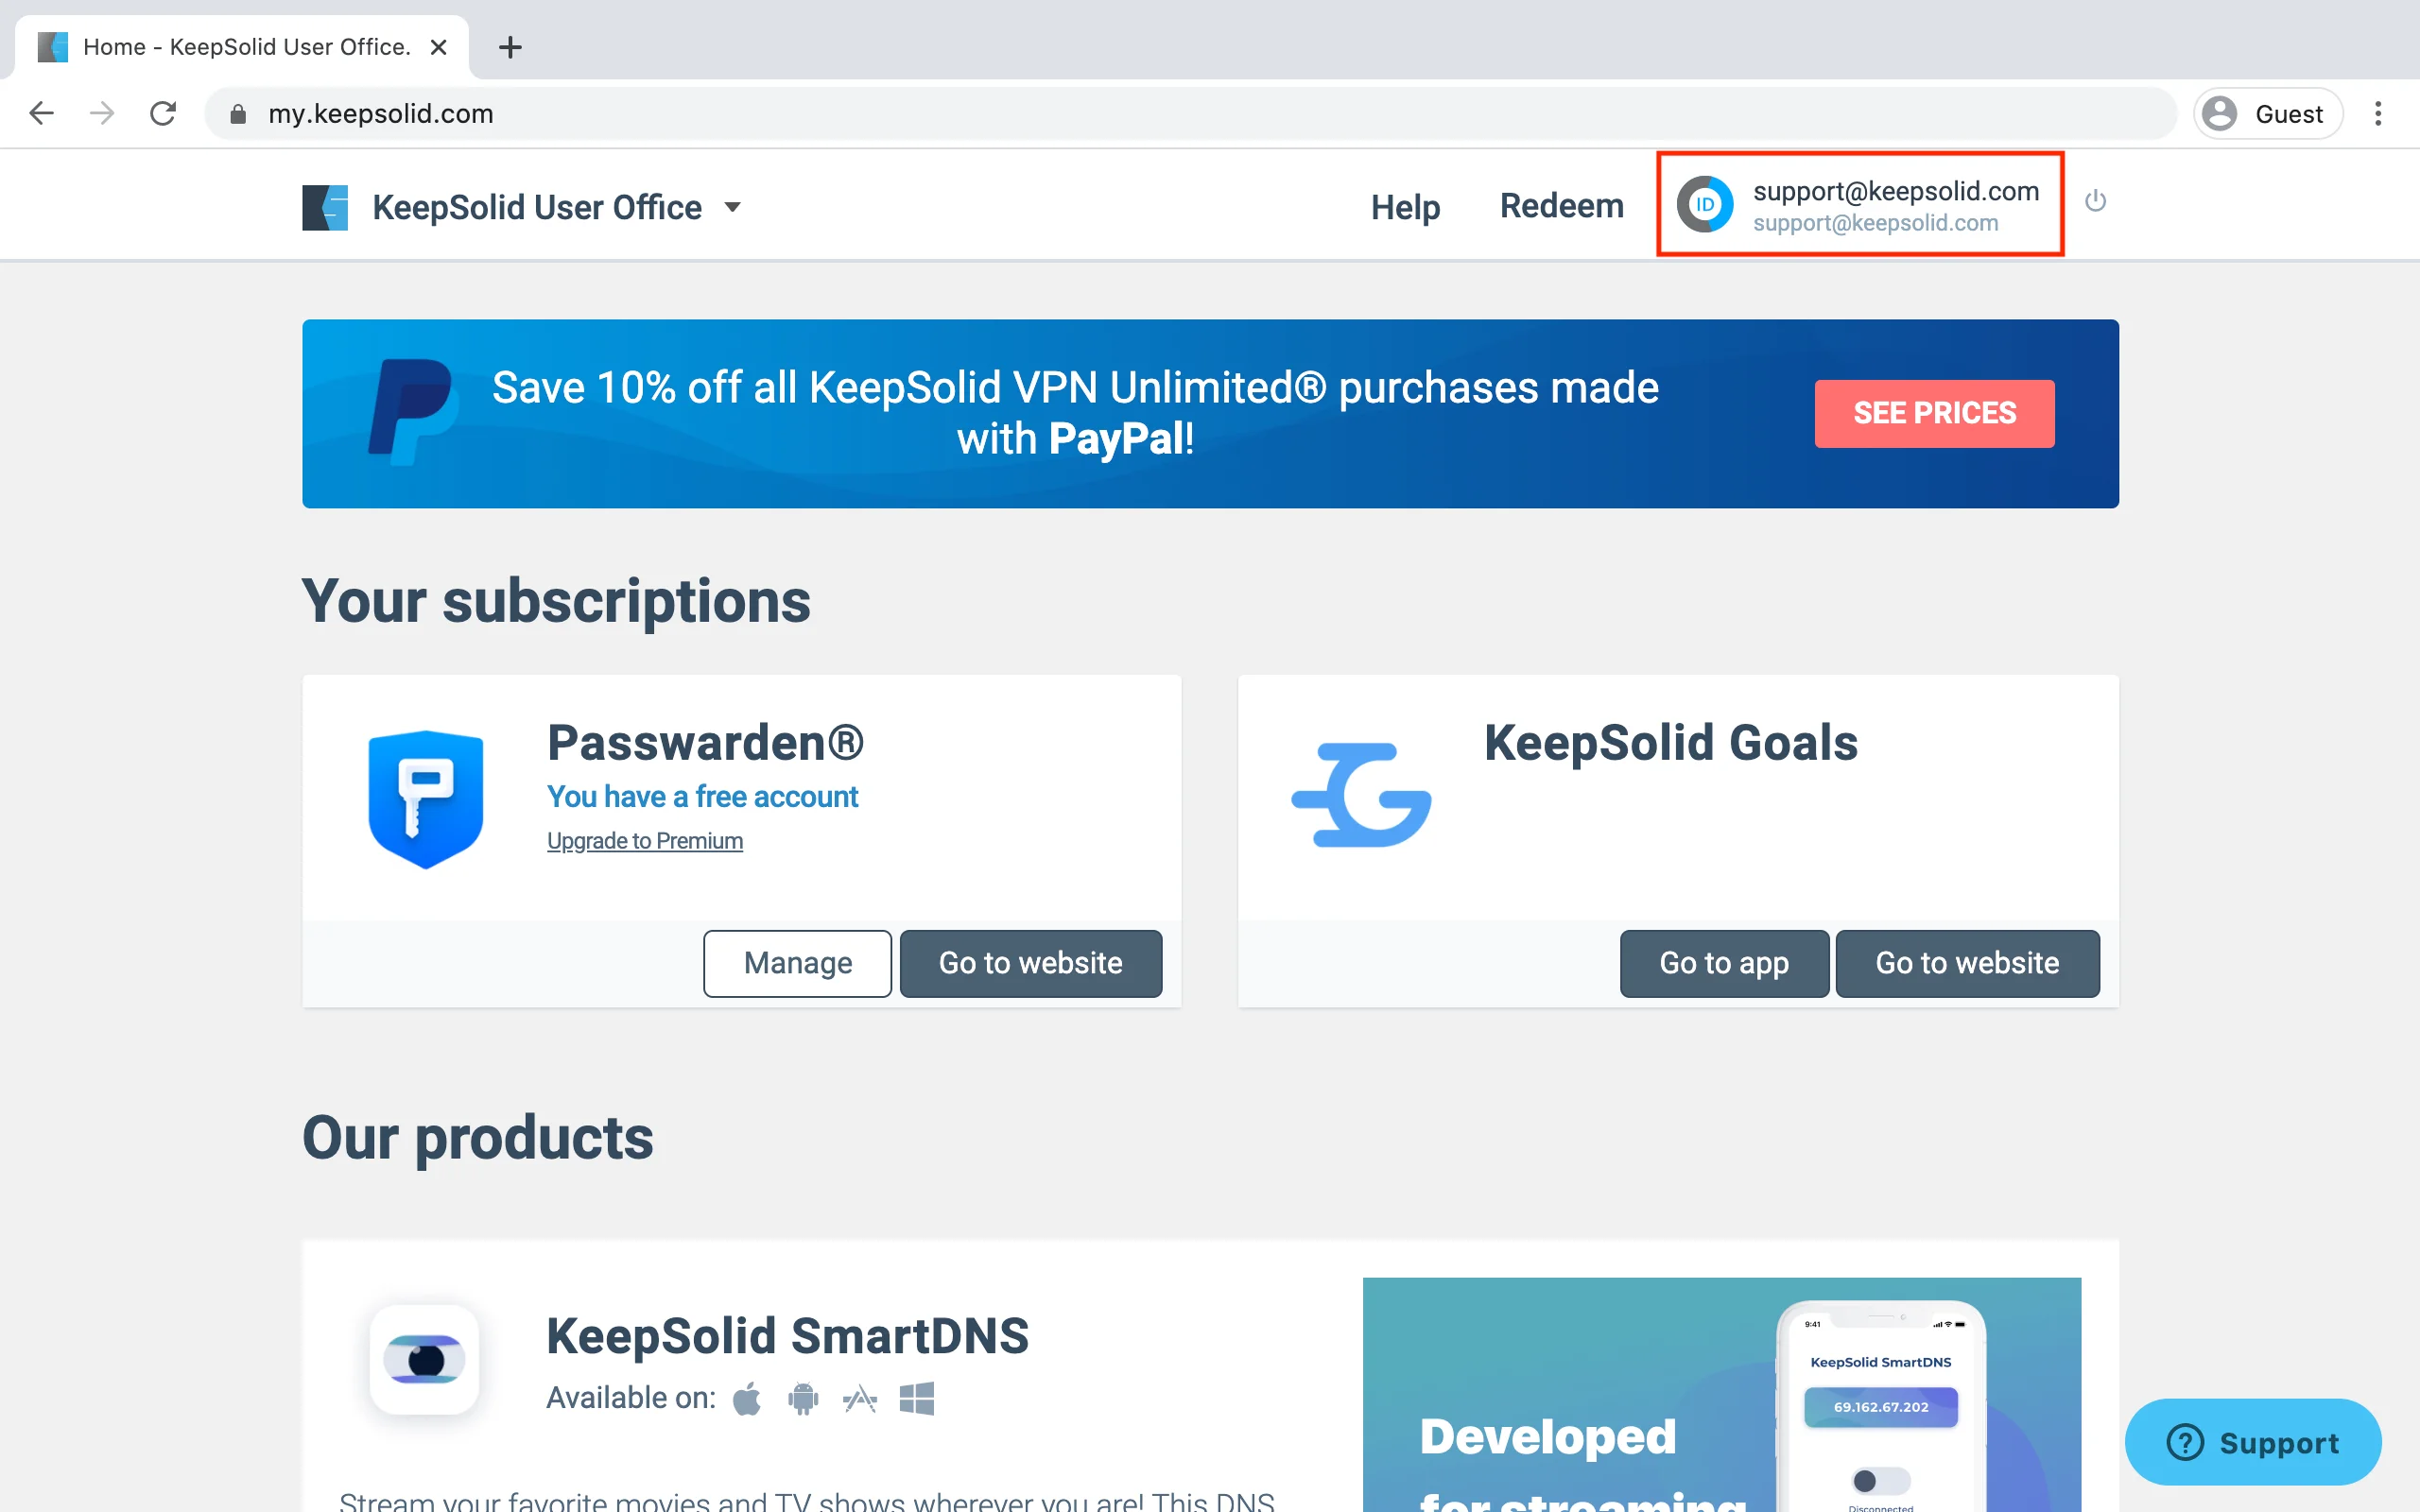
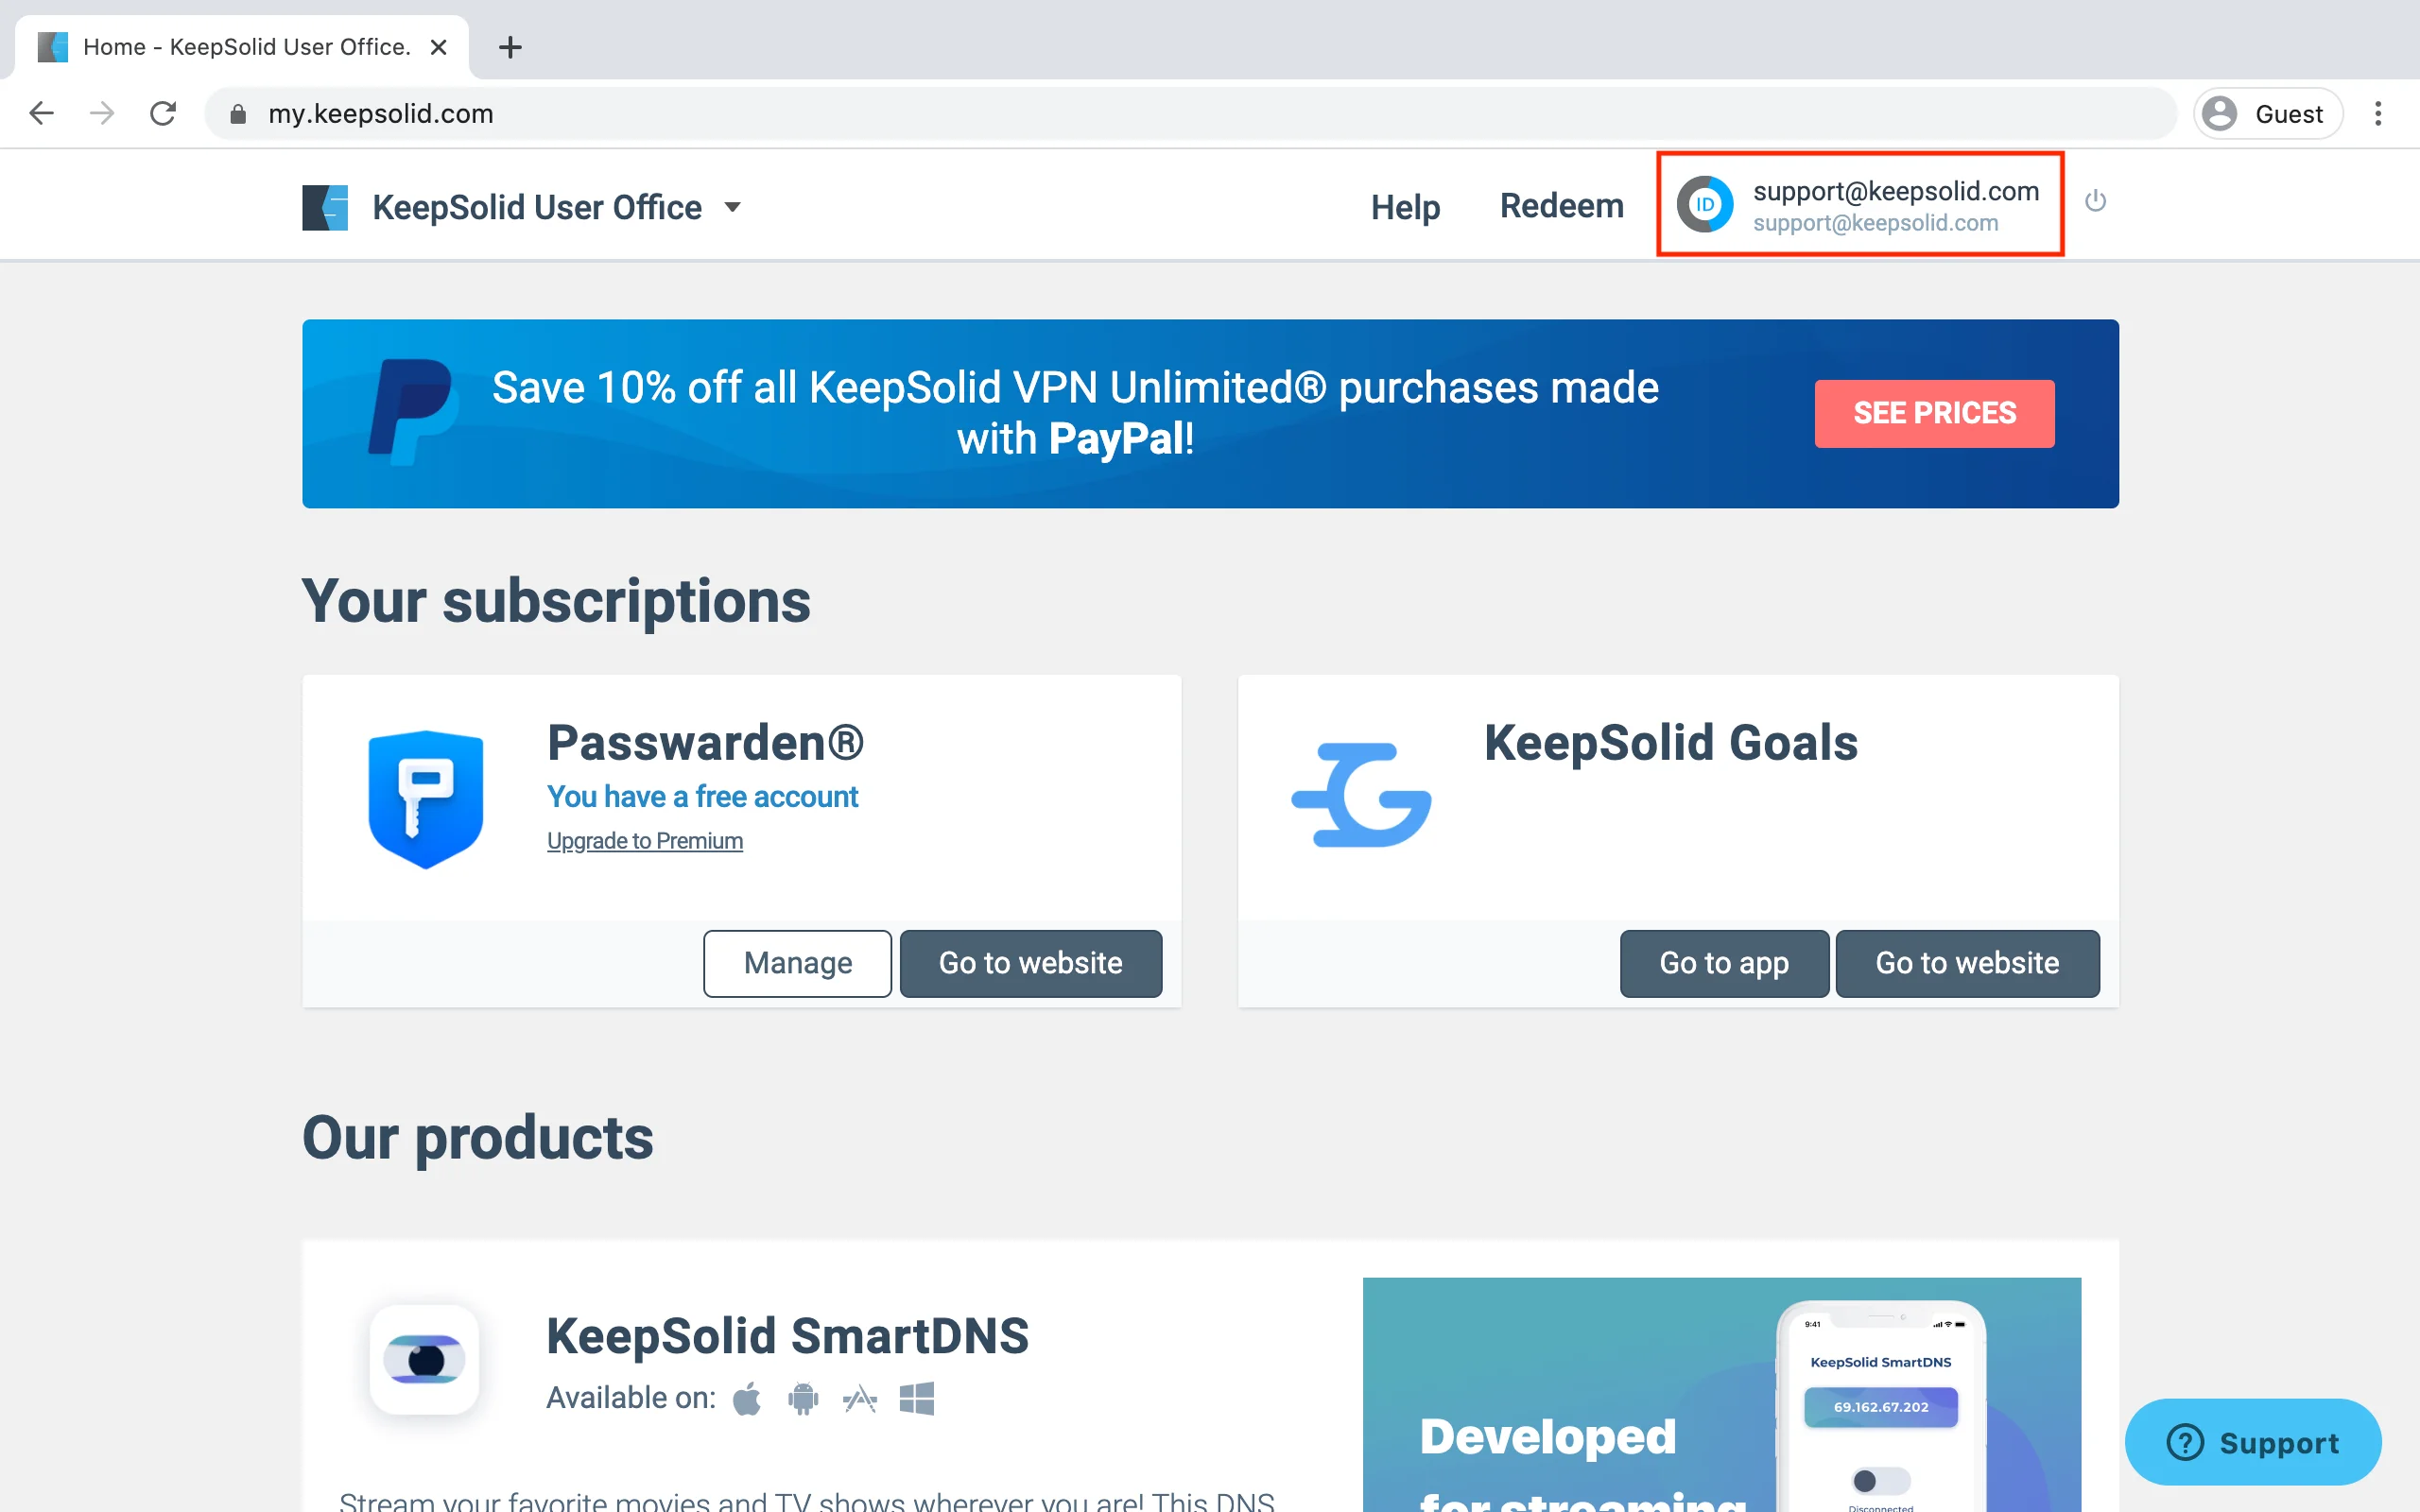
2. Click your KeepSolid ID at the top right corner, and press Manage to enter the Profile Settings menu.

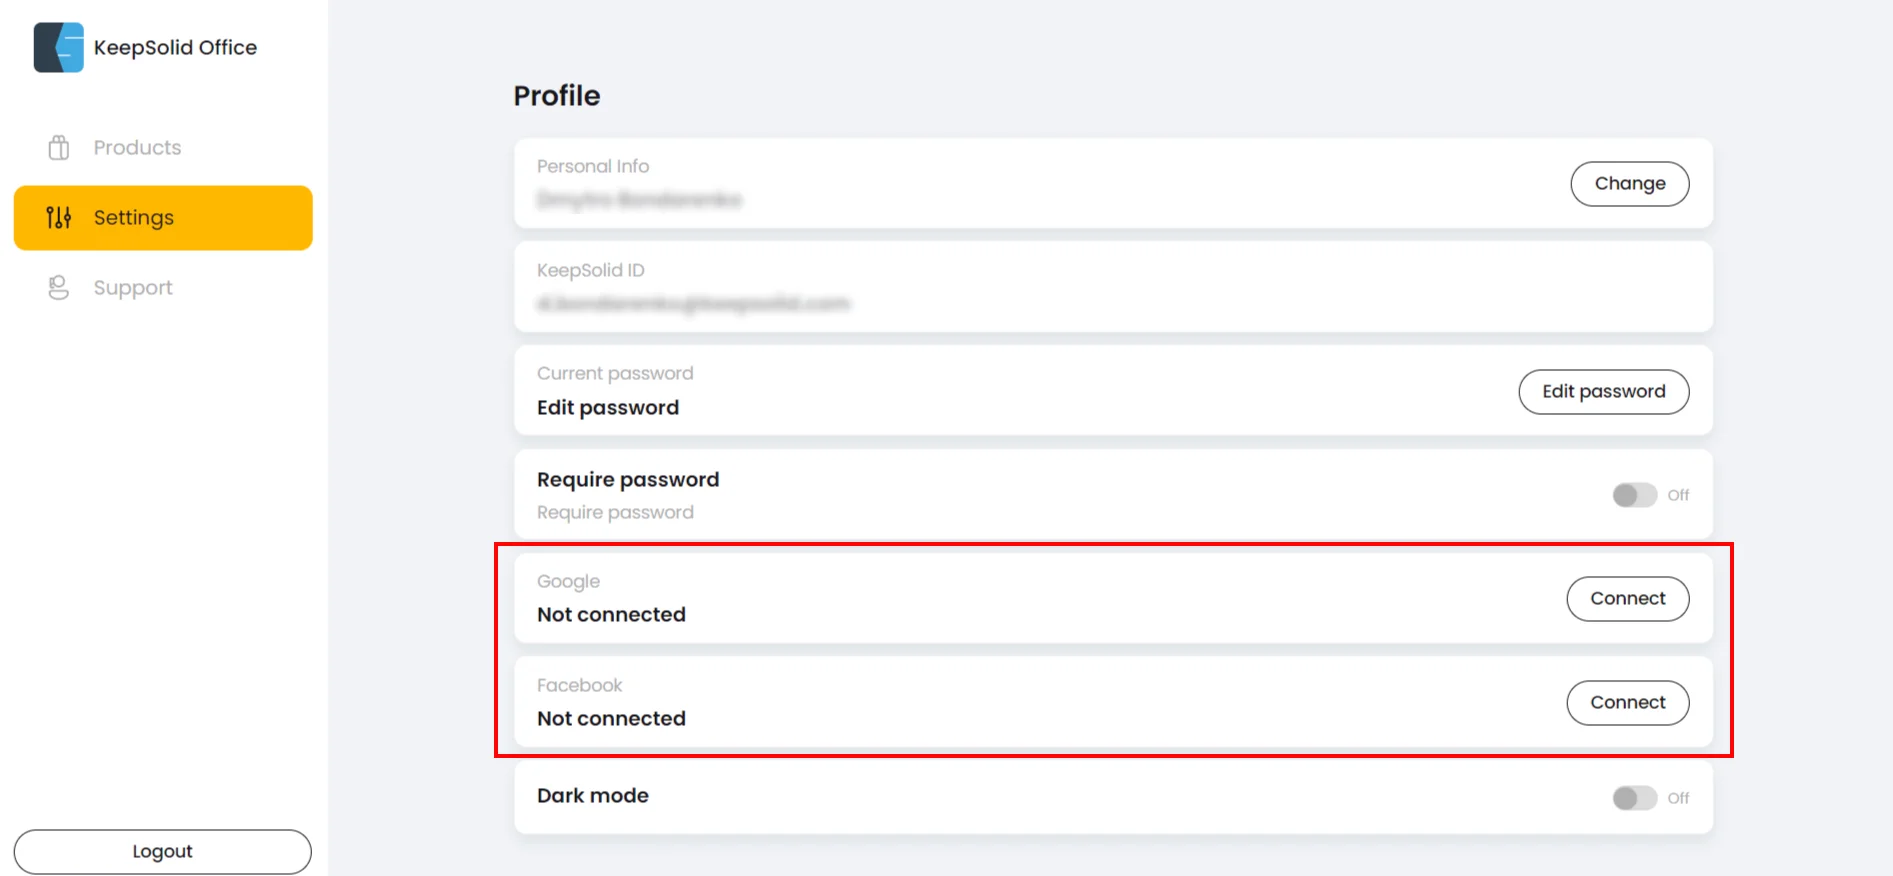
3. Navigate to the Profile section, and choose the necessary option.
4. You can Set password if you used your Apple ID or Facebook/Google account to sign in to the app and now want to use the email/password method instead.
5. Or you can press Connect button opposite the appropriate social network if you want to use a Facebook or Google account to log in.
6. After successful authorization in a relevant social network, you will be offered to enter KeepSolid ID password to identify your account and add a new entry point.
Great! Your social network was successfully linked to the account. This way you will be able to log in using your Facebook or Google account.
How to change your password?
1. Log in to your User Office.
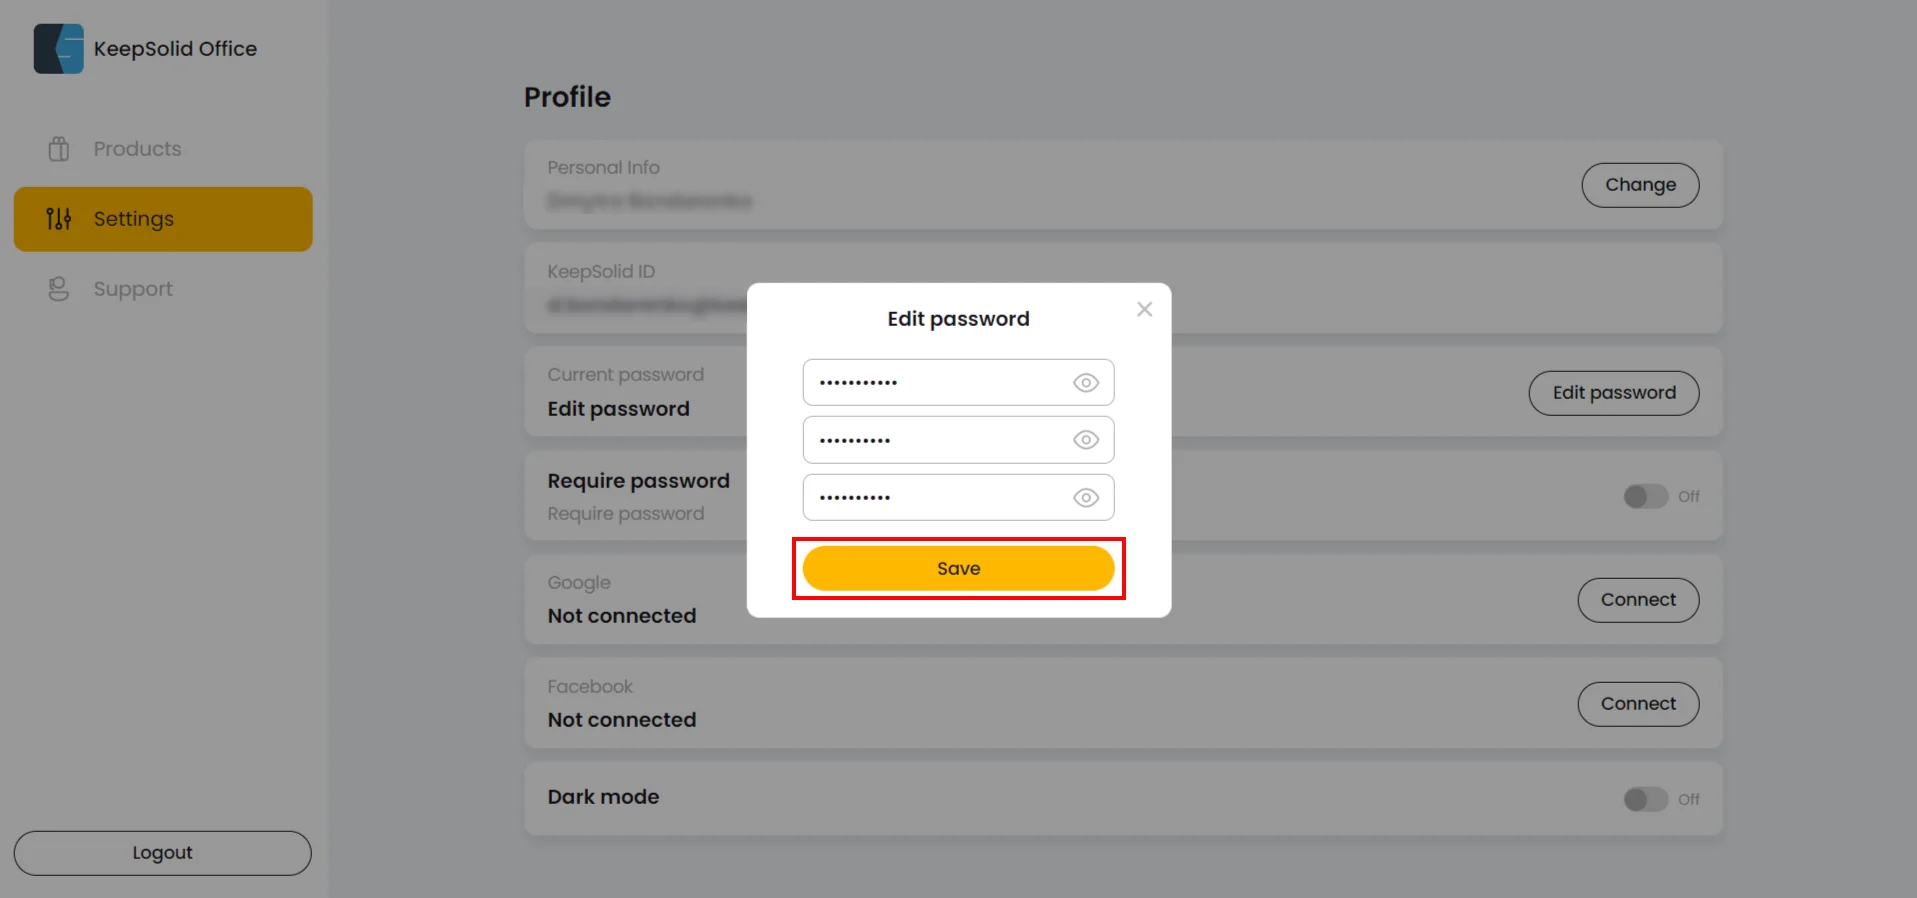
2. Click your KeepSolid ID at the top right corner, and press Manage to enter the Profile Settings menu.
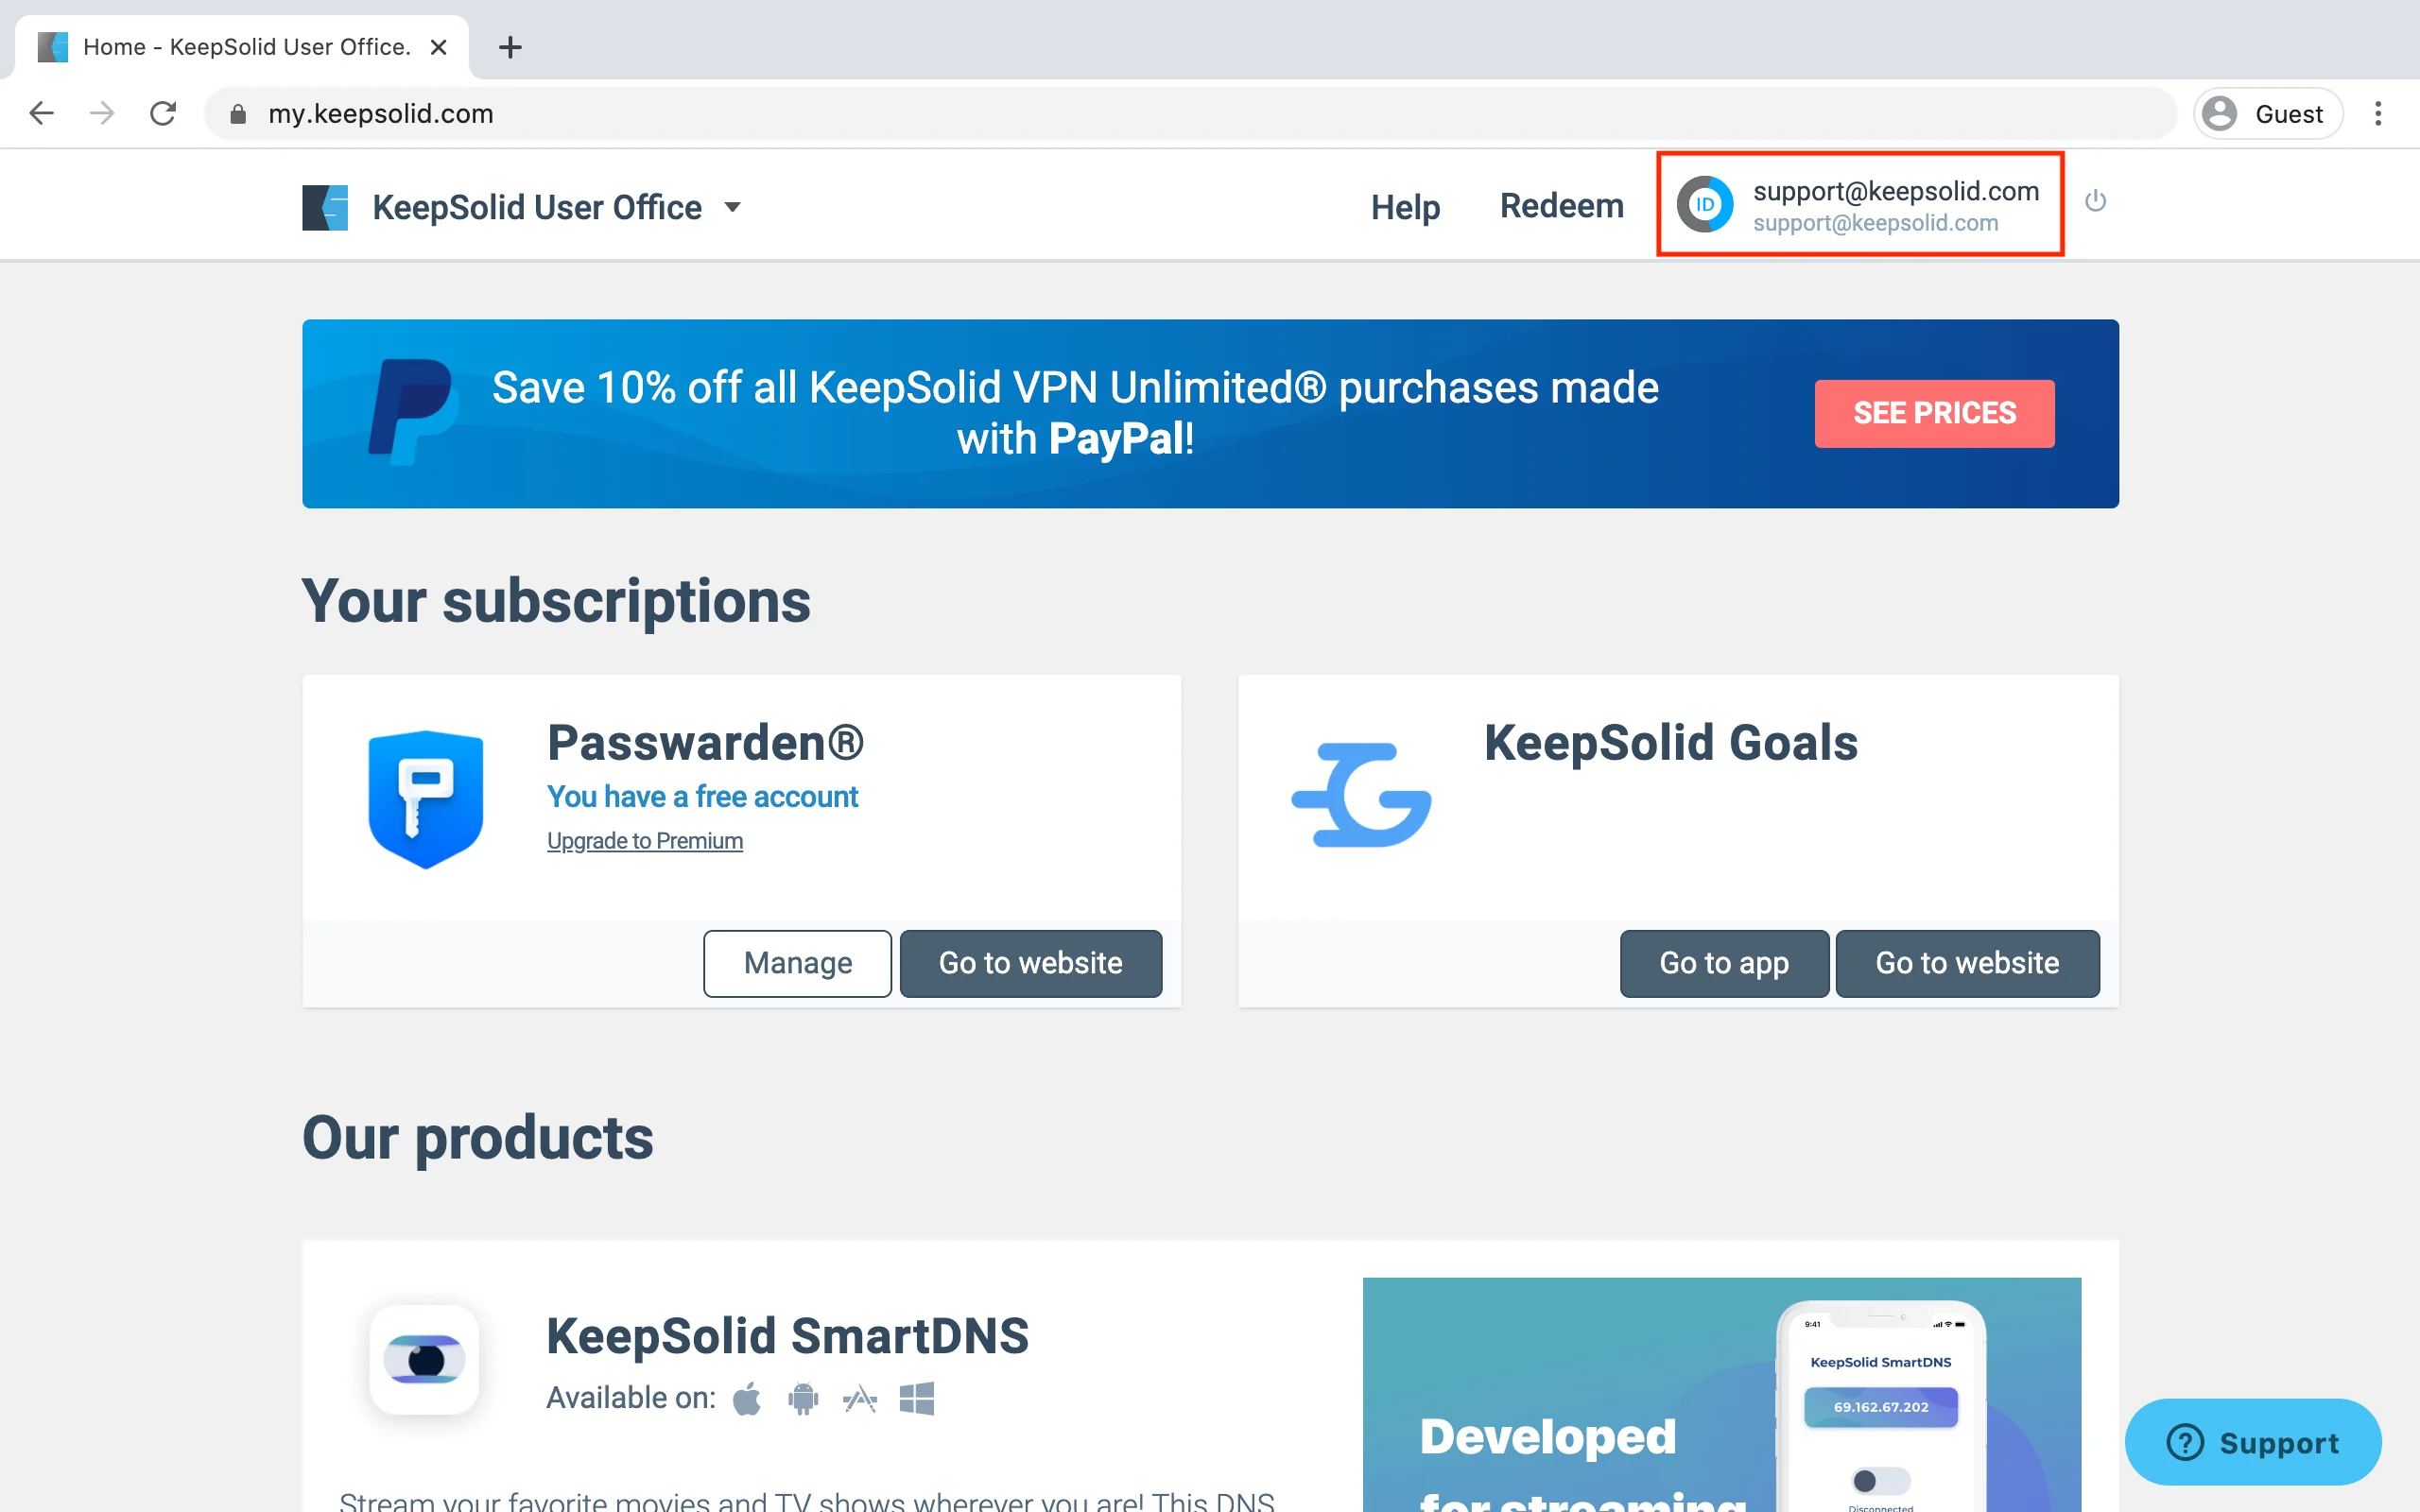

3. Navigate to the Current password and press the Edit password button.
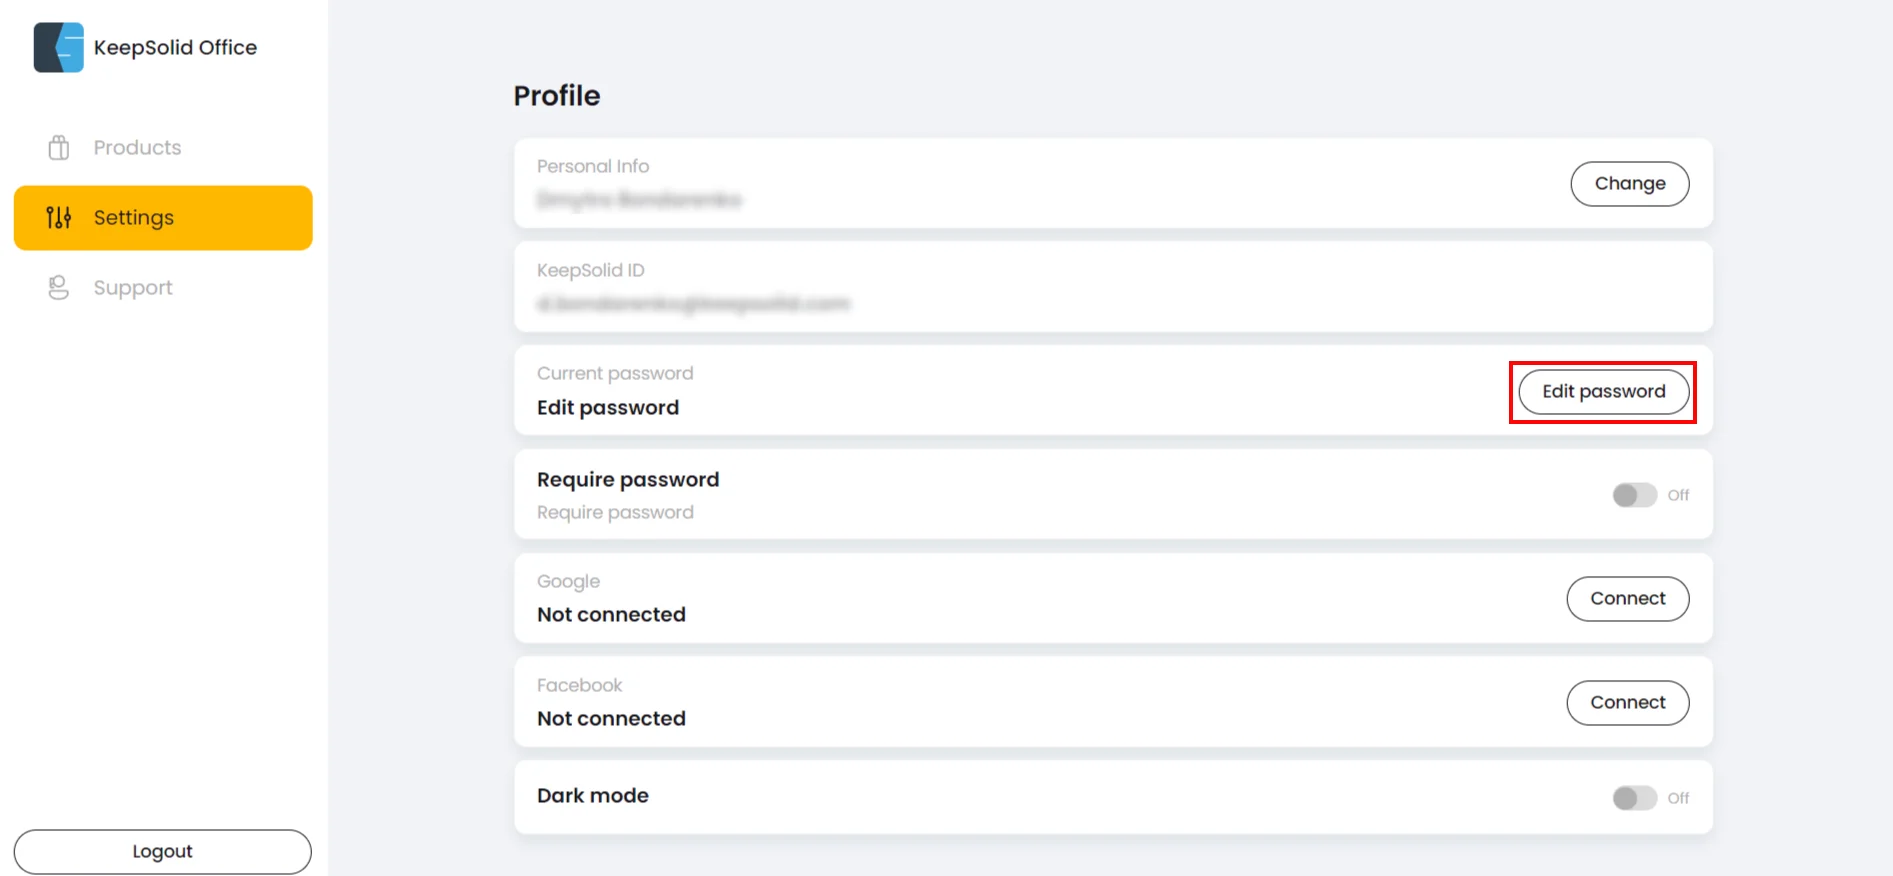
4. Input your current password, then a new one, and repeat the latter.
5. When you finish, click Save.
How to upgrade subscription?
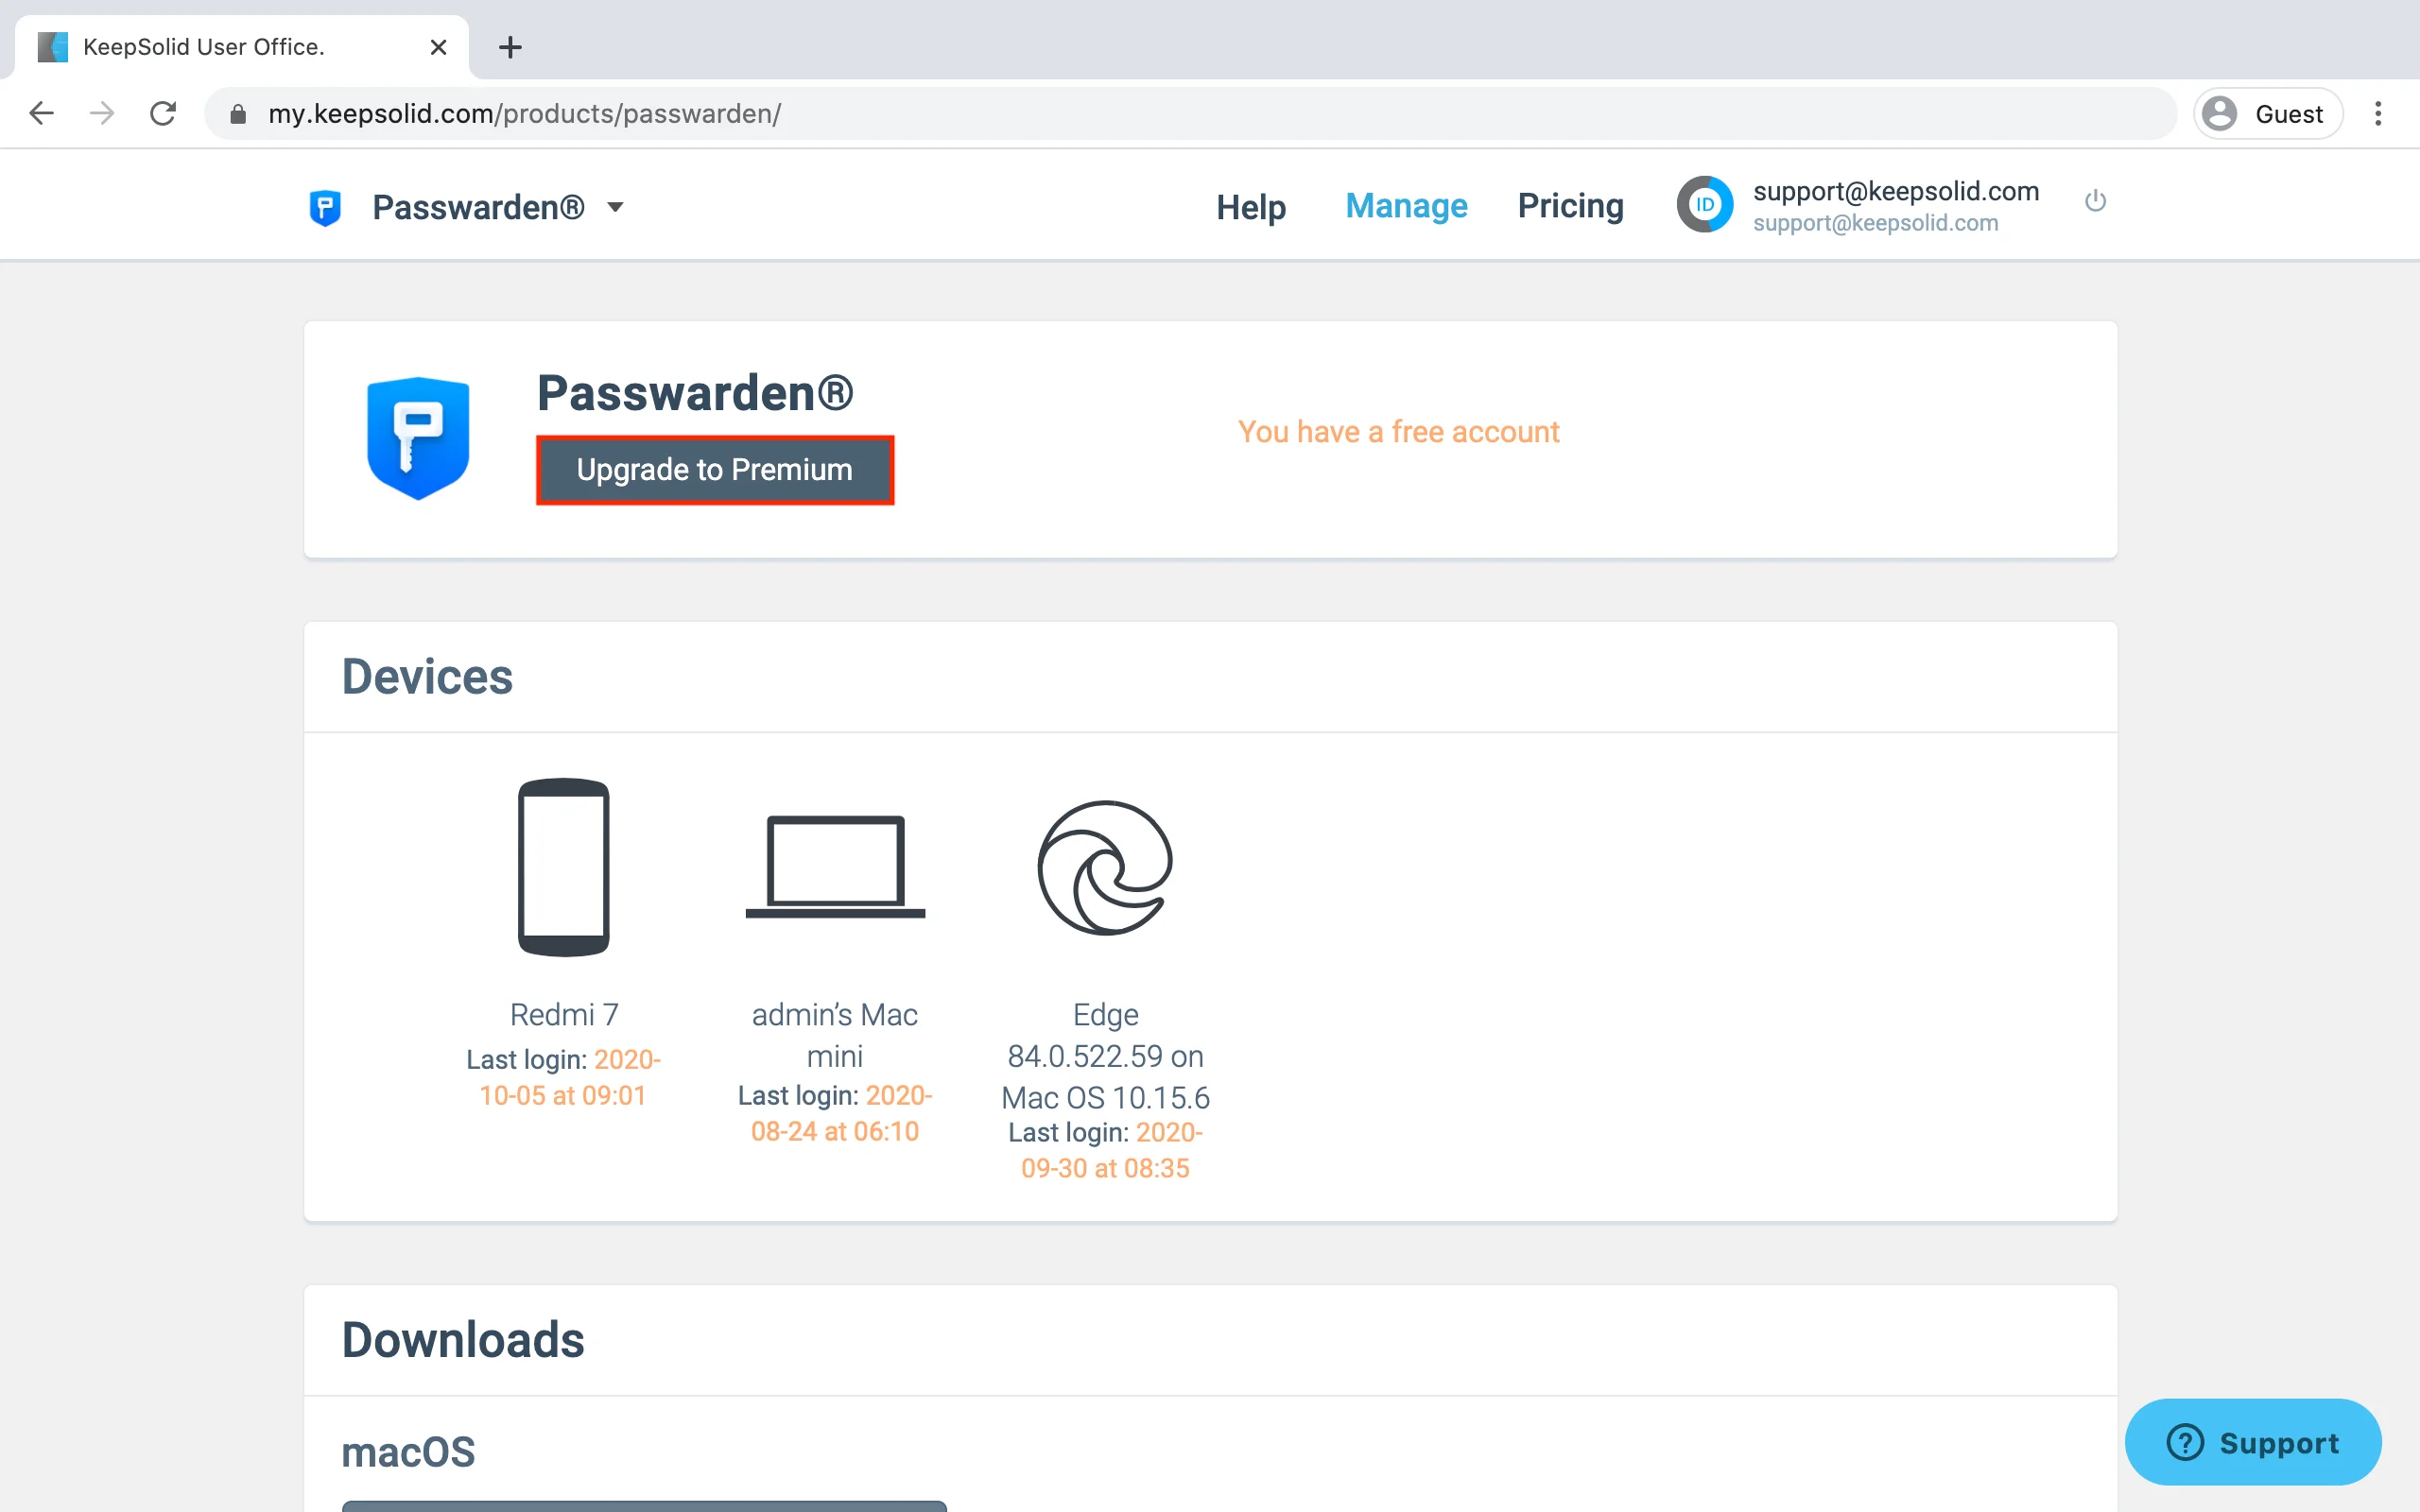
1. Press Manage next to your Passwarden subscription.
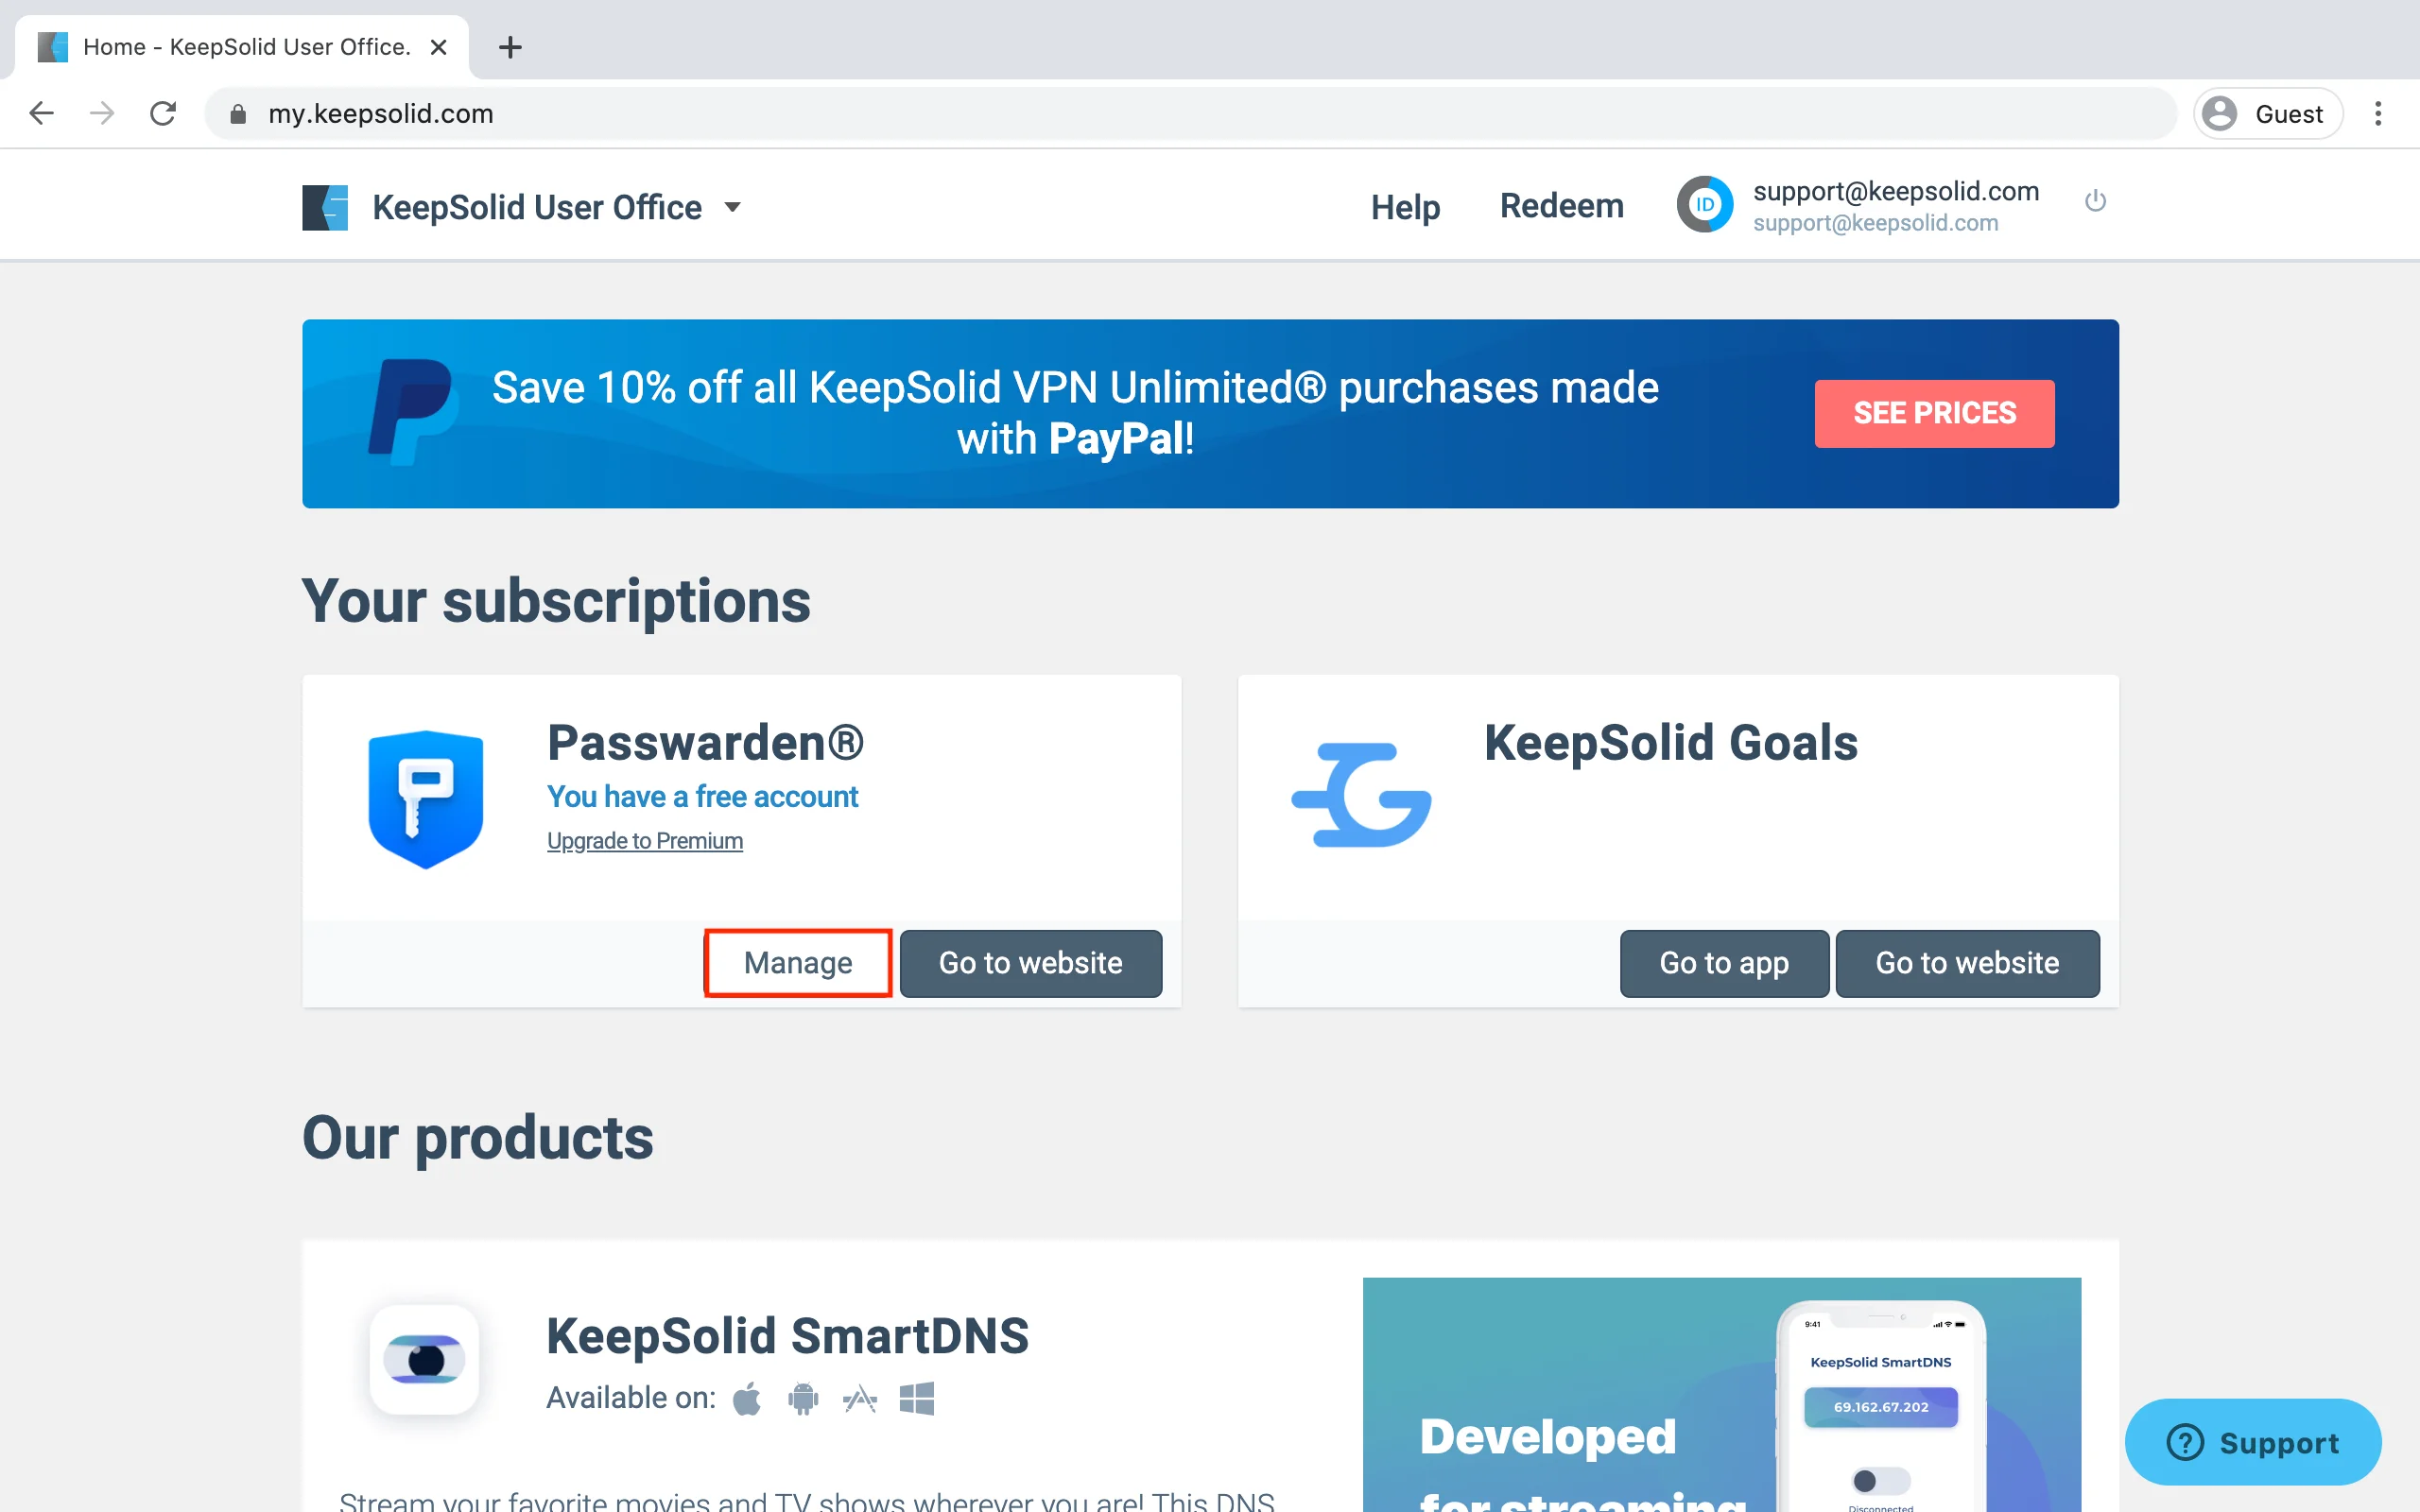
2. Click Upgrade to Premium.
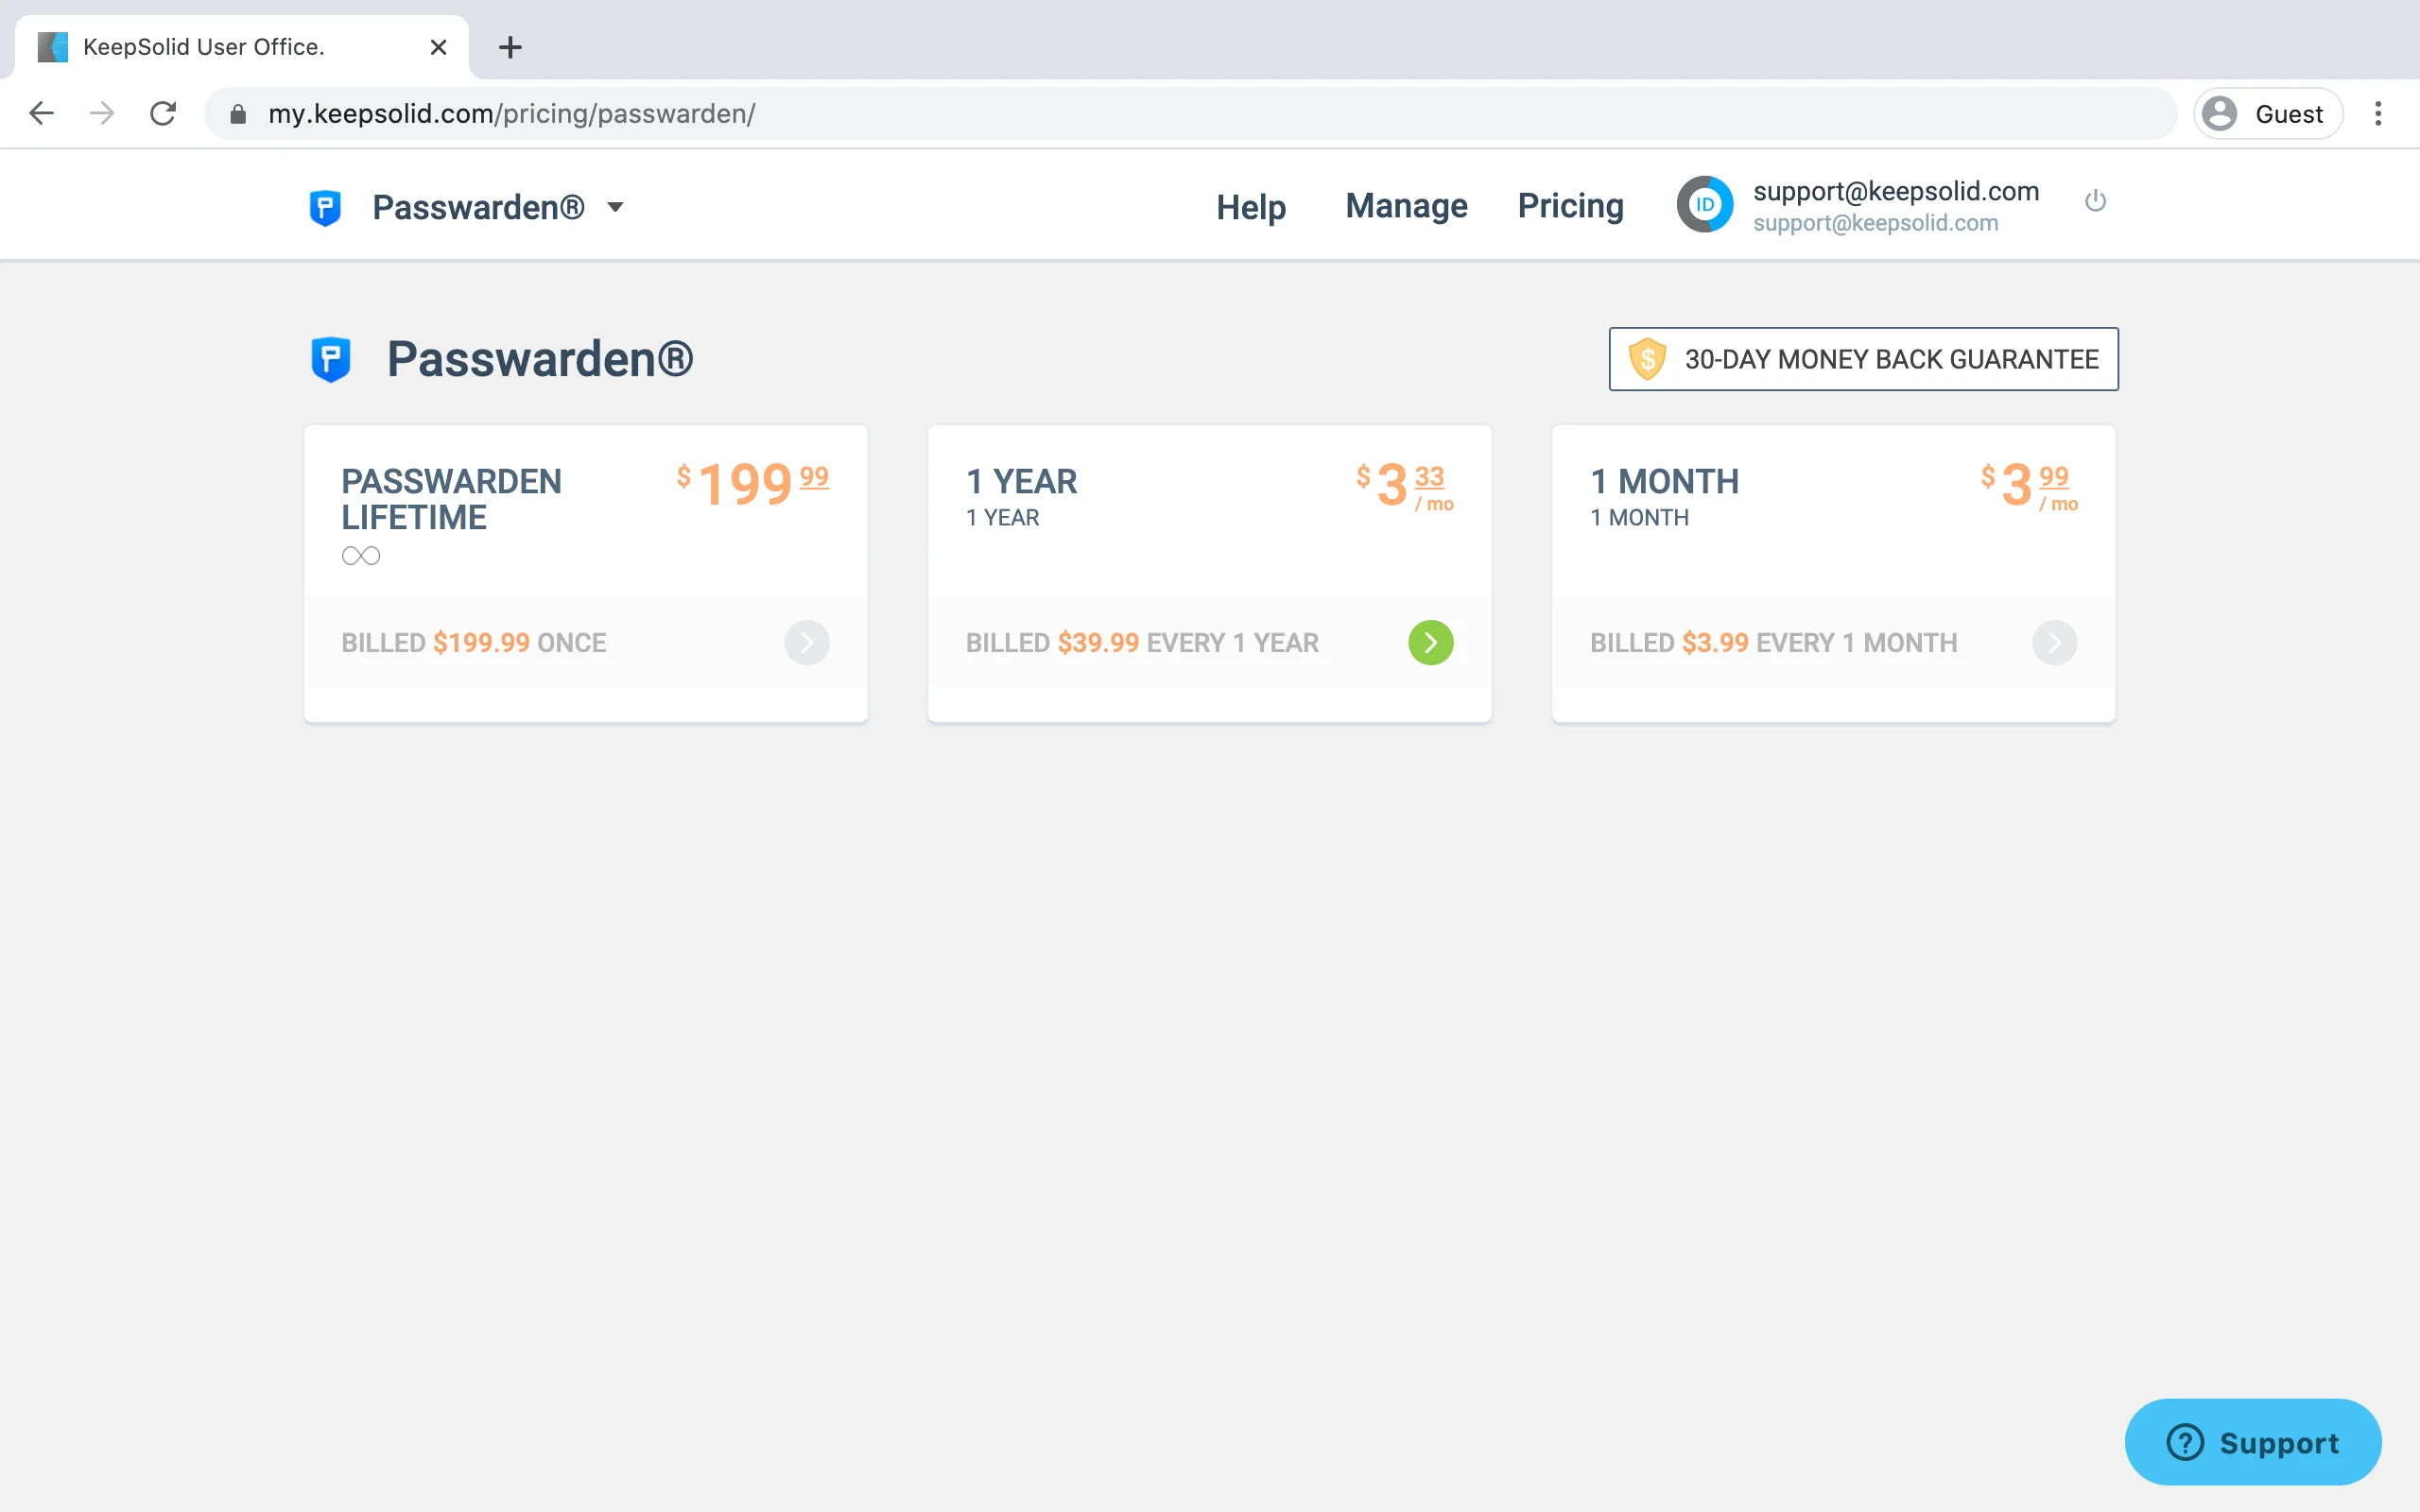
3. Choose the appropriate subscription plan and select the payment method.
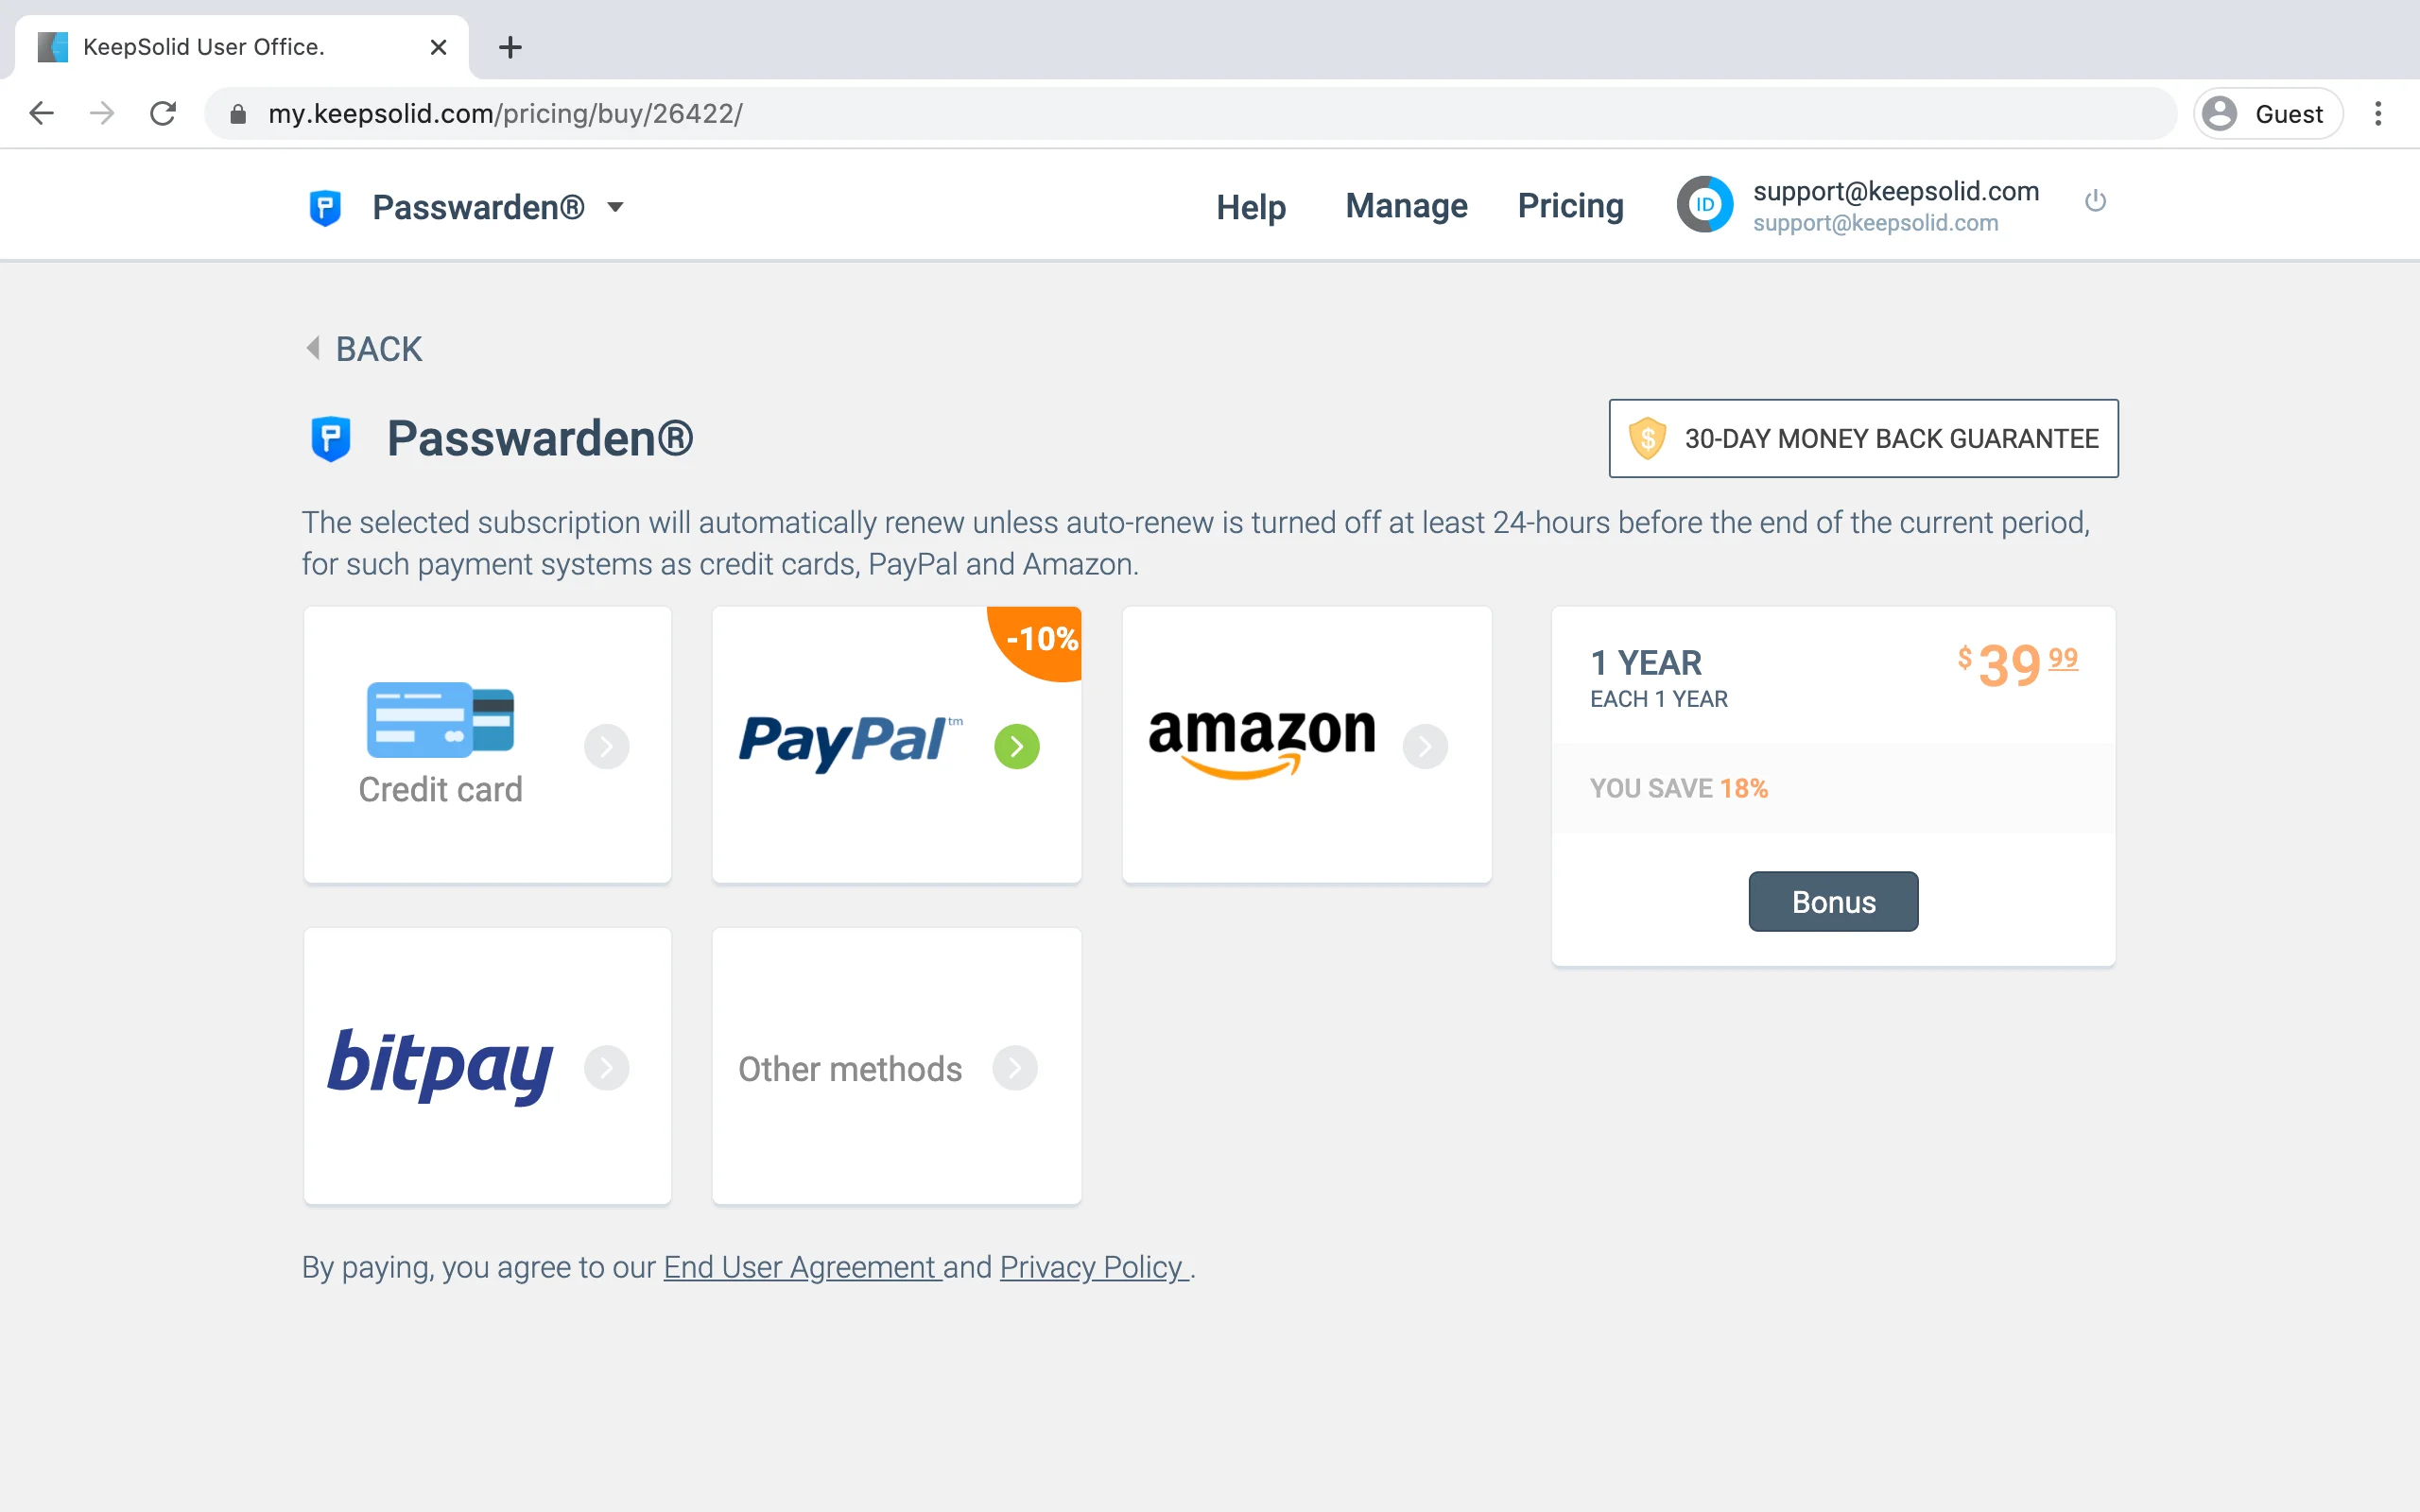
Great! Confirm your payment and enjoy our safe password manager with no limitations.
How to redeem a code?
1. Go to the Home page of your User Office and click Redeem.
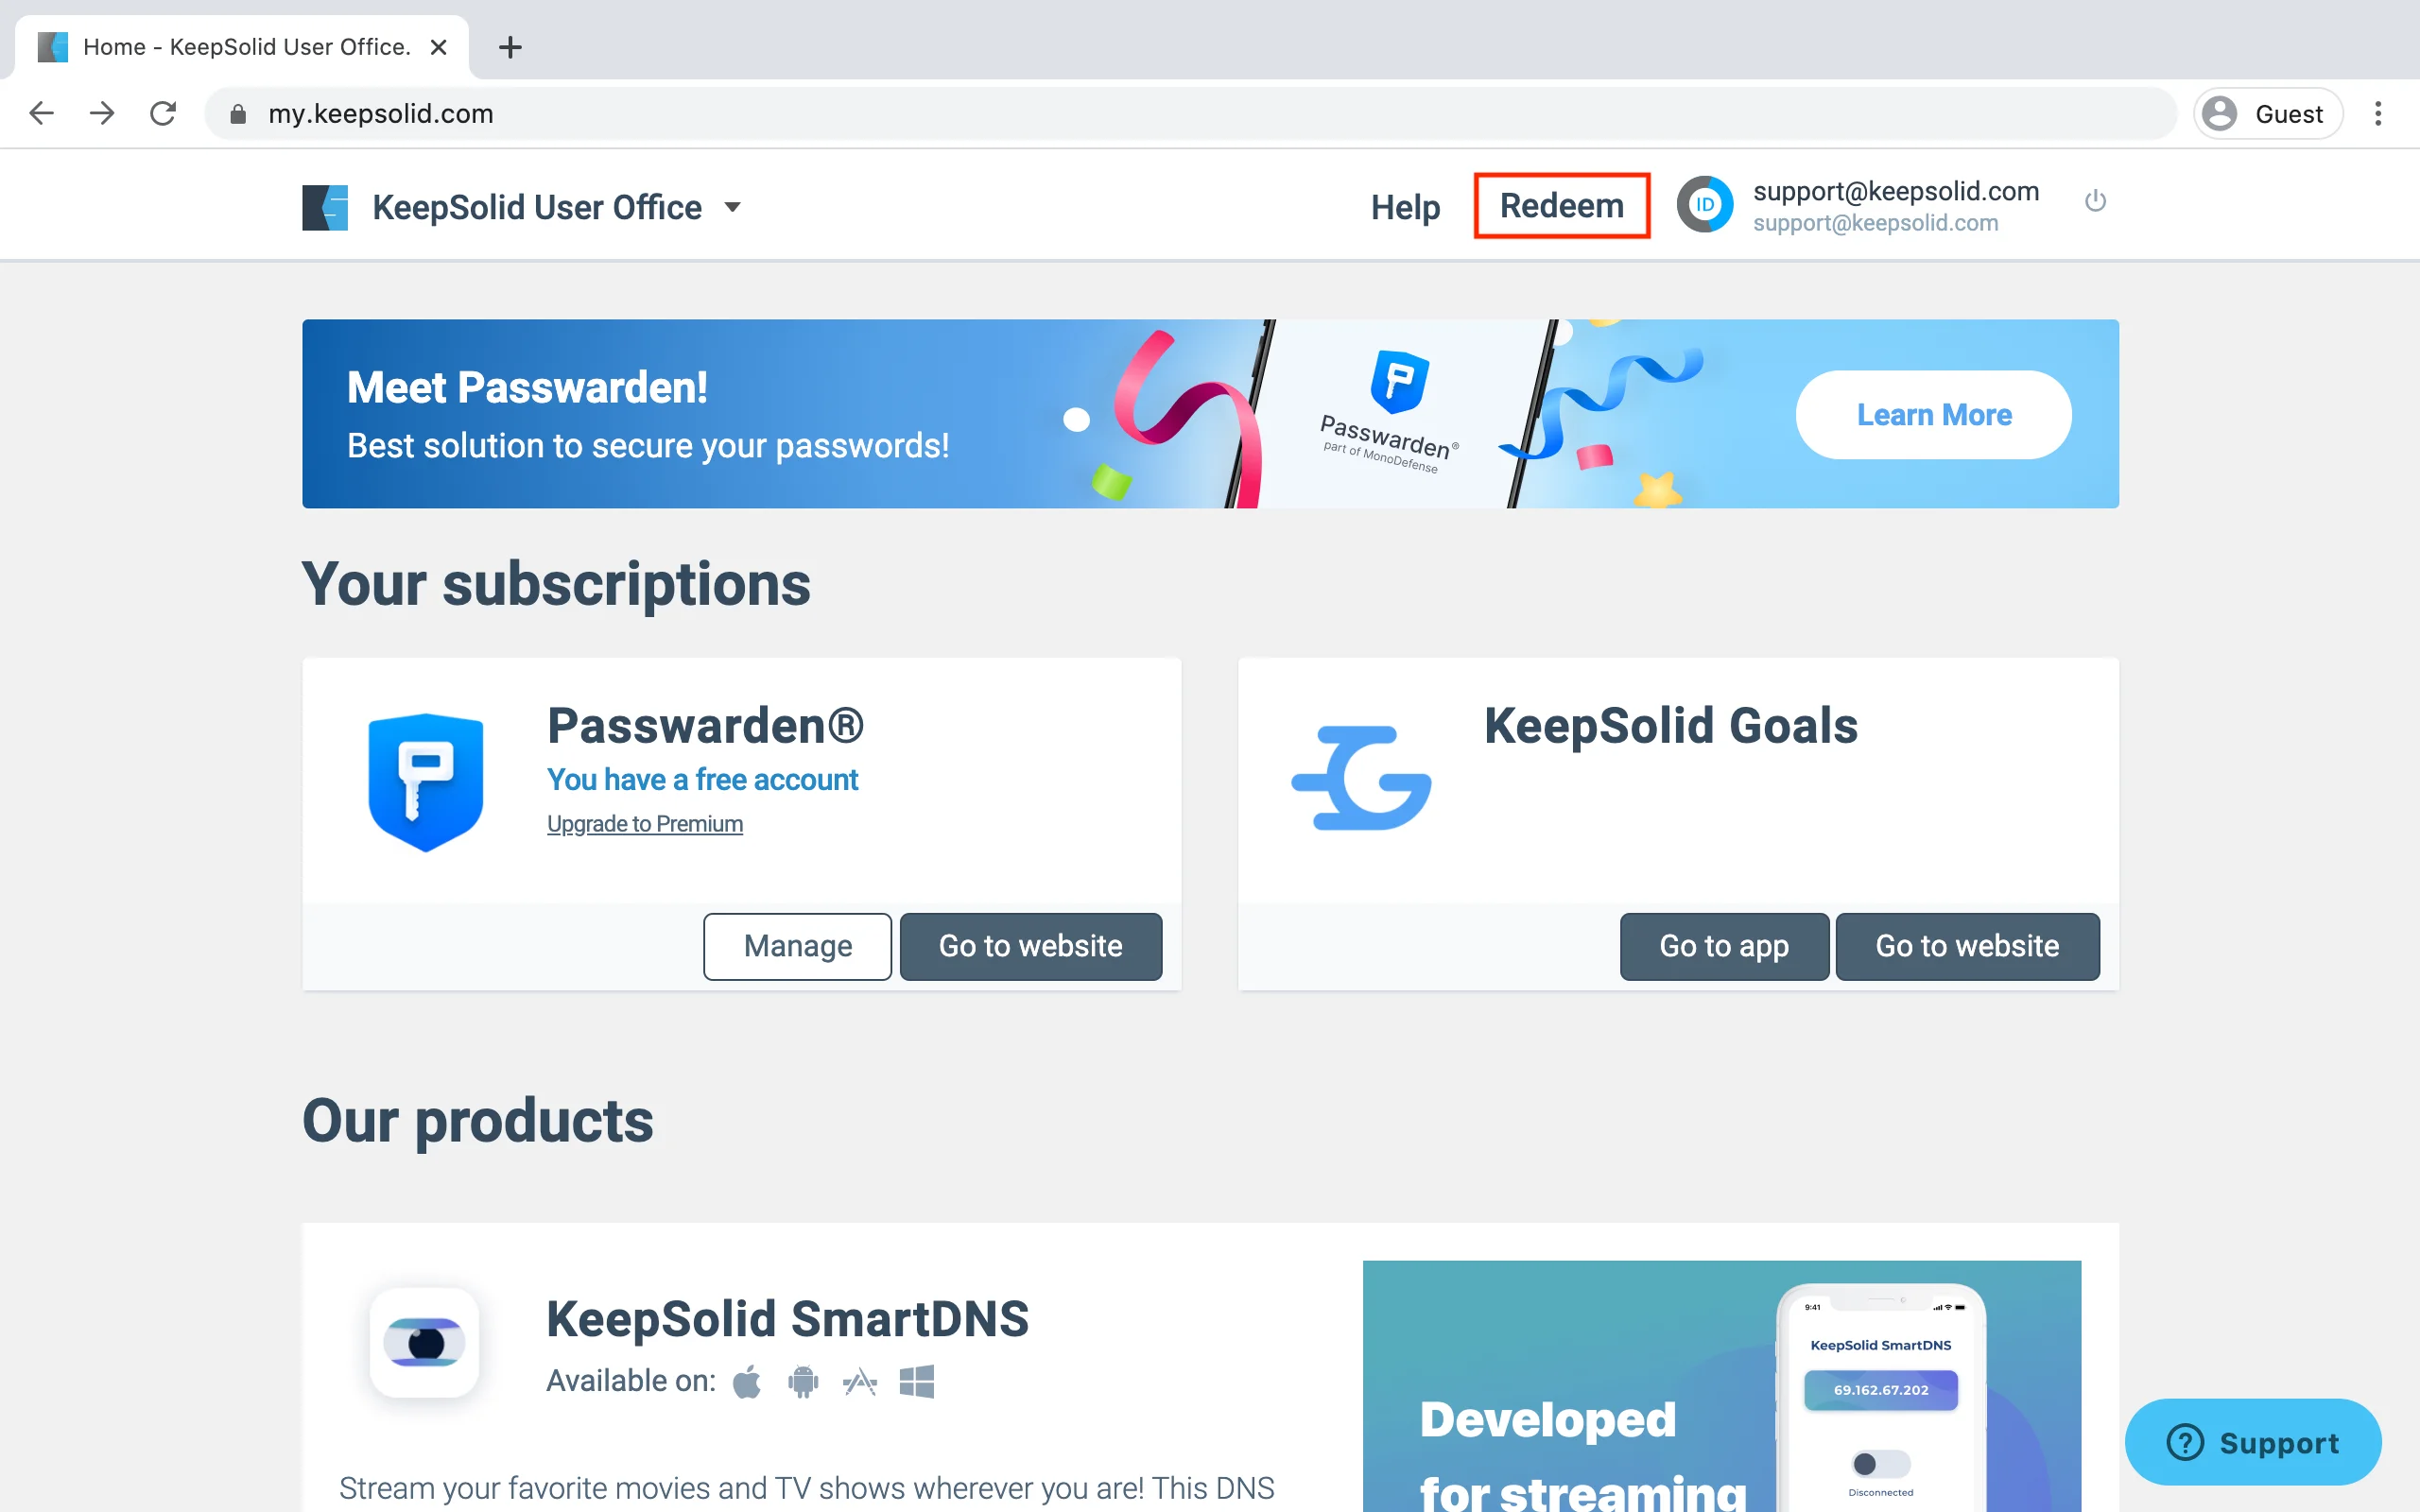
2. Enter your code in the window that appears and press Redeem a Code.
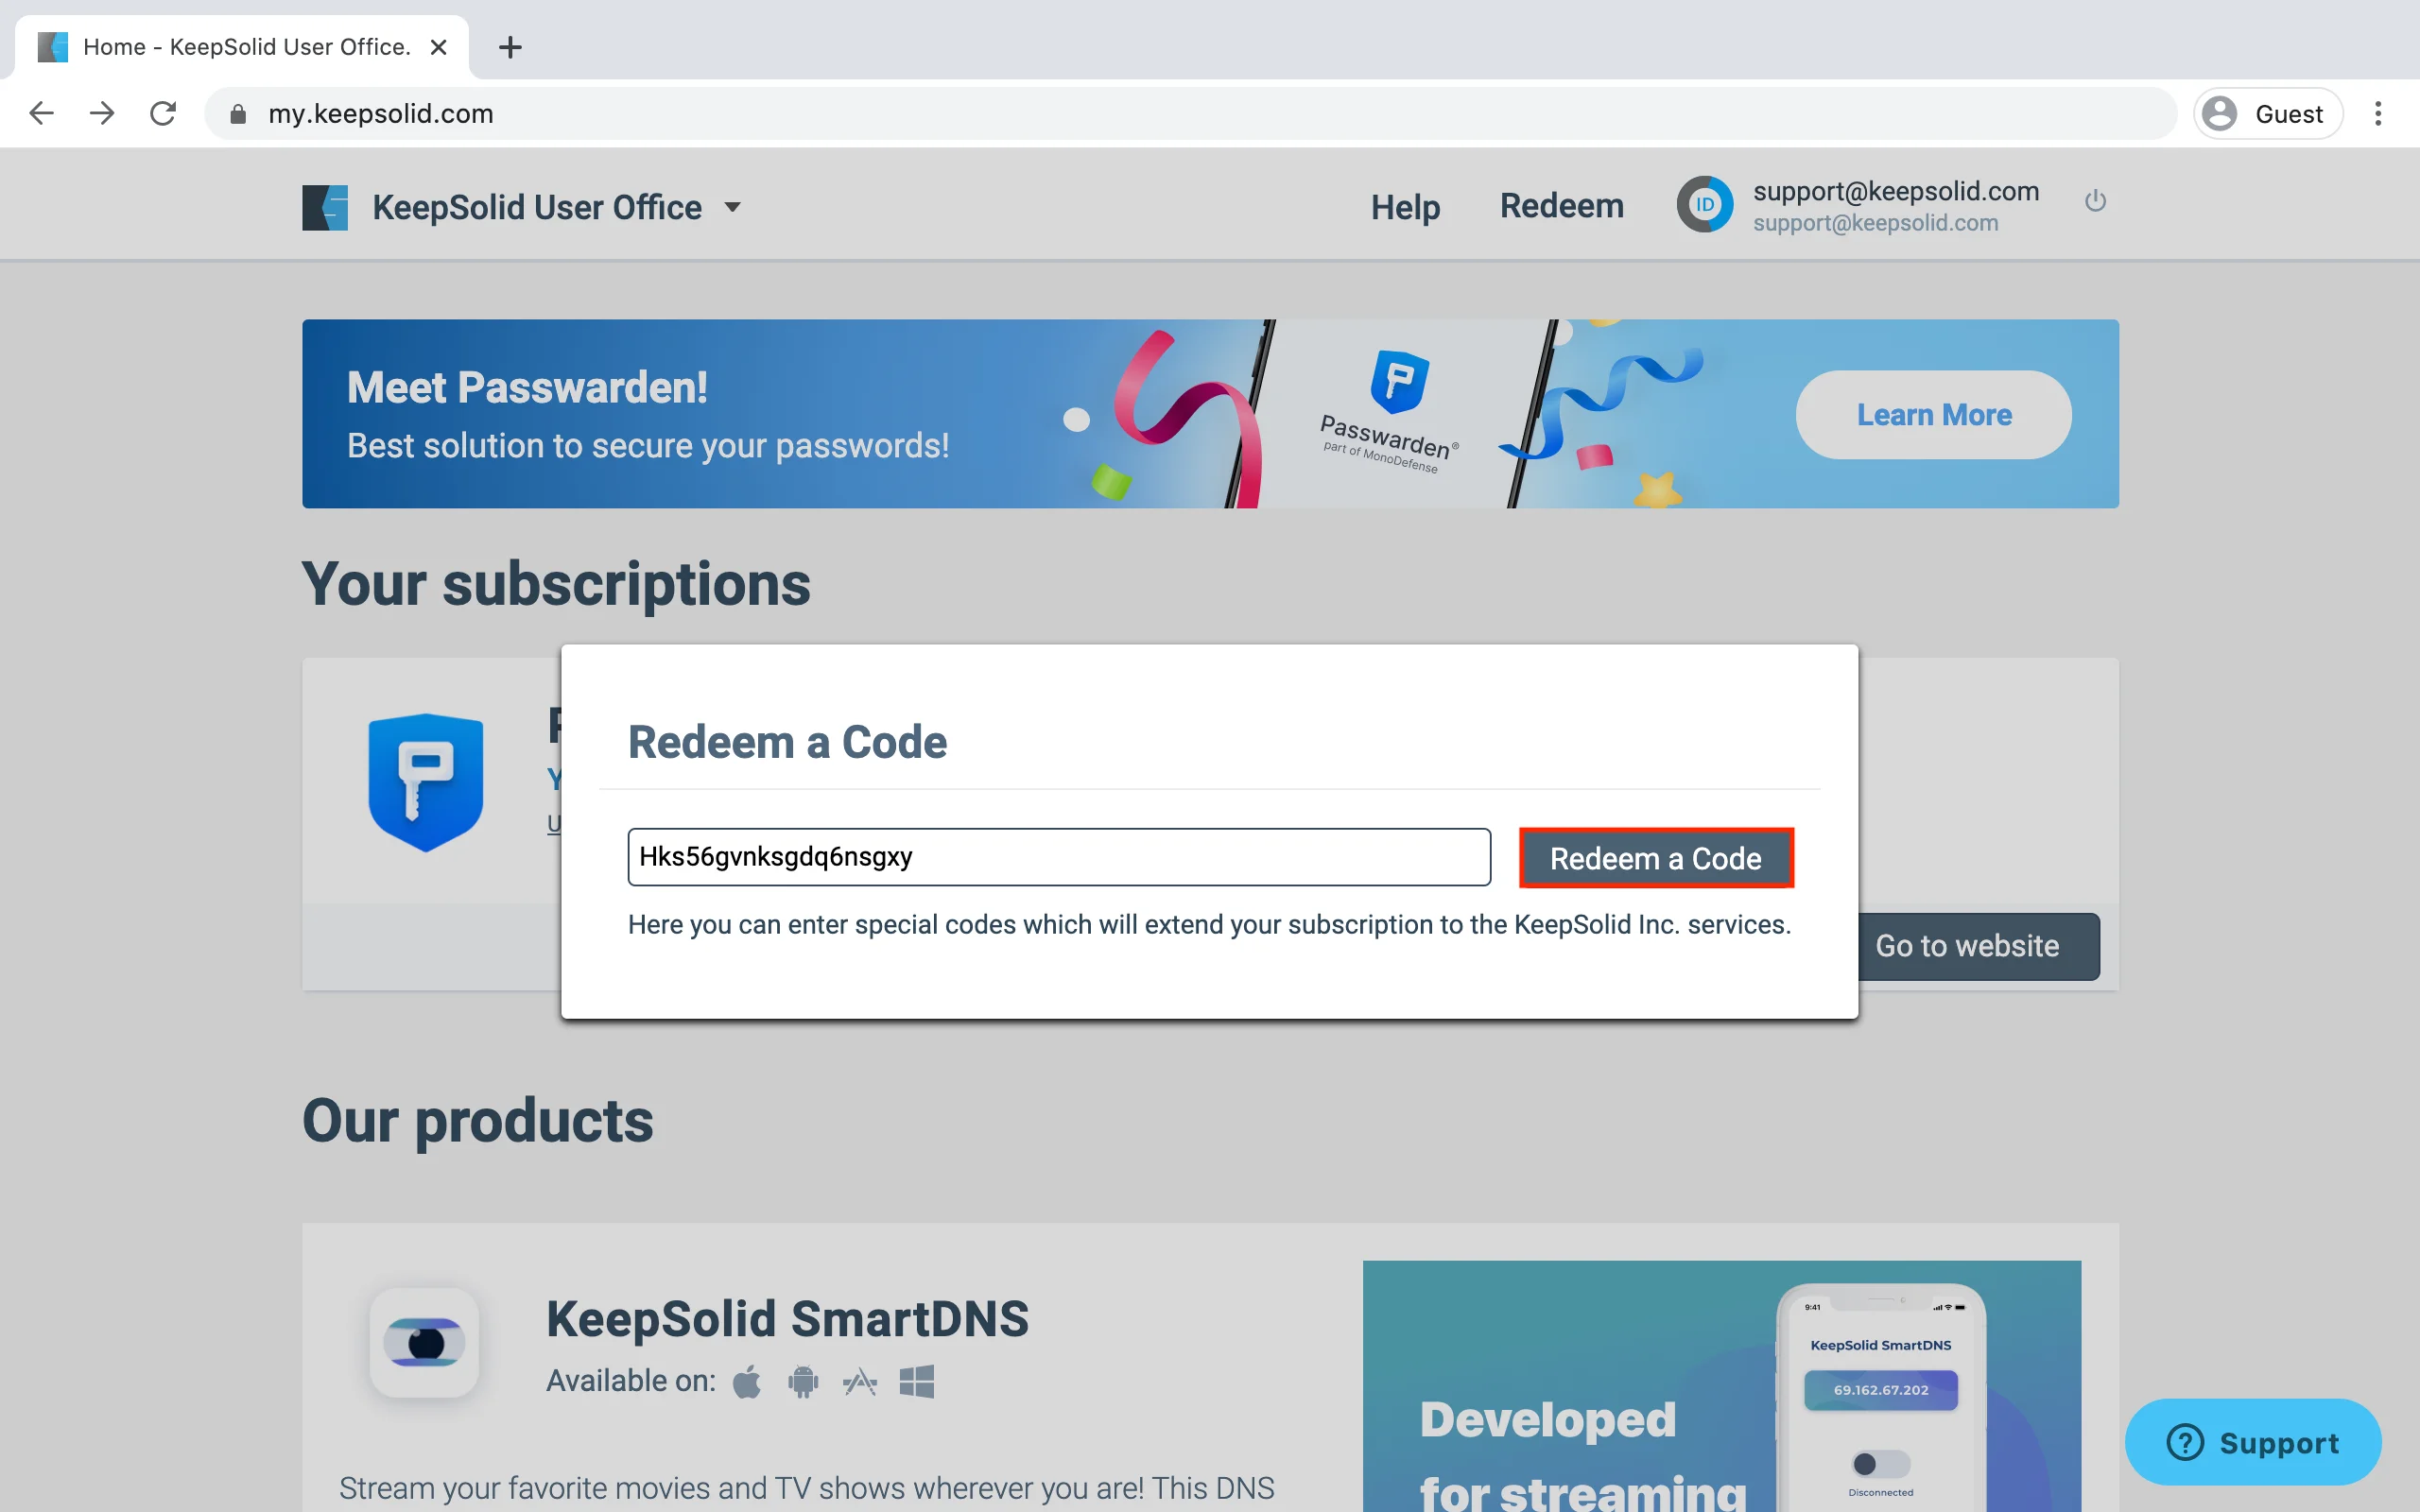
Great! If the code is a correct one, the appropriate subscription will be automatically added to your account.
How to export your data?
1. Log in to your User Office.
2. Click your KeepSolid ID at the top right corner, and press Manage to enter the Profile Settings menu.

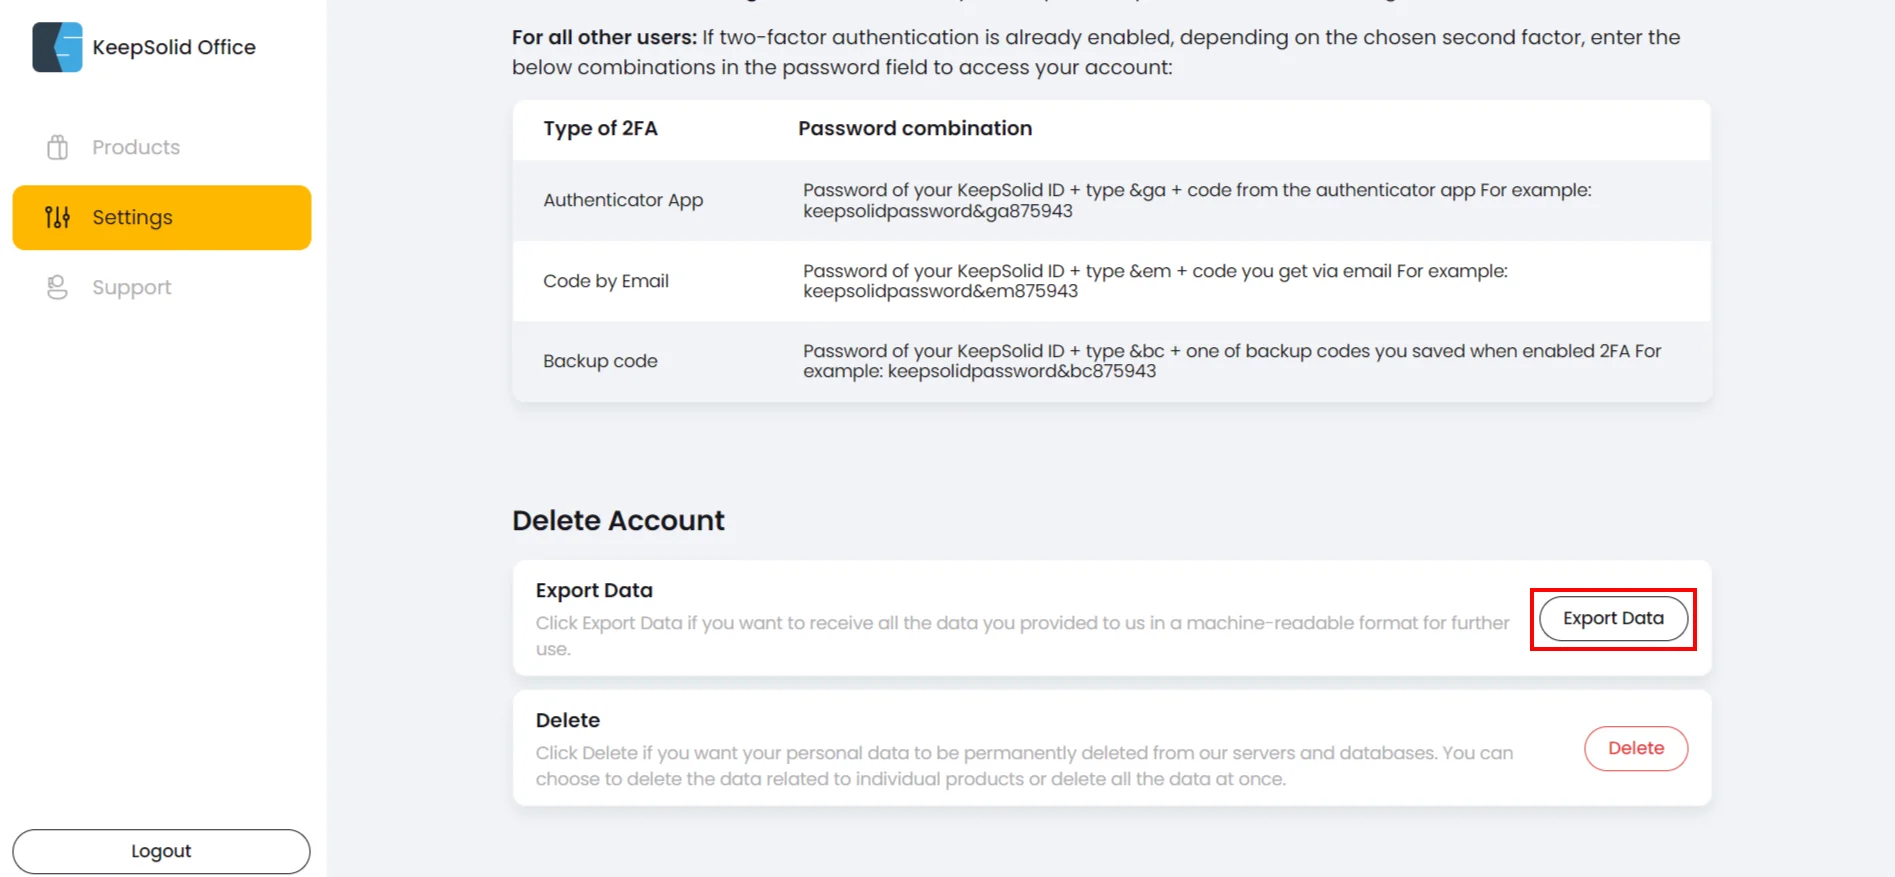
3. Scroll down to the Delete Account section and press Export Data.
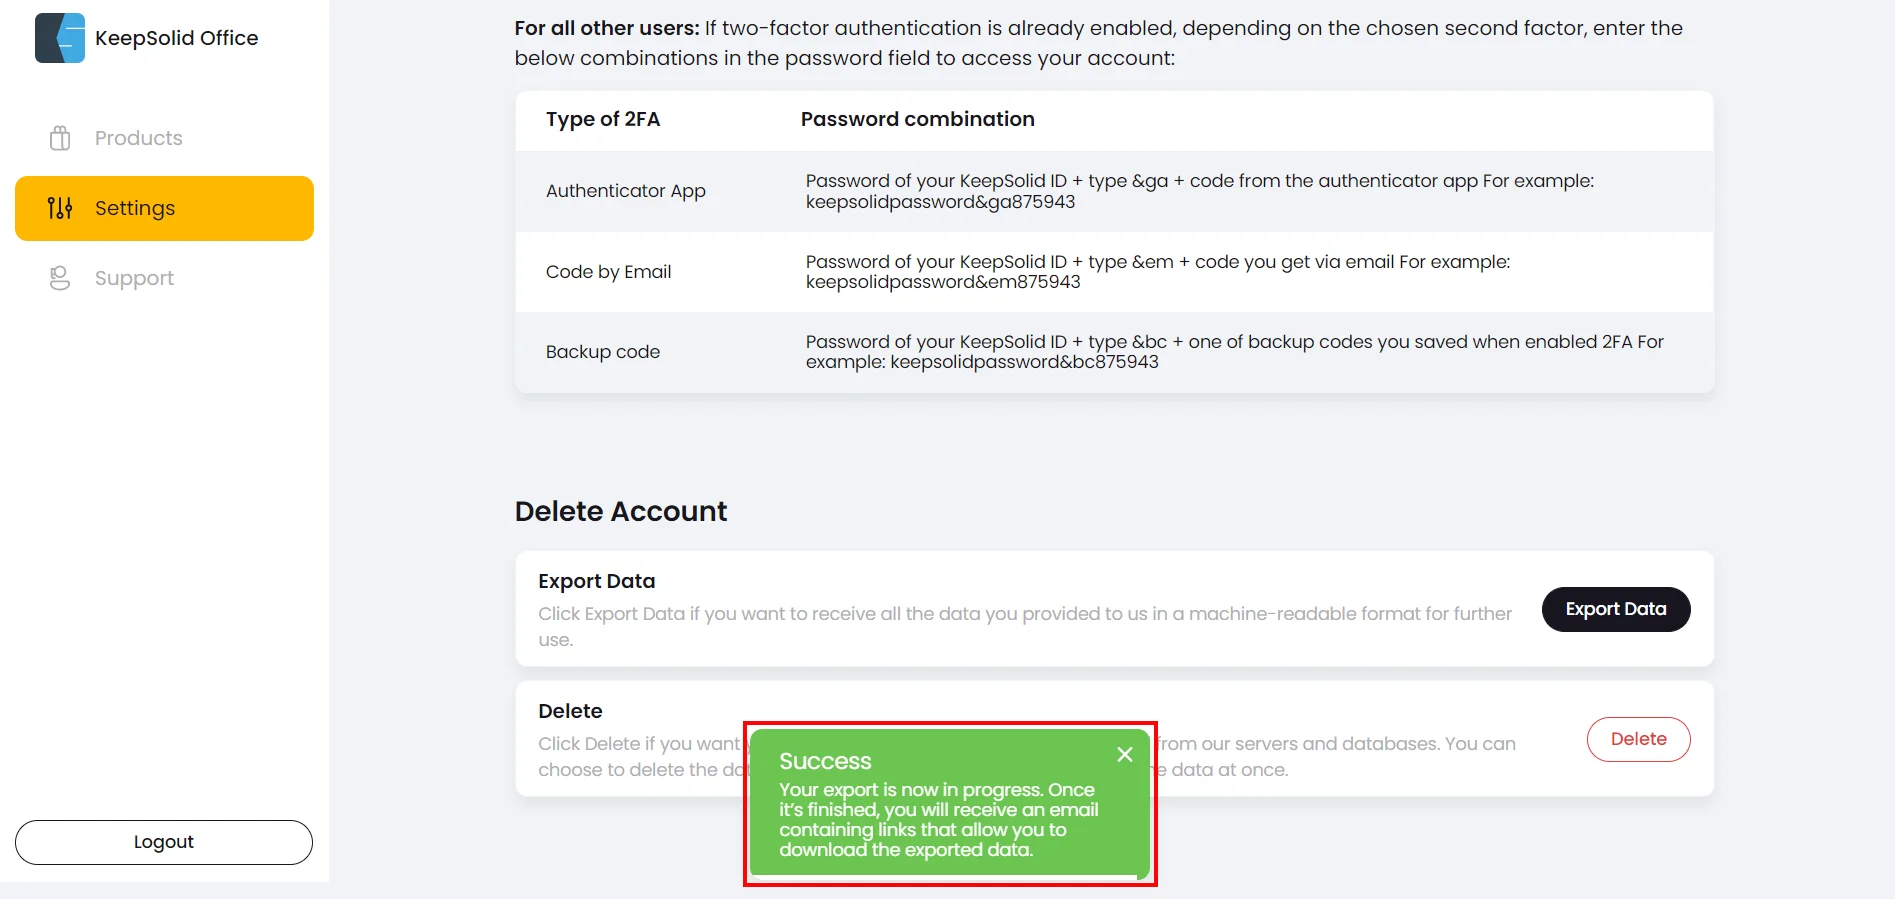
After all your data successfully exported, you will receive an email with the links to your information: data of your KeepSolid account and information related to the KeepSolid services you've used.
How to delete your personal data from the KeepSolid services?
1. Log in to your User Office.
2. Click your KeepSolid ID at the top right corner, and press Manage to enter the Profile Settings menu.
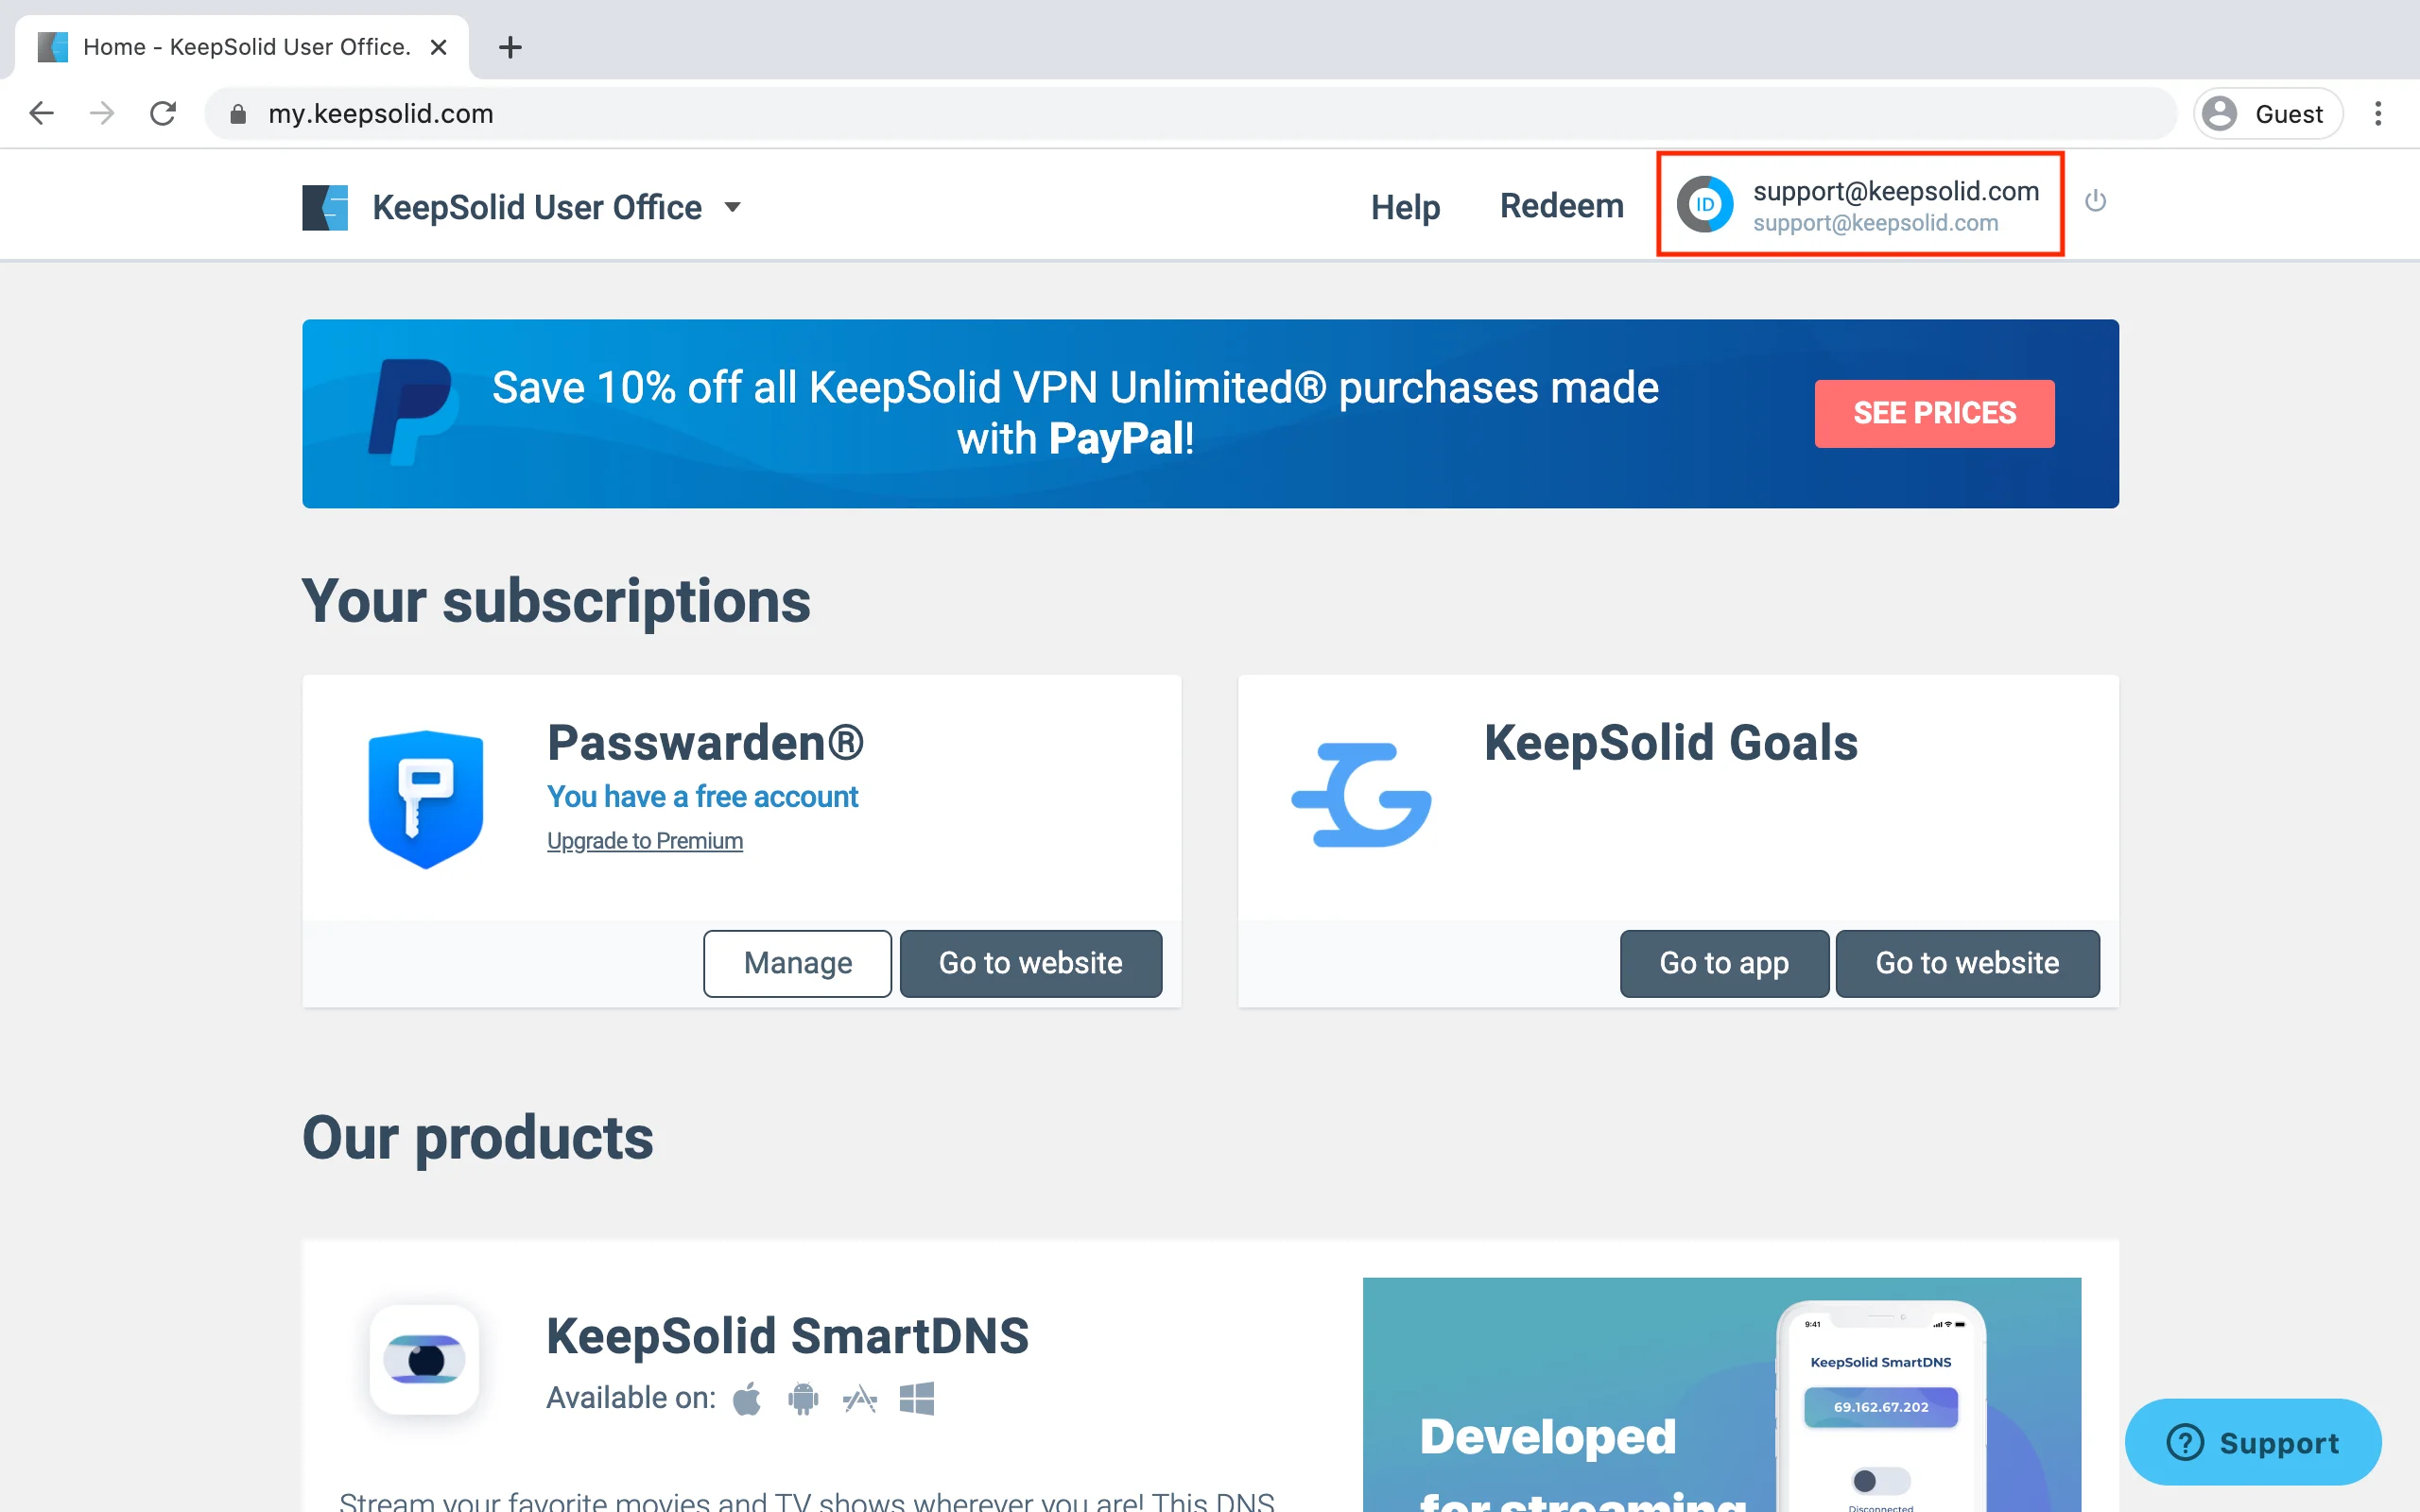

3. Scroll down to the Delete Account section and press Delete.
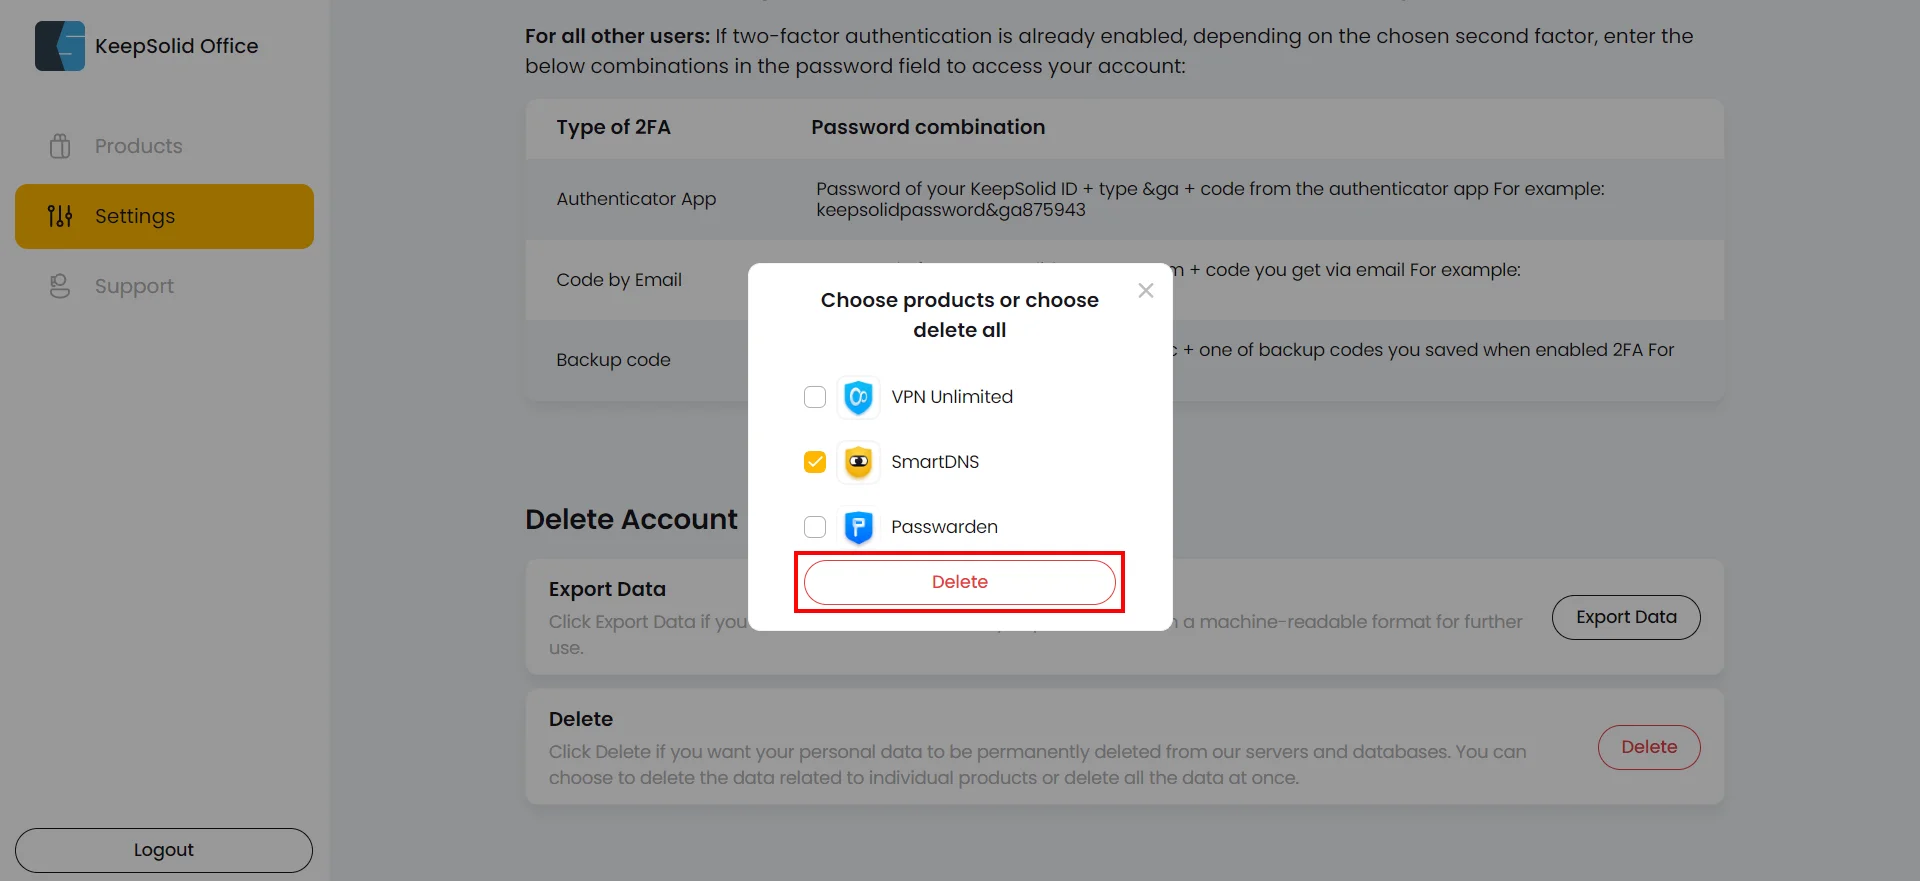
4. In the list of KeepSolid services you’ve used, choose the ones you want to delete your personal data from, and press Delete.
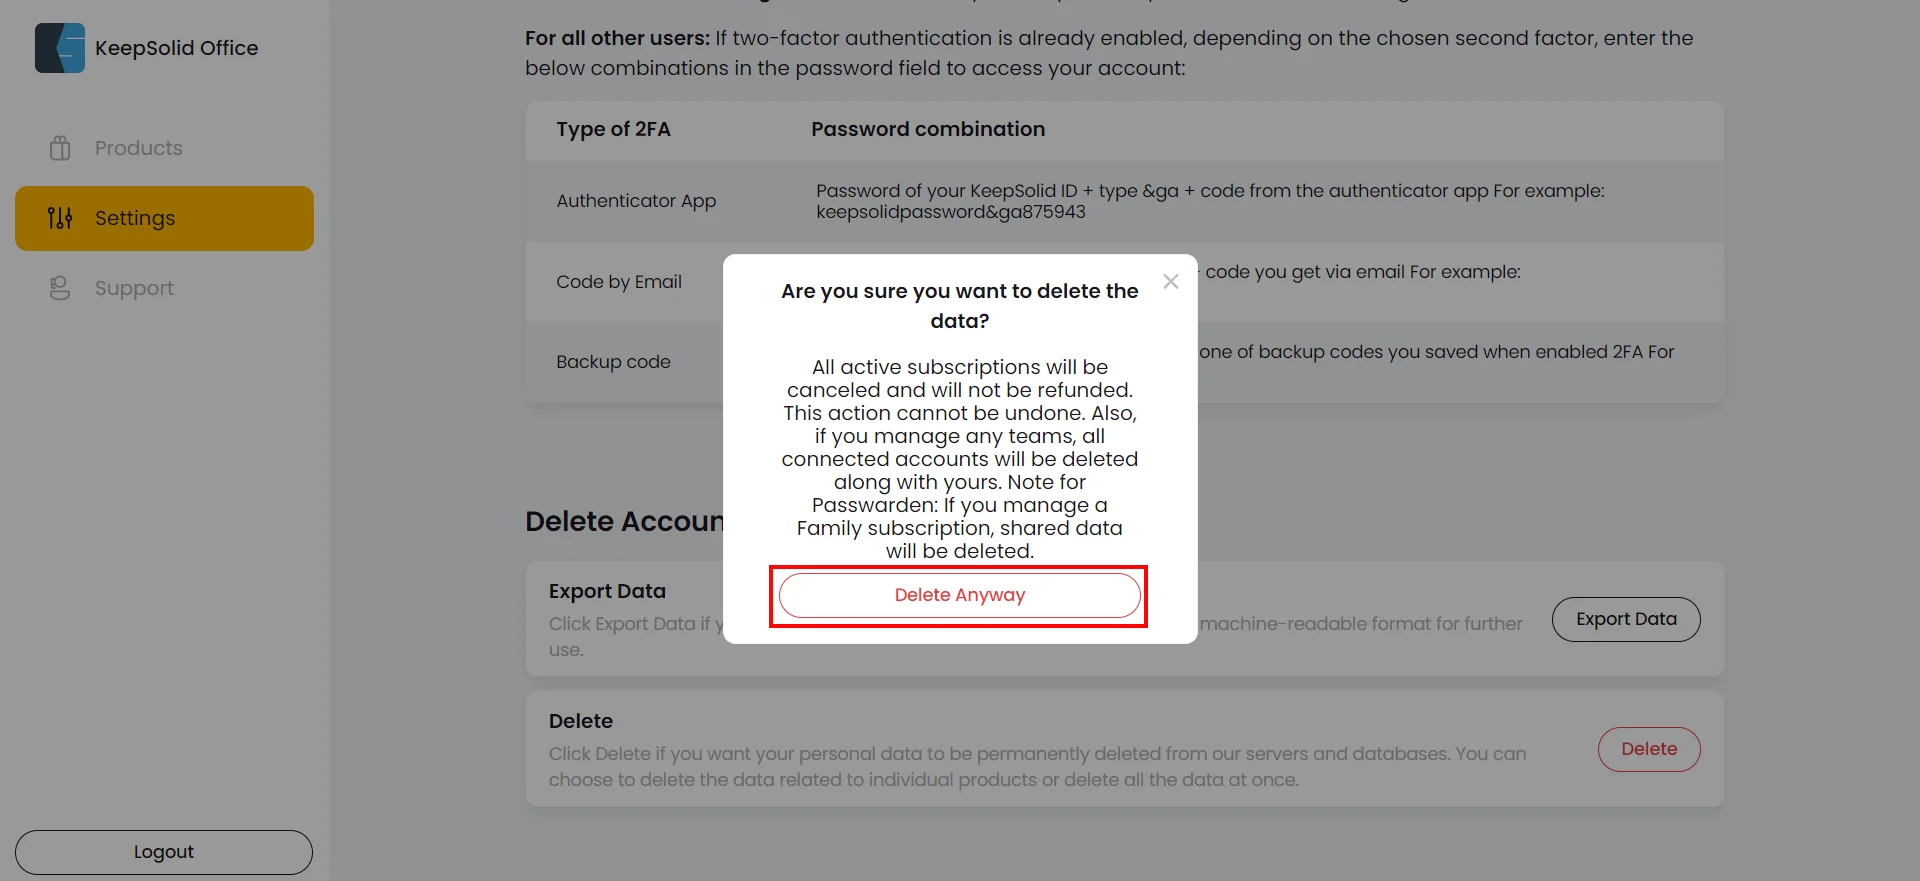
5. If you are sure you want to proceed with the deletion, press Delete anyway.
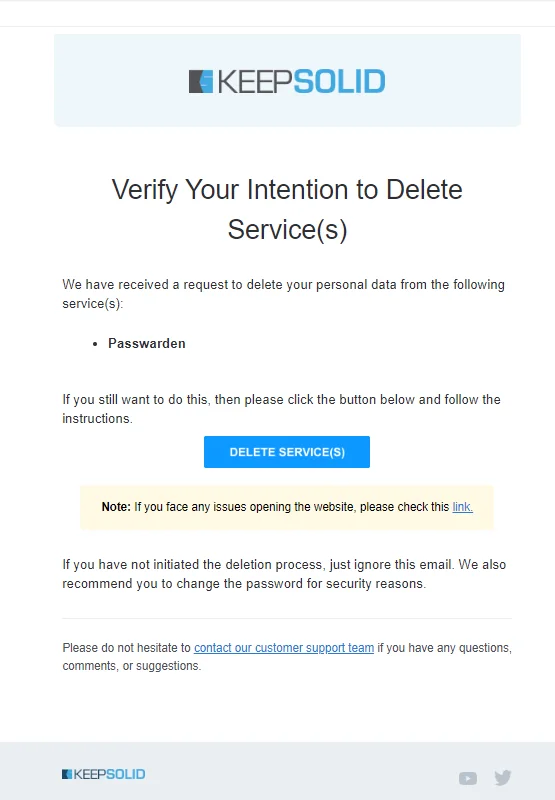
6. After that you will receive an email with a confirmation link to delete all your personal data from the selected services.
7. Press the Delete service(s) button in the email and your personal data will be erased from it. That’s it.
How to delete your KeepSolid account?
1. Log in to your User Office.
2. Click your KeepSolid ID at the top right corner, and press Manage to enter the Profile Settings menu.


3. Scroll down to the Delete Account section, and press Delete.
4. If you want to delete your KeepSolid account and all your personal data, press Delete All.
5. If you are sure you want to proceed with the deletion, press Delete anyway.
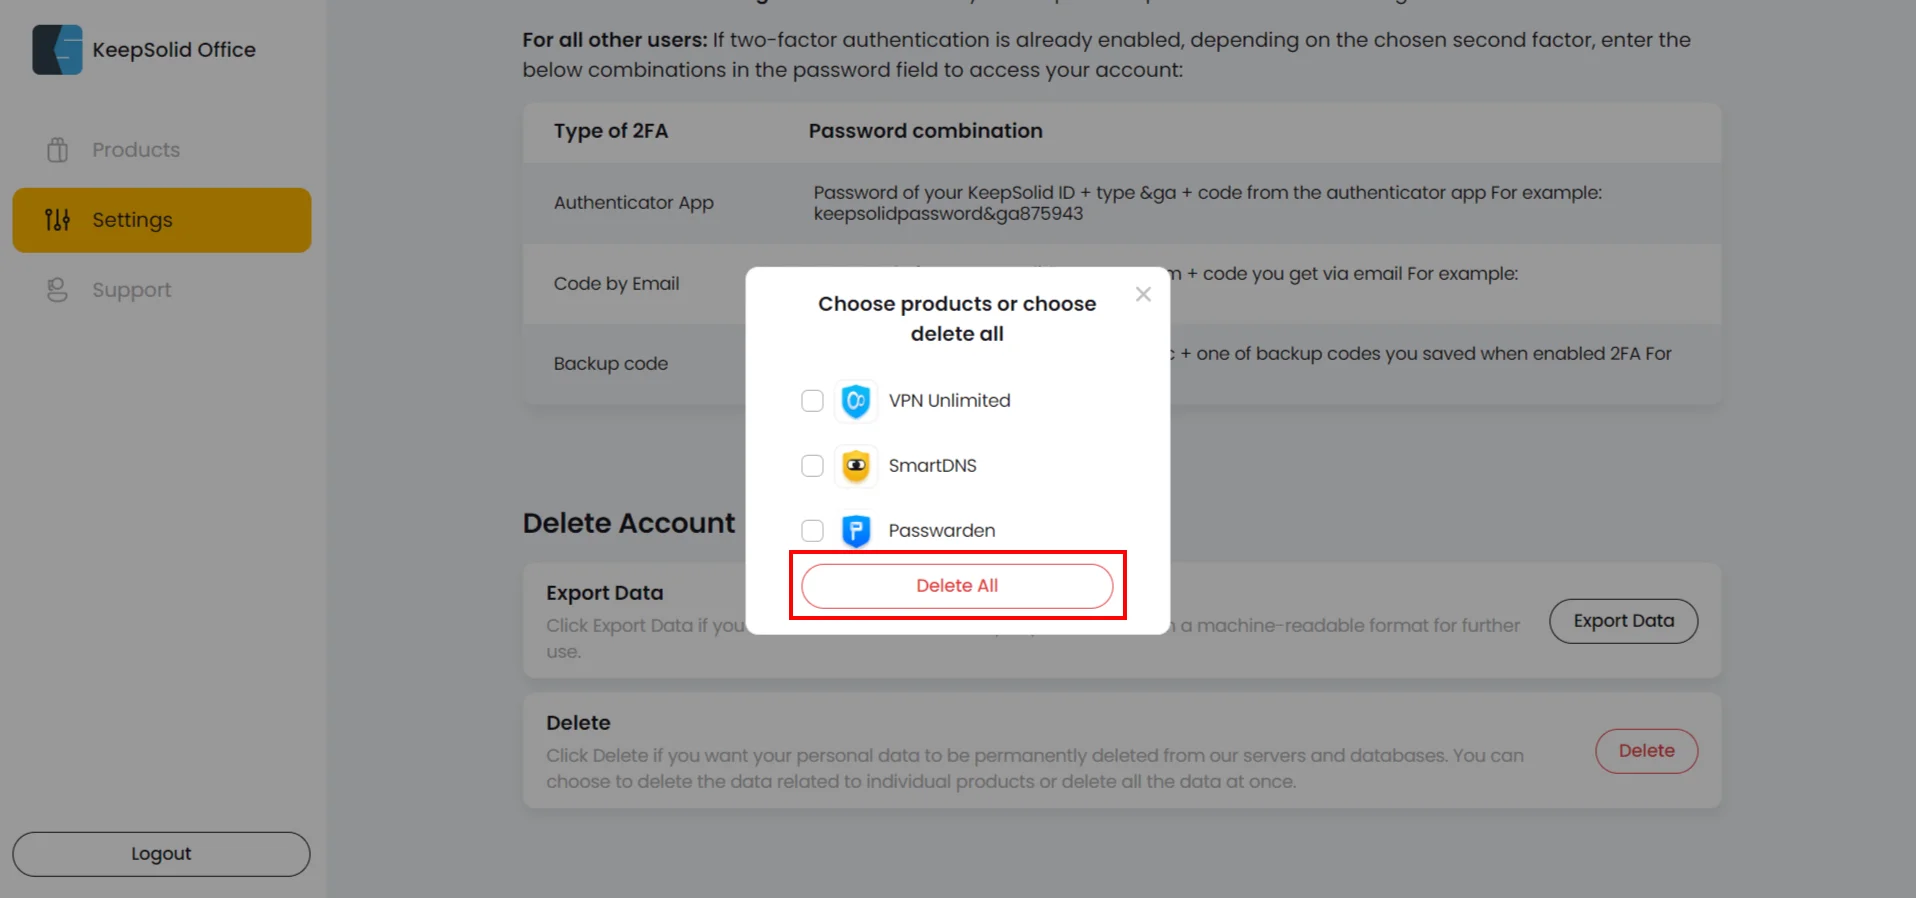

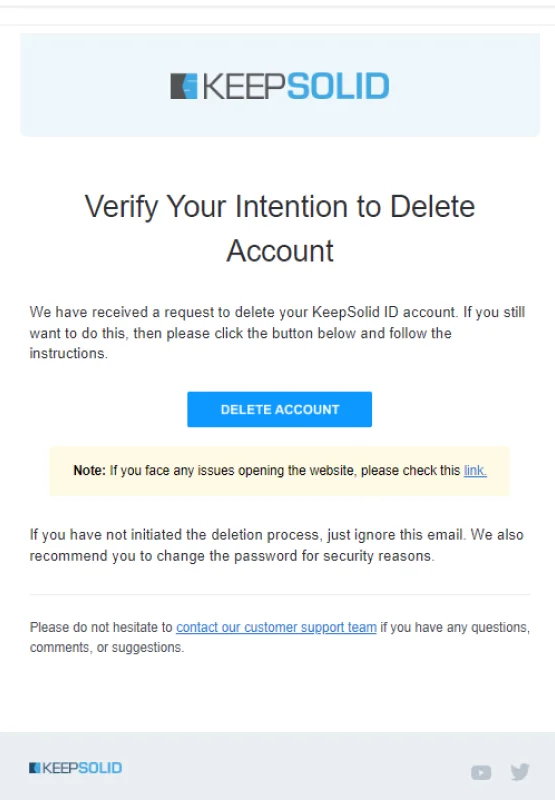
6. After that you will receive an email with a confirmation link to delete your account.
7. Press the Delete account button in the email and your account will be erased from the database. That’s it.
Note: All your purchases (if you have any) will become non-refundable after the data deletion.
Also, in case you create shared Vaults, they will be deleted for all users you shared these Vaults with.
That’s all about it! We hope this guide was helpful and showed you how flexible your account management possibilities are!
If you have any questions, comments, or suggestions, related to our secure password manager, feel free to contact our customer support team via support@keepsolid.com.
Explore all the benefits you can get with Passwarden
Keep your passwords and other valuable information safe from the prying eye of cybercriminals, hackers, and other third parties!