很不幸,此页面的内容目前无法使用所选语言。
How to use Passwarden browser Autofill
This comprehensive manual contains detailed instructions that will help you to enable and use the Passwarden browser Autofill feature with no hassle. Learn how to turn on Autofill in Chrome. Check how you can easily use Autofill in Microsoft Edge and figure out what is the most secure way to autofill forms in Firefox browser.
Note: The Autofill feature is enabled by default. You can't turn it off or disable in any way.
How to use Passwarden Autofill in Chrome browser?
1. Navigate to any website and set focus on the Login field. The Passwarden icon and list of all relevant credentials appear.
Note: Make sure that your Passwarden profile is unlocked. Otherwise, the Autofill feature won’t work.
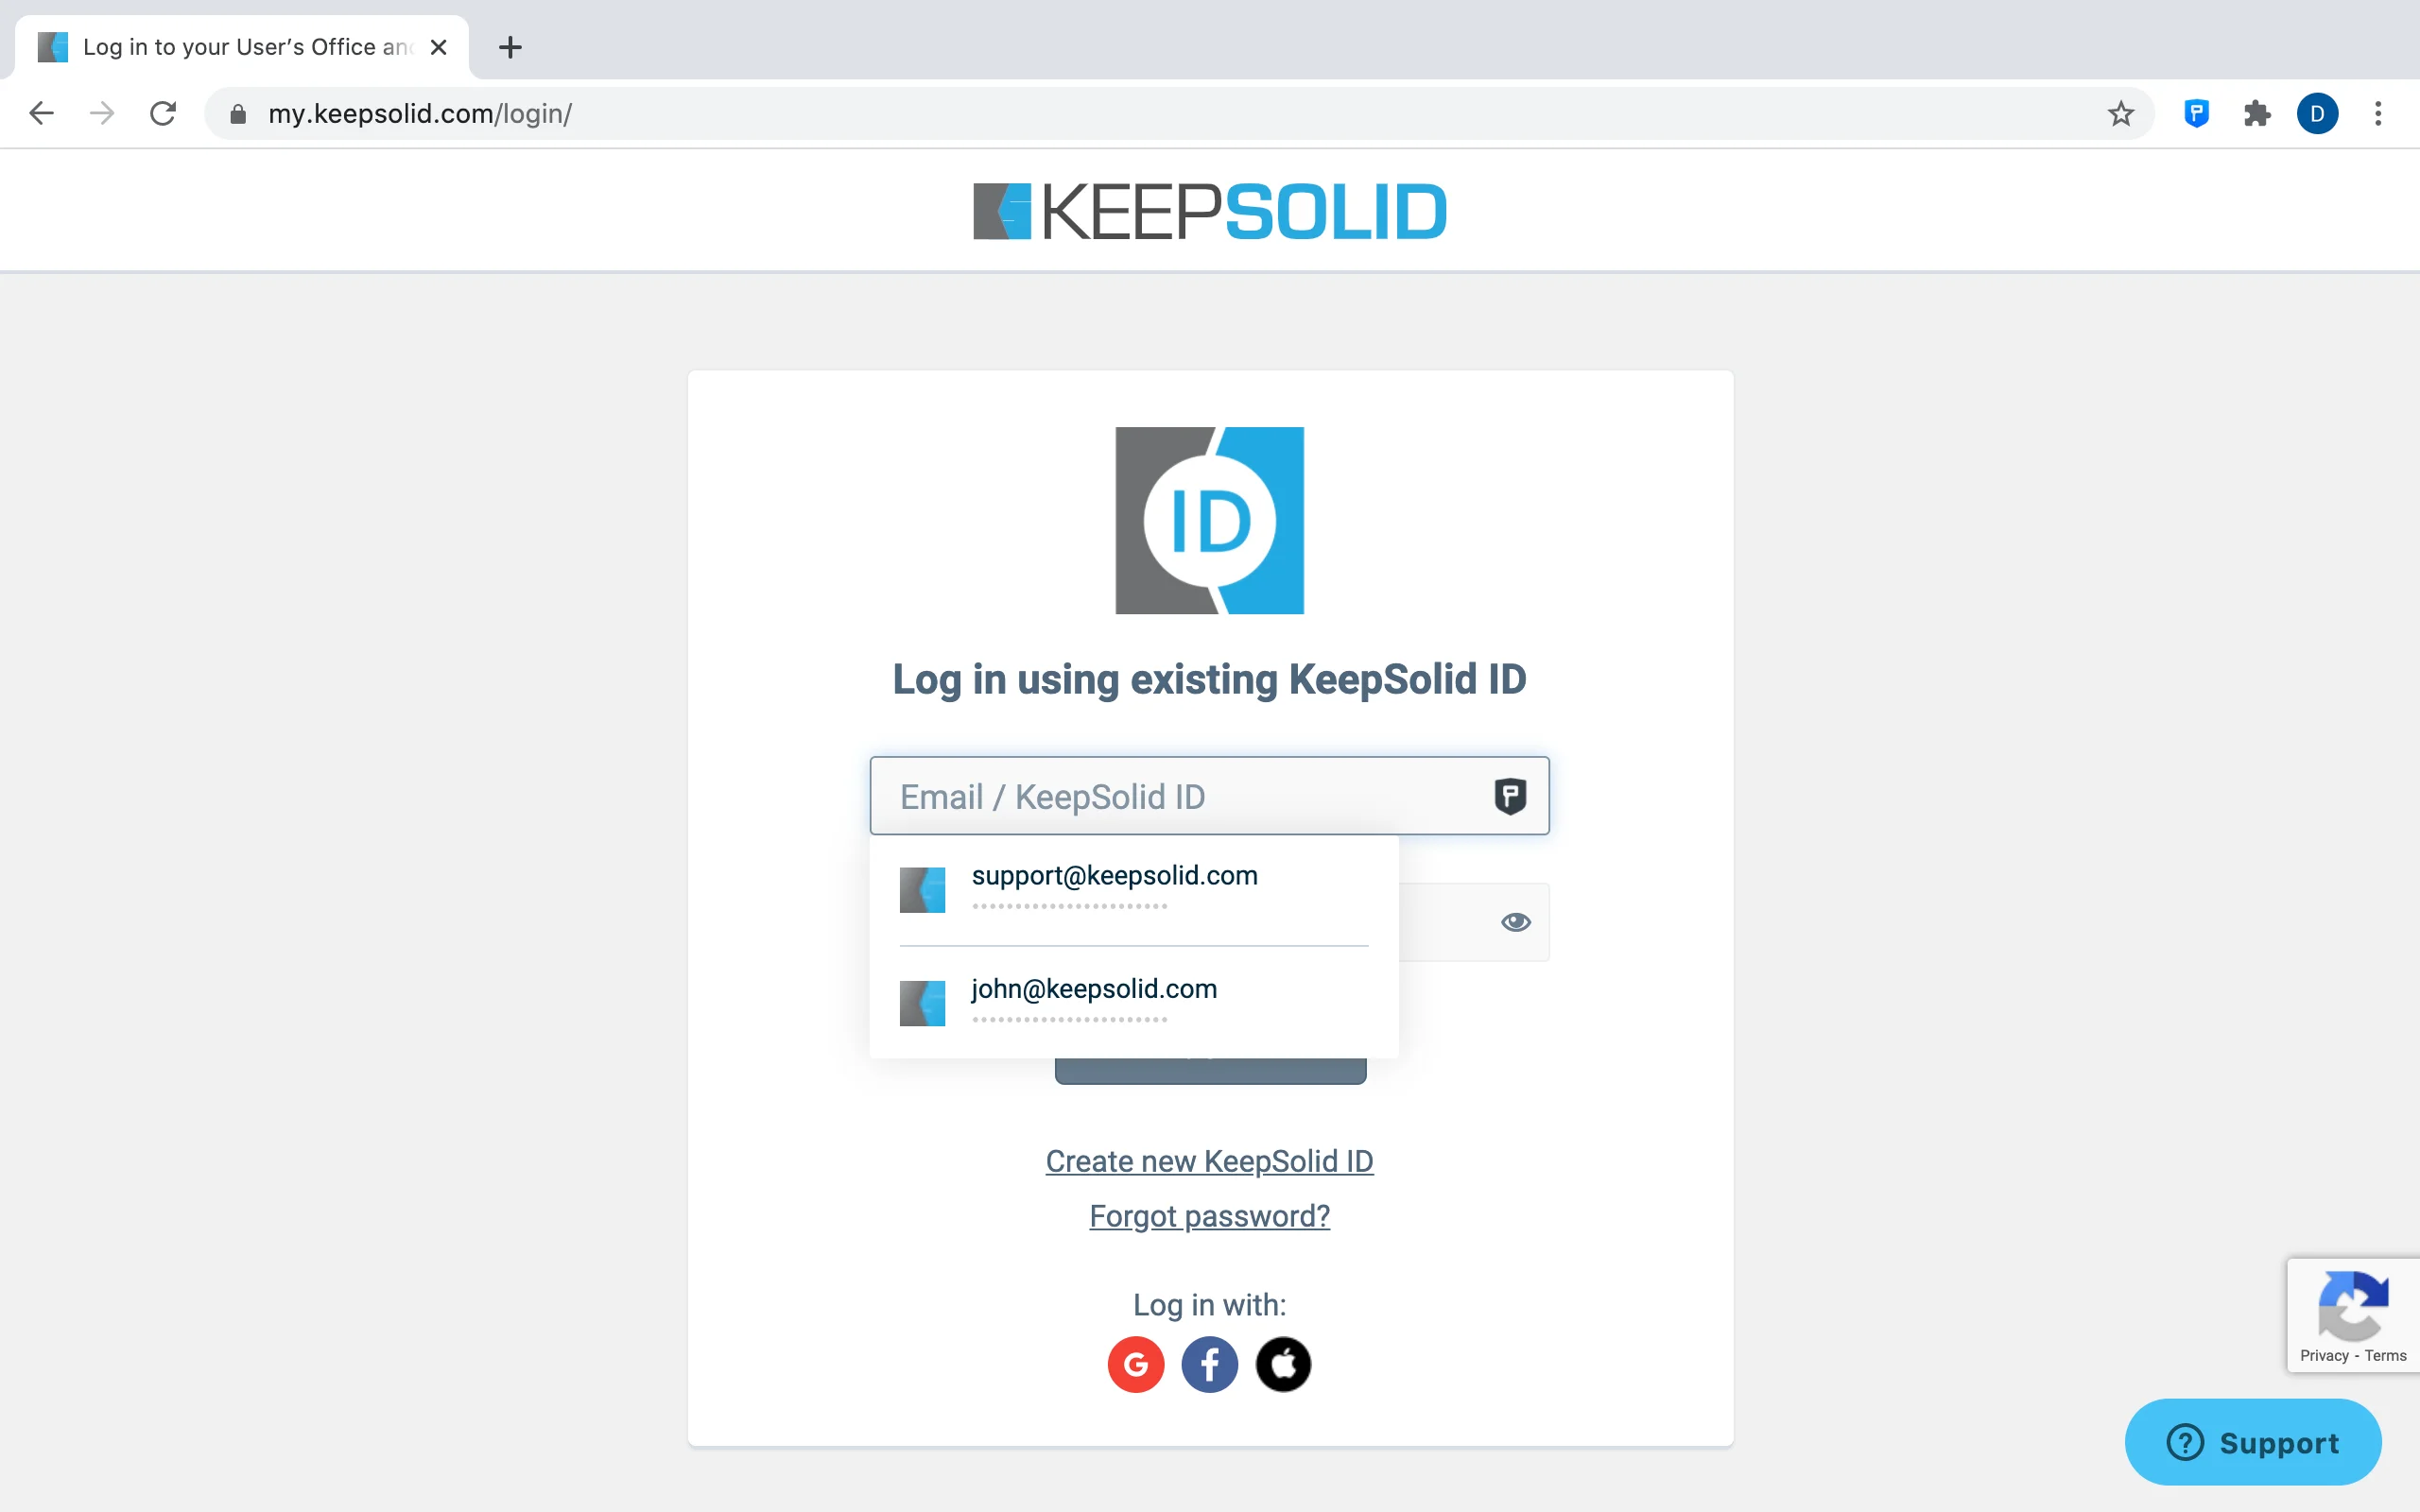
2. Select the appropriate item from the displayed list.
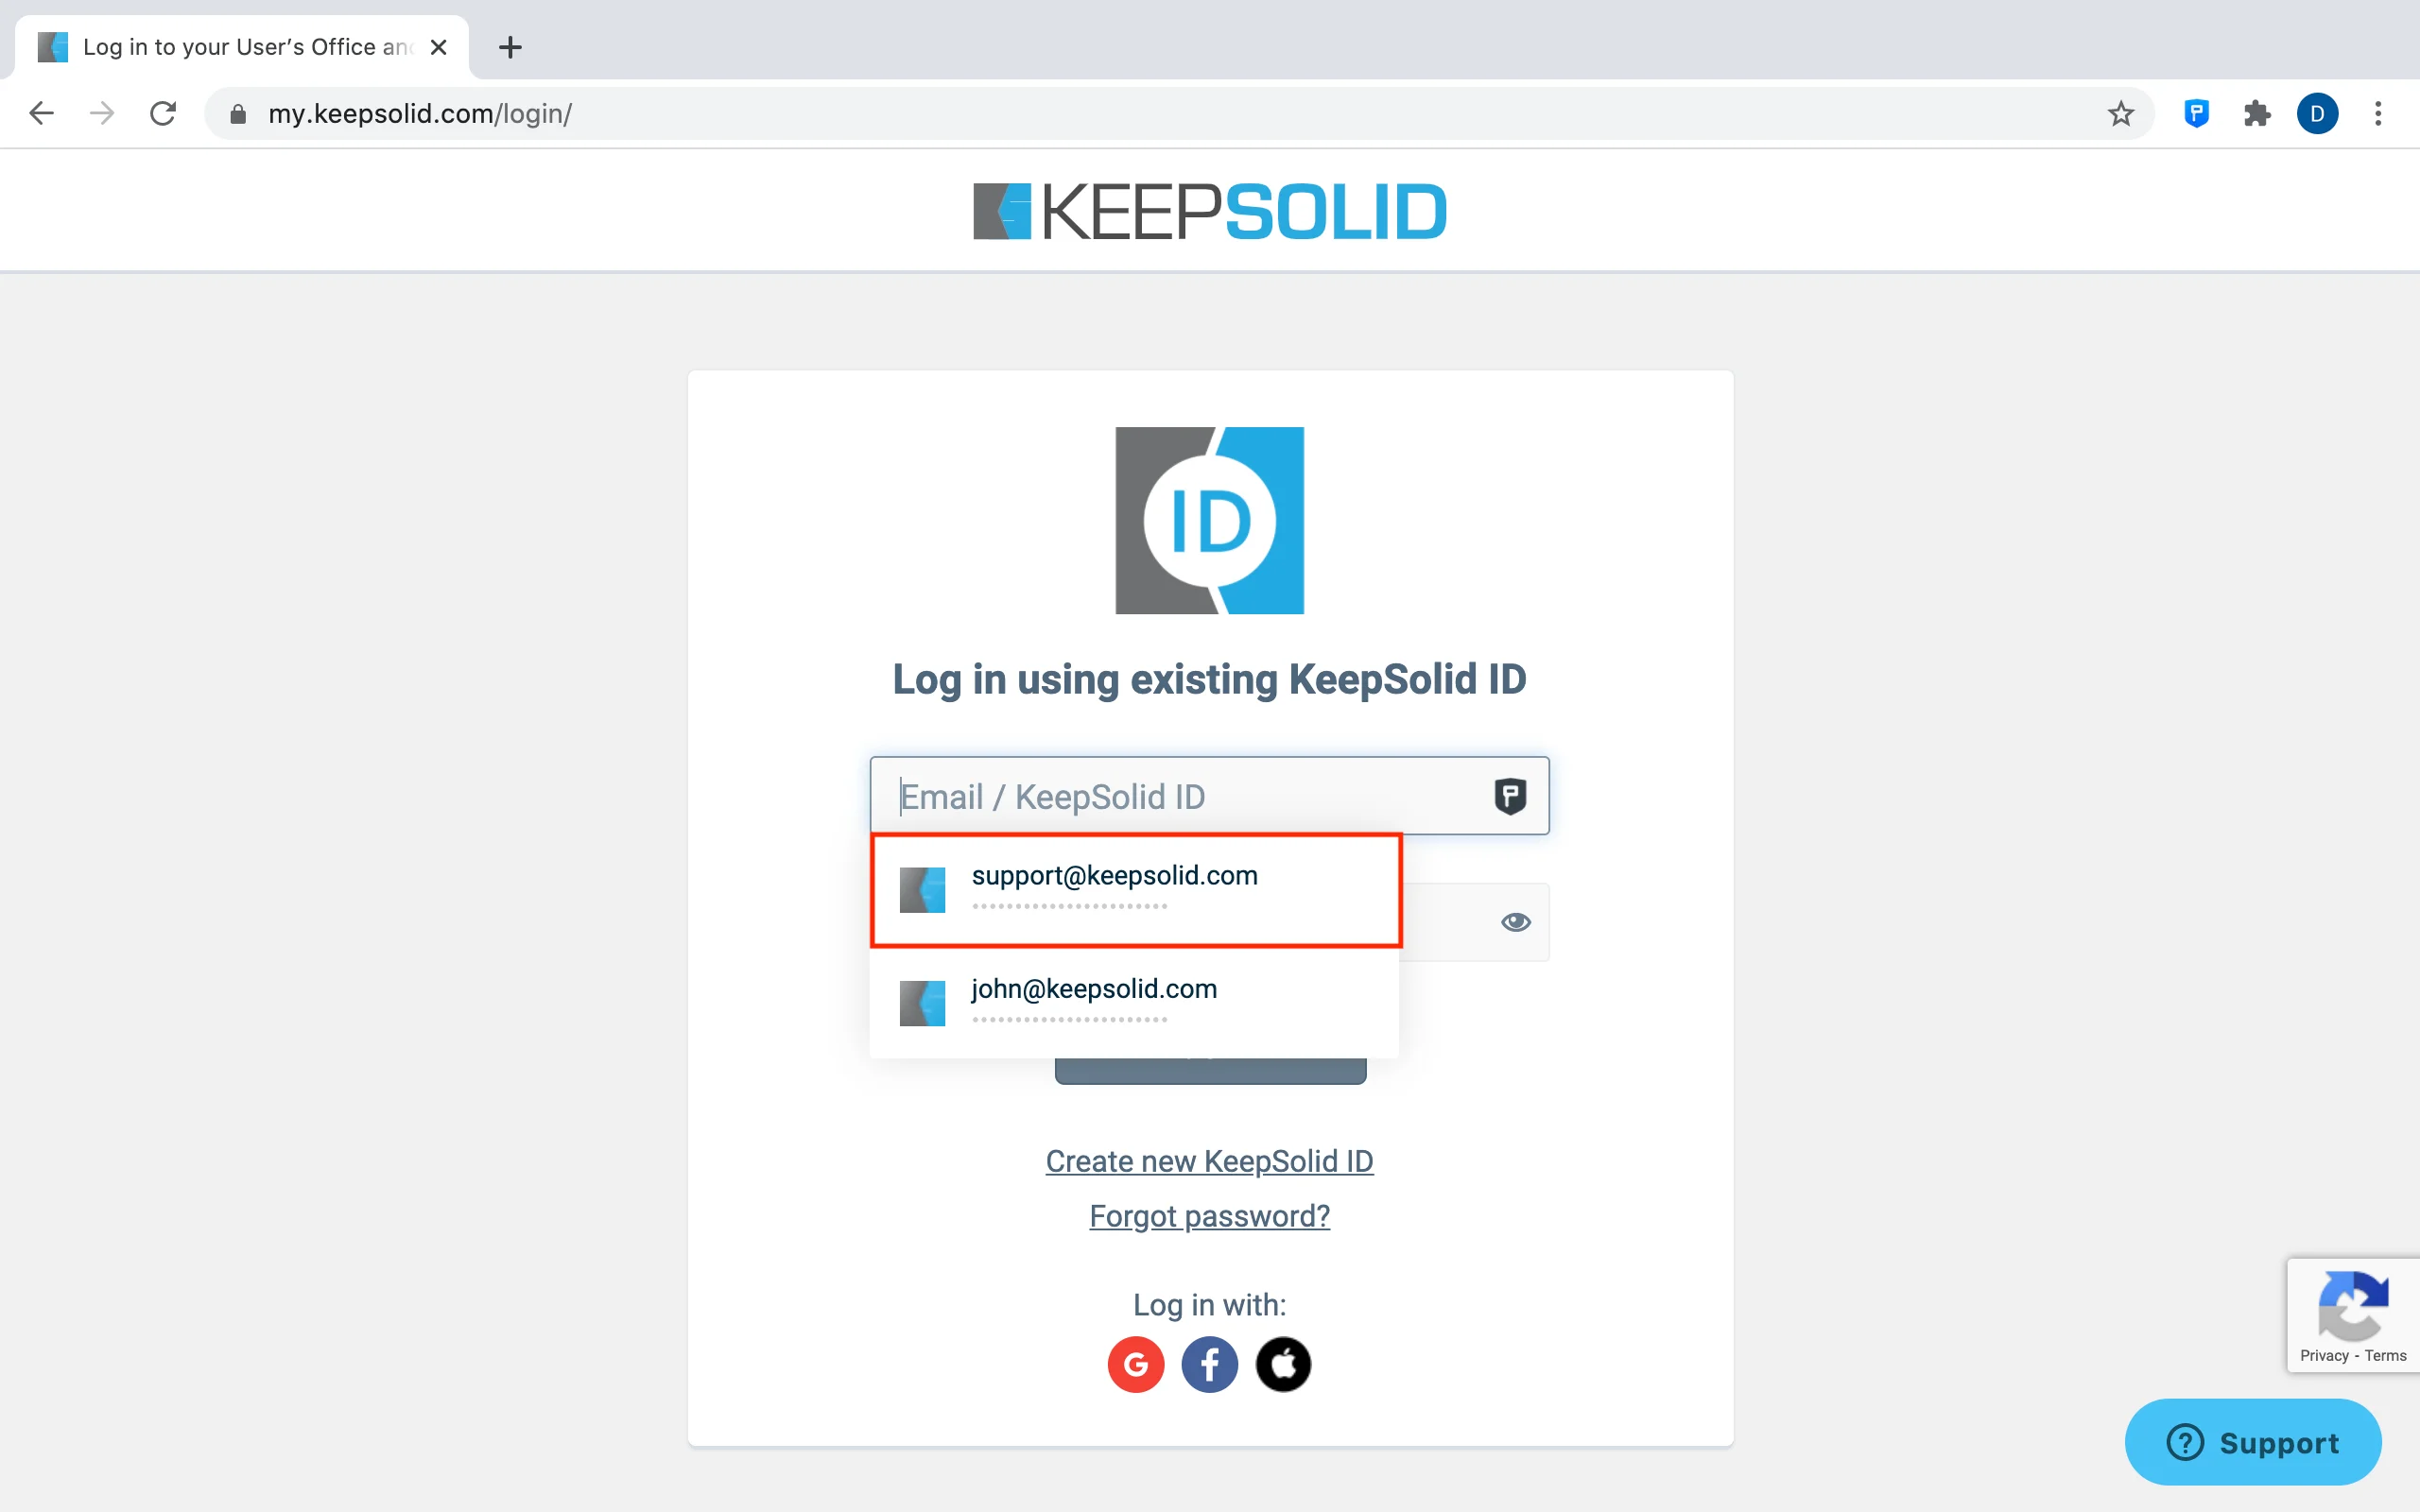
3. Great! Once your credentials are filled out, complete the sign-in process.
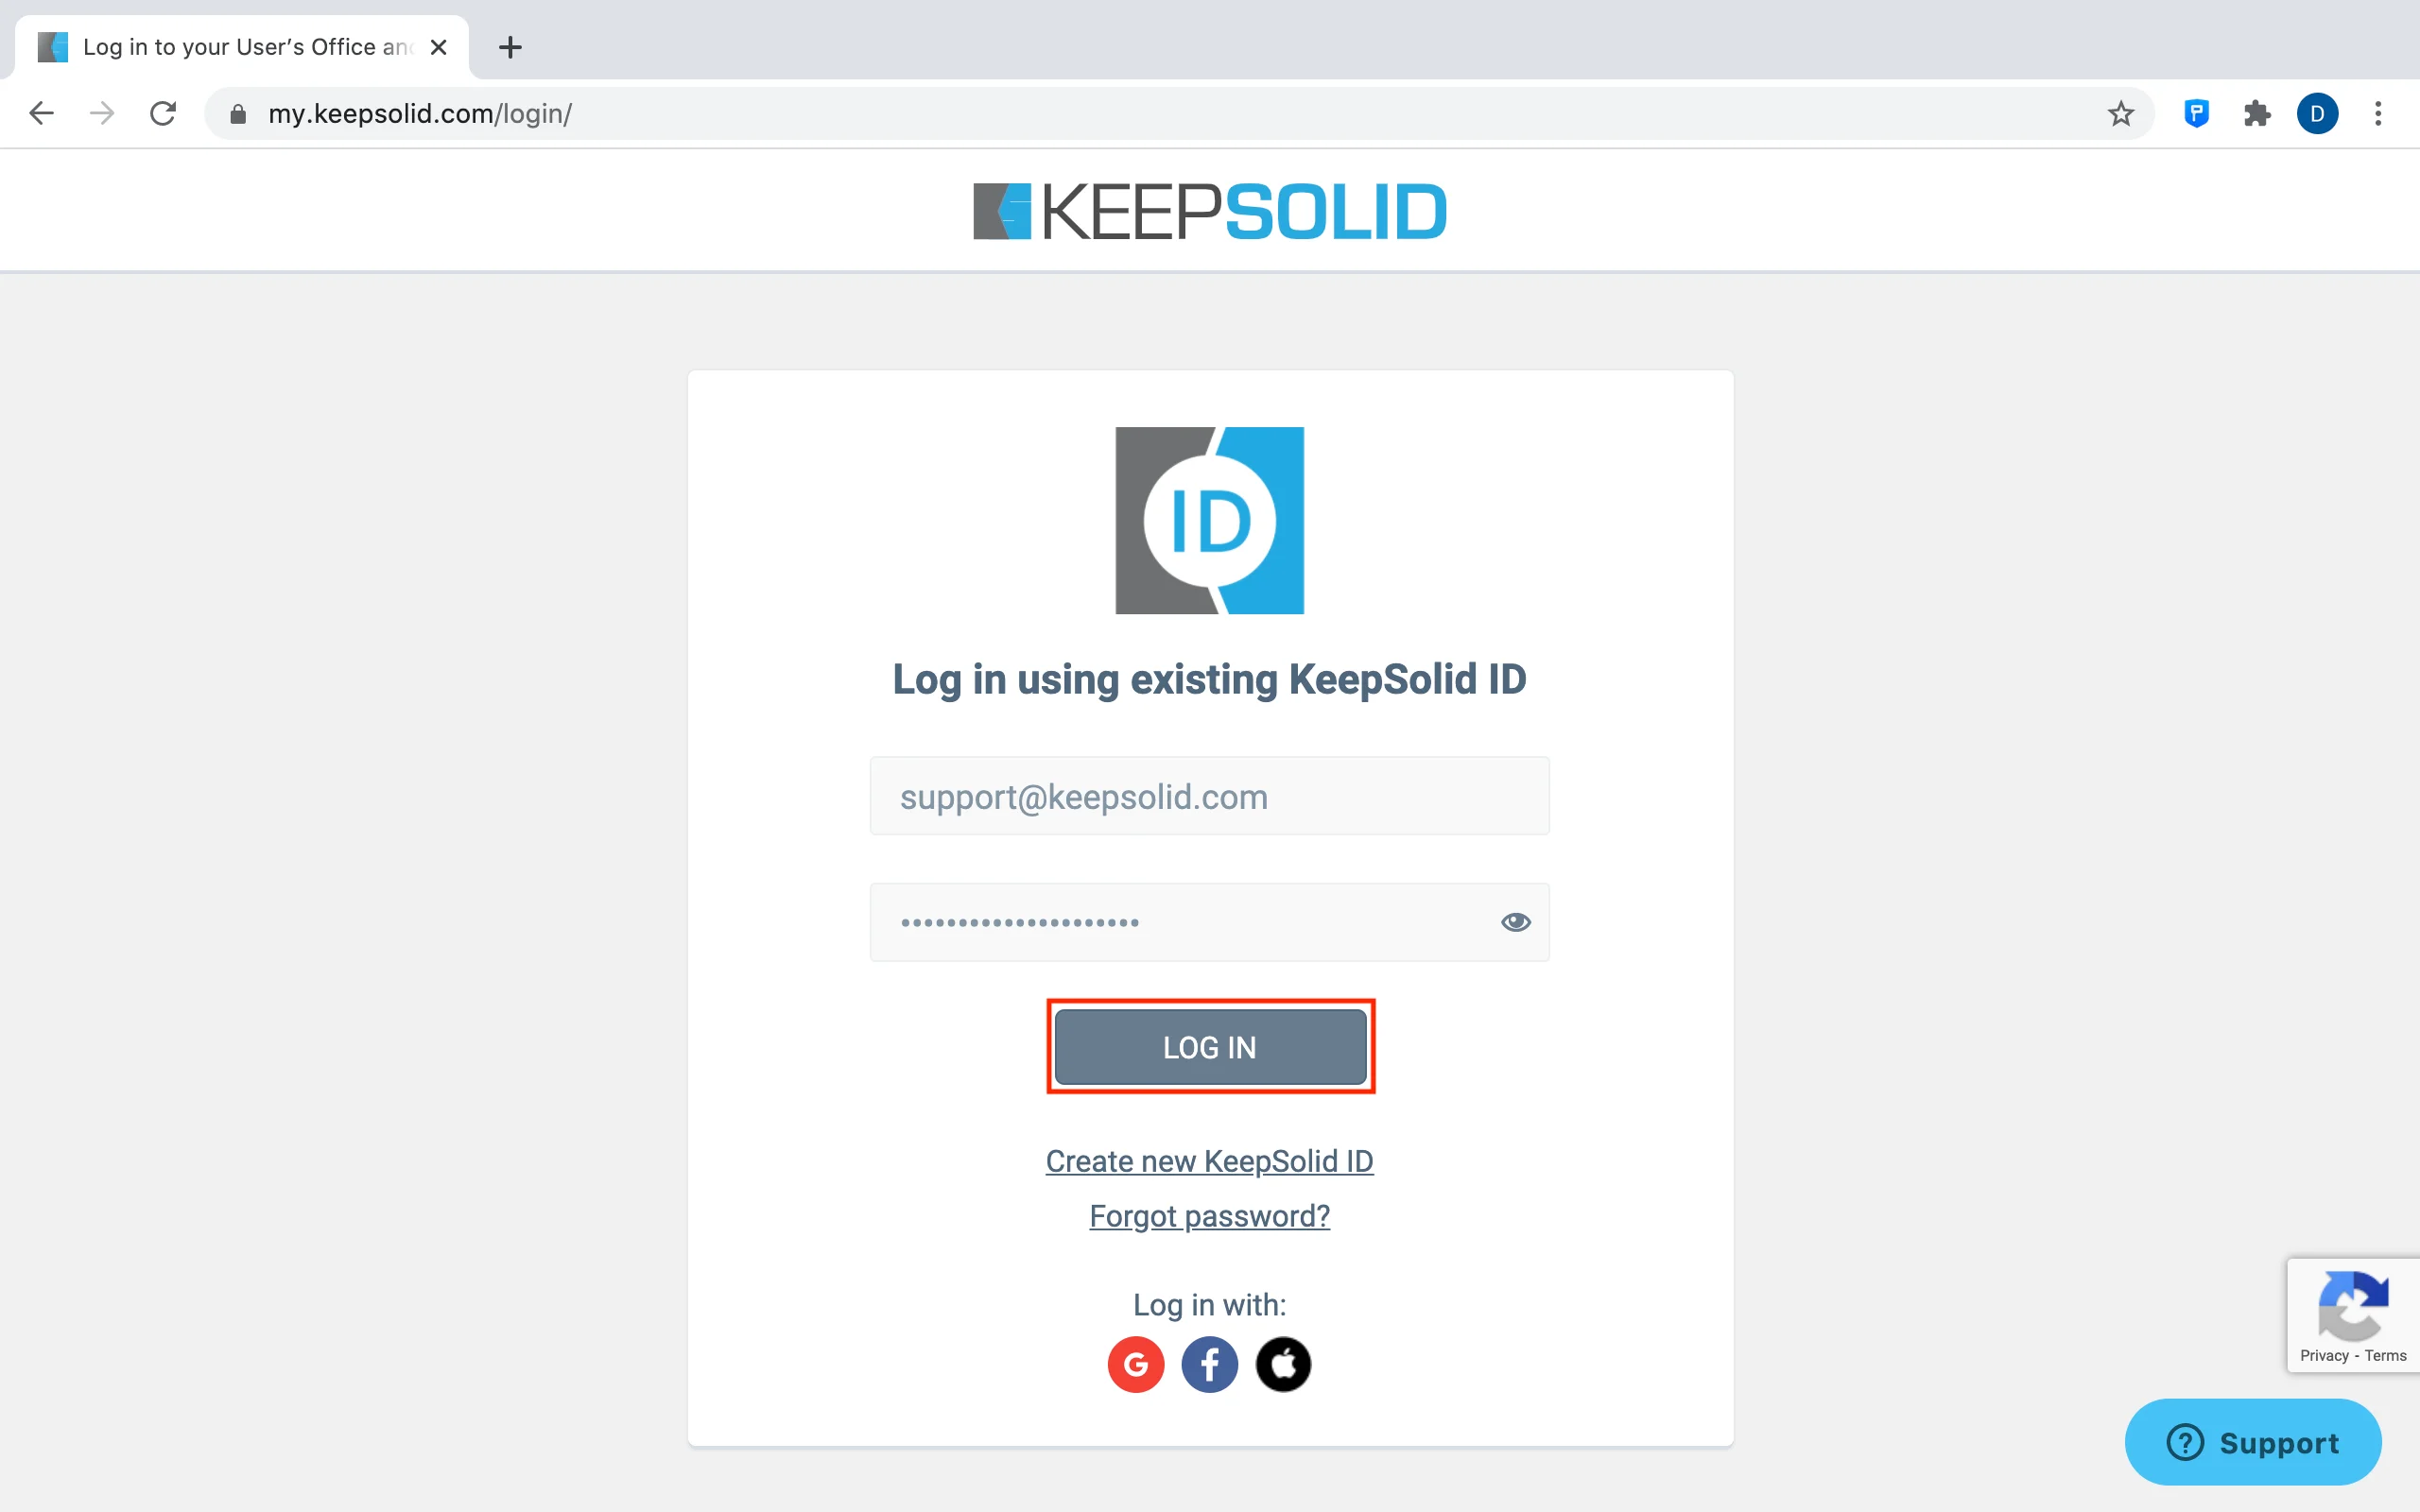
How to save passwords using our reliable autofill extension for Chrome?
1. Go to any website, for example, open Facebook, and complete your sign-in process as usual.
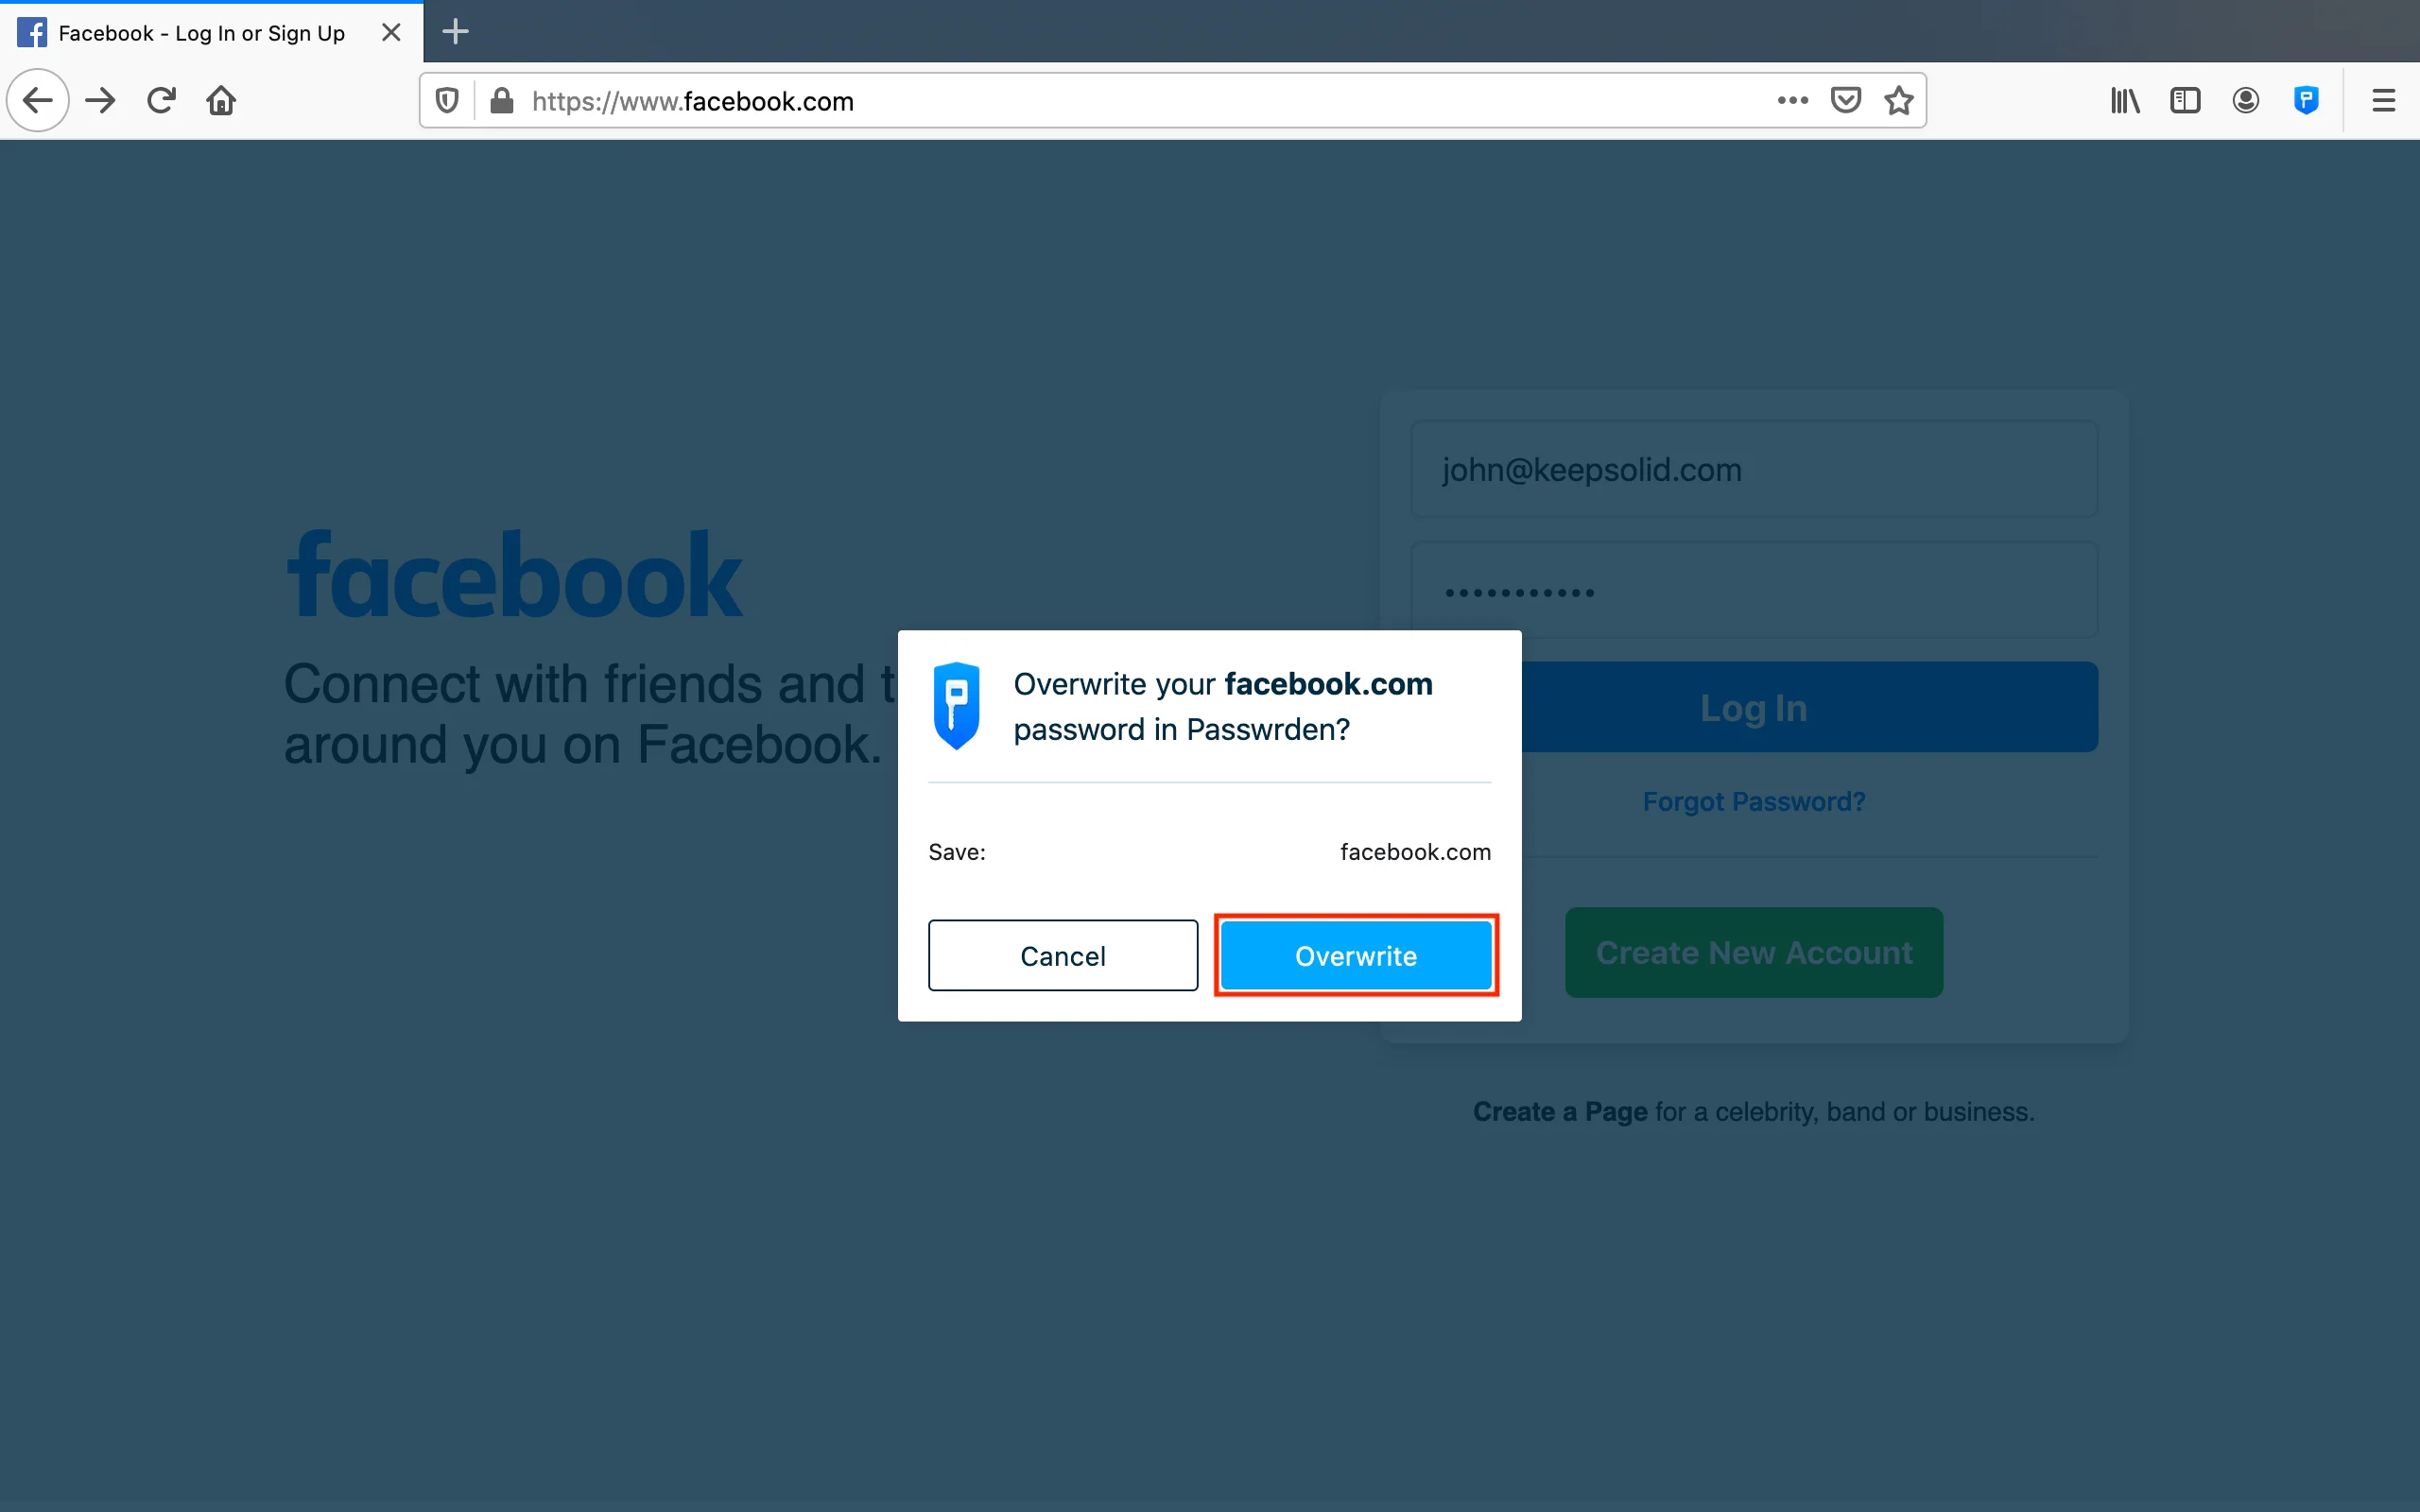
2.1. If you already have an item associated with this website, the following window appears. To update this item, press Overwrite.
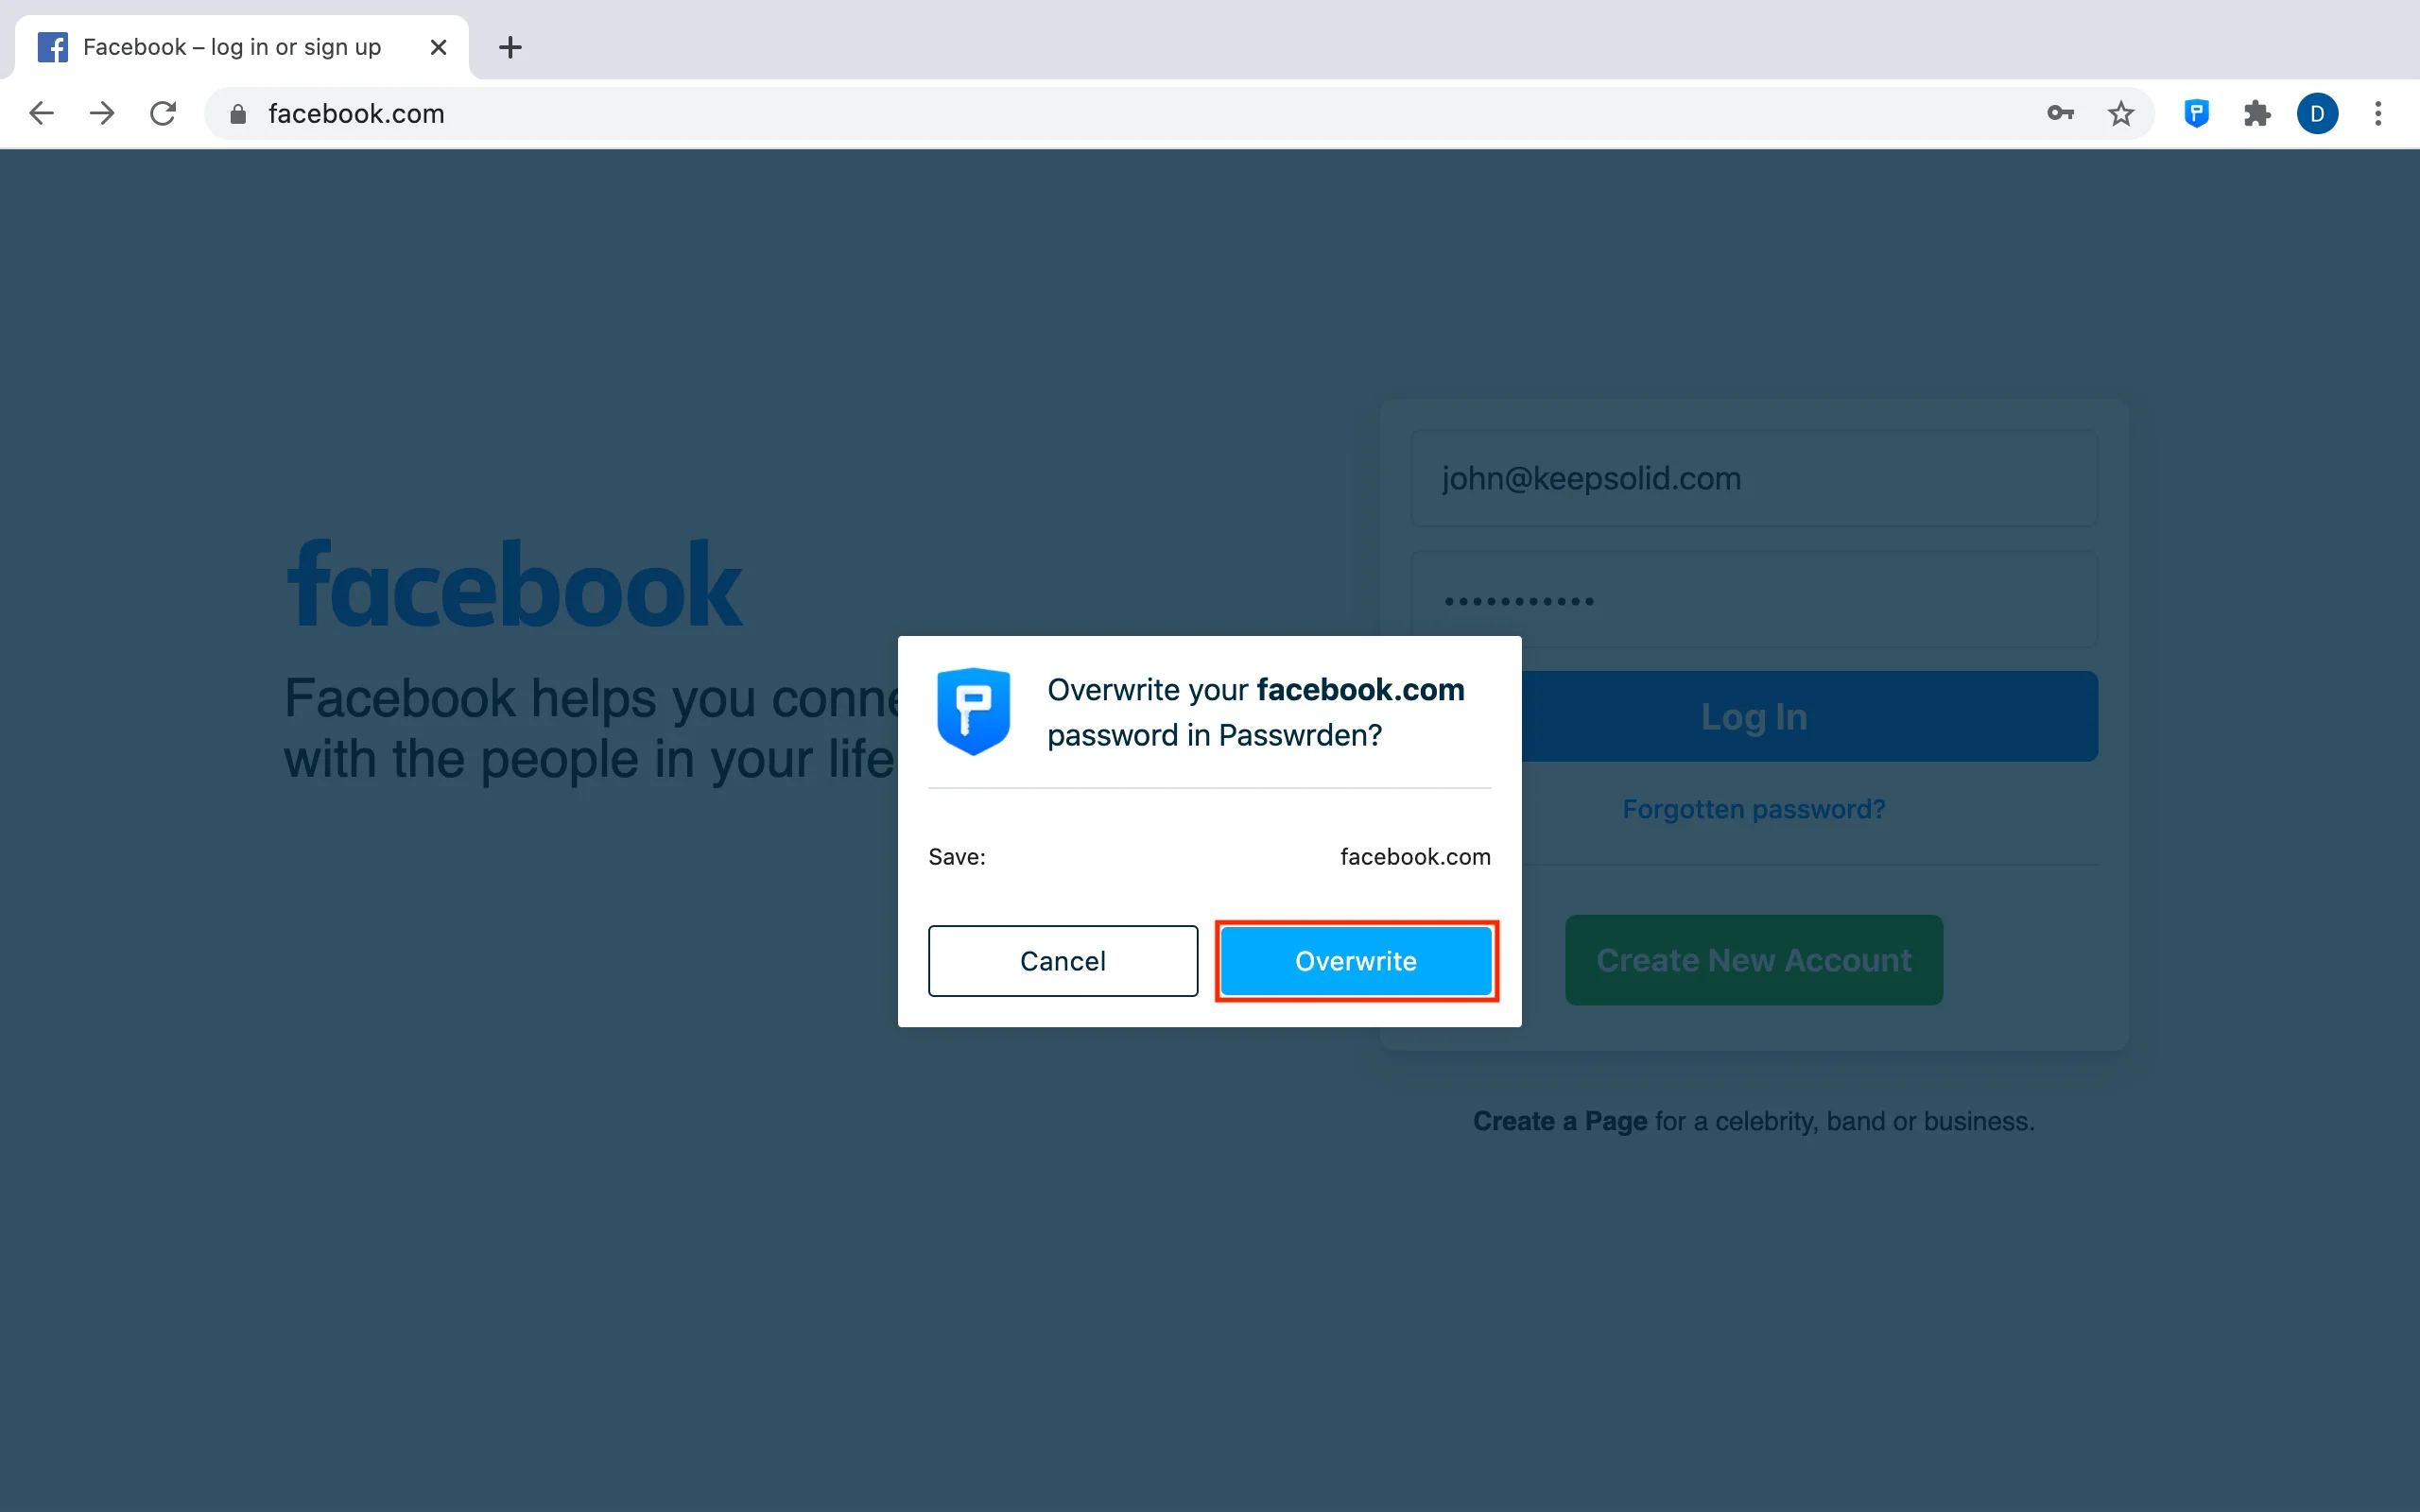
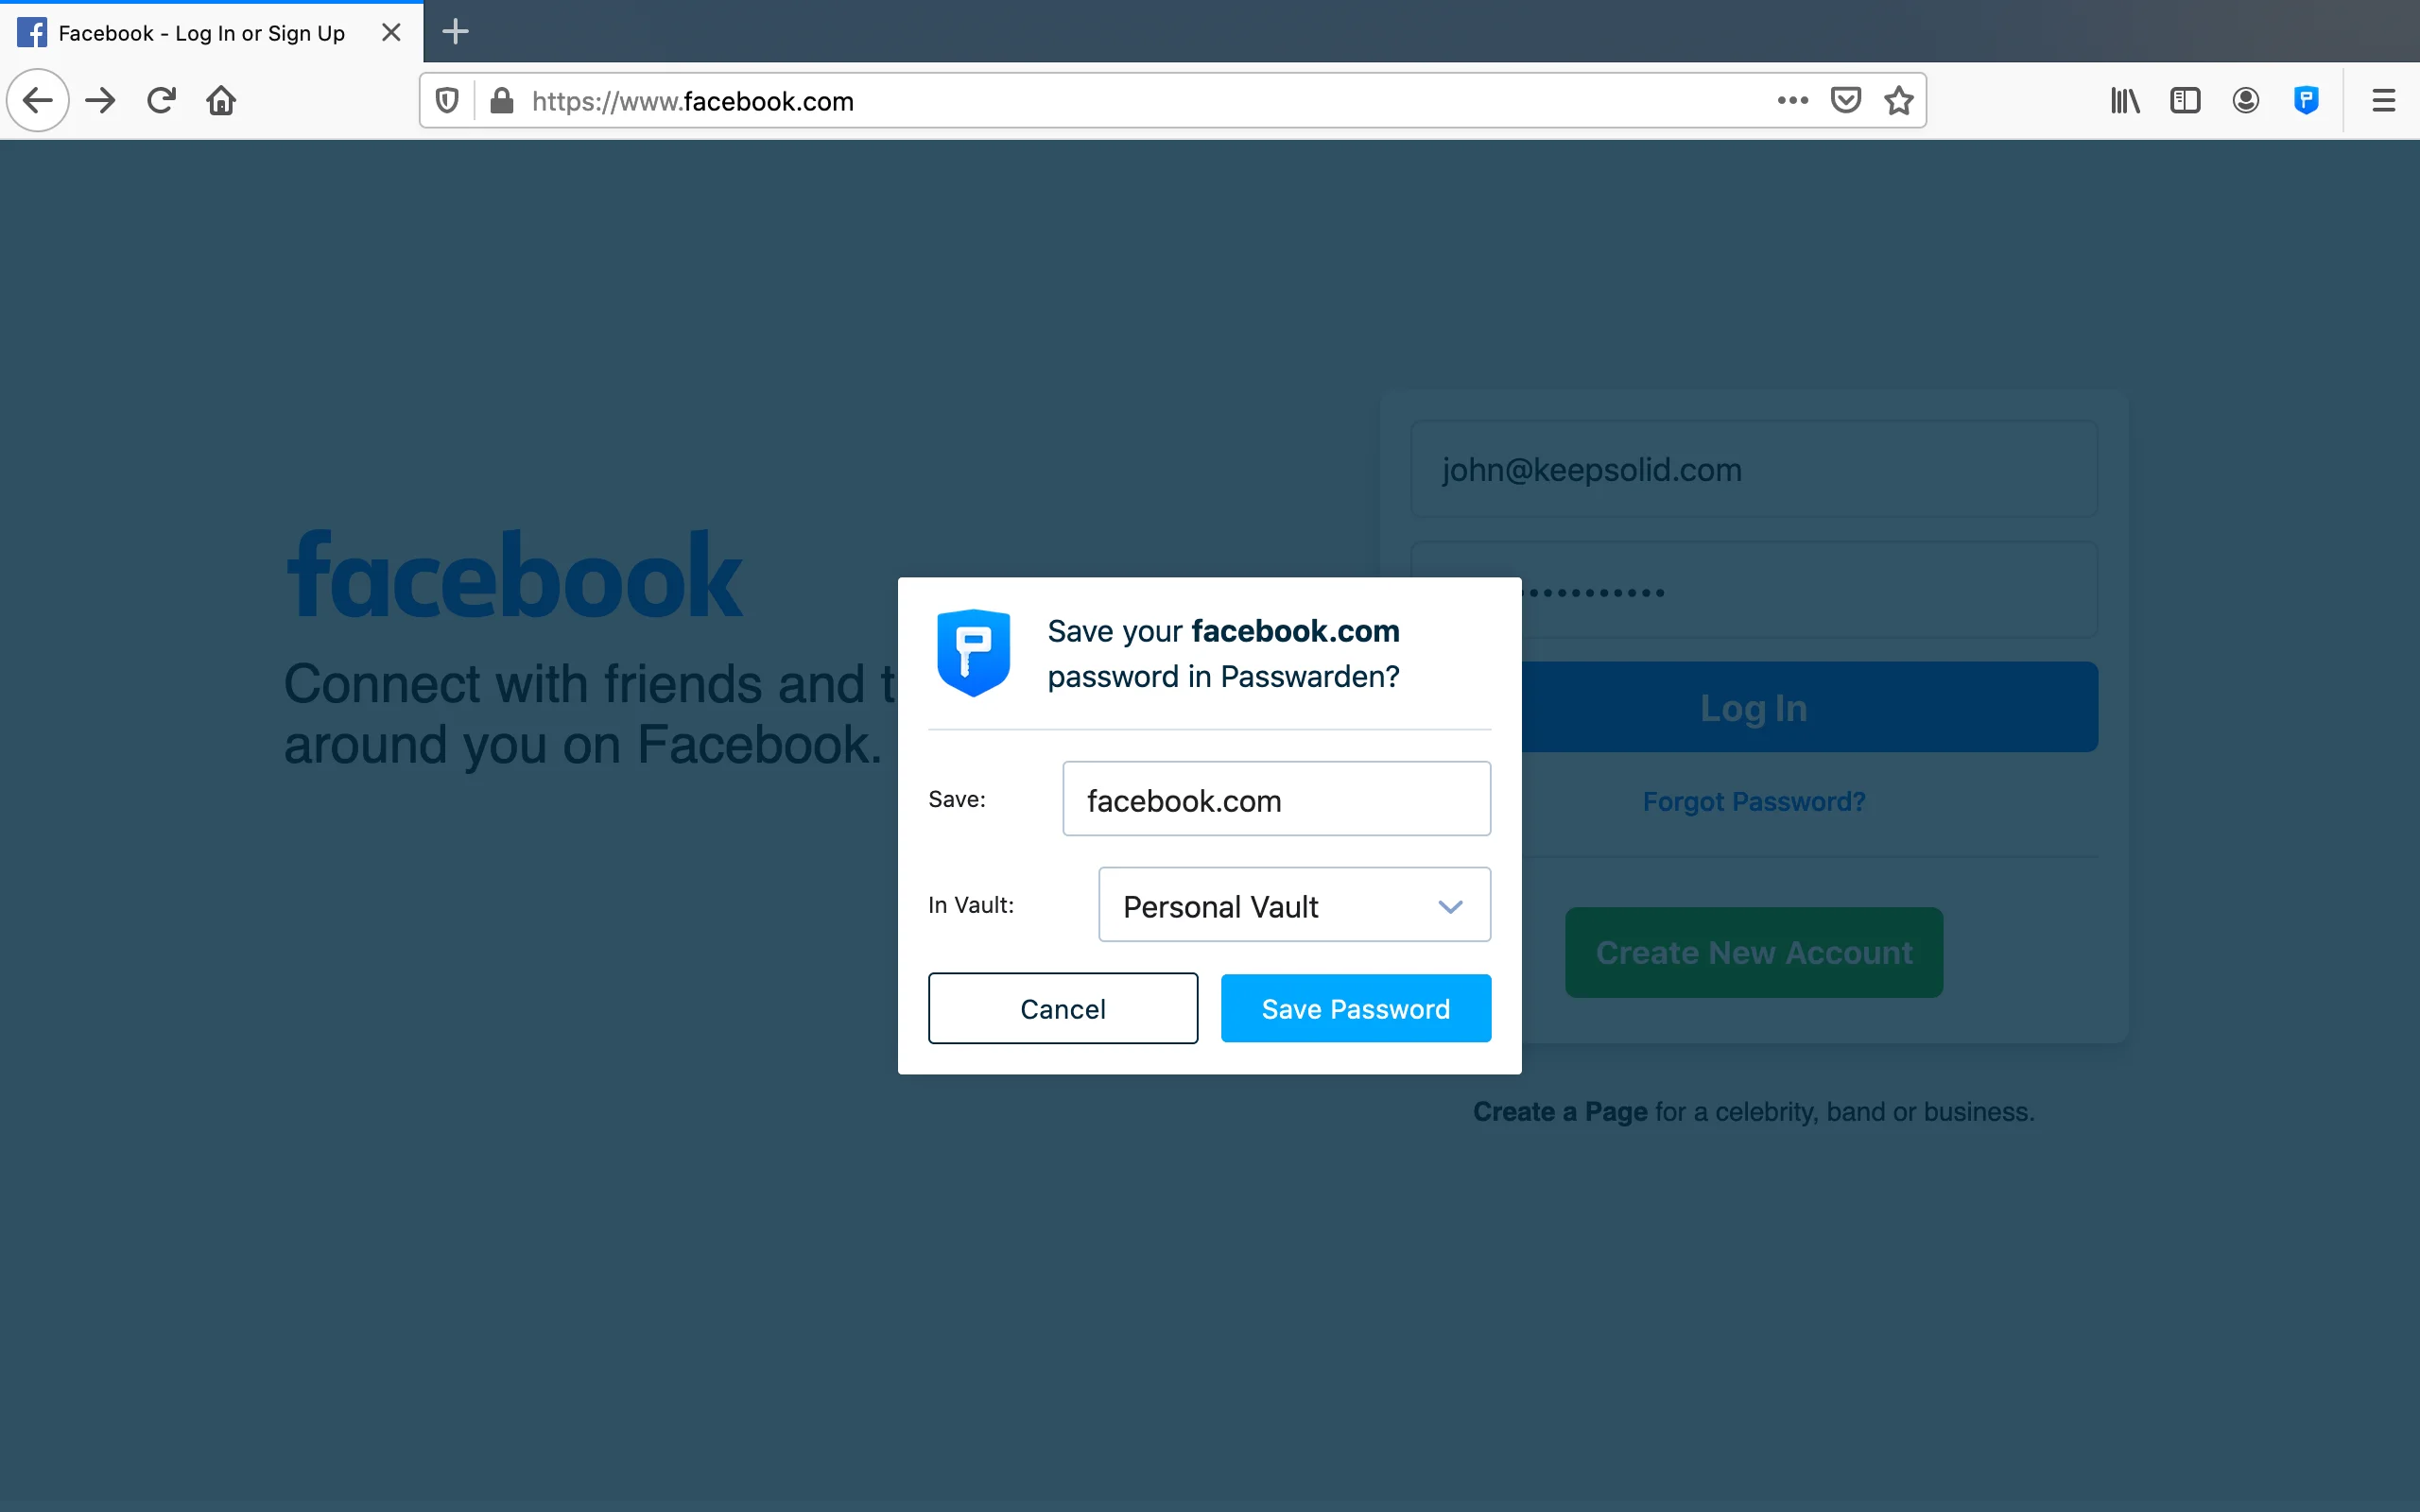
2.2. If entered credentials aren’t stored in the Passwarden, you will be asked to save them as a new item.
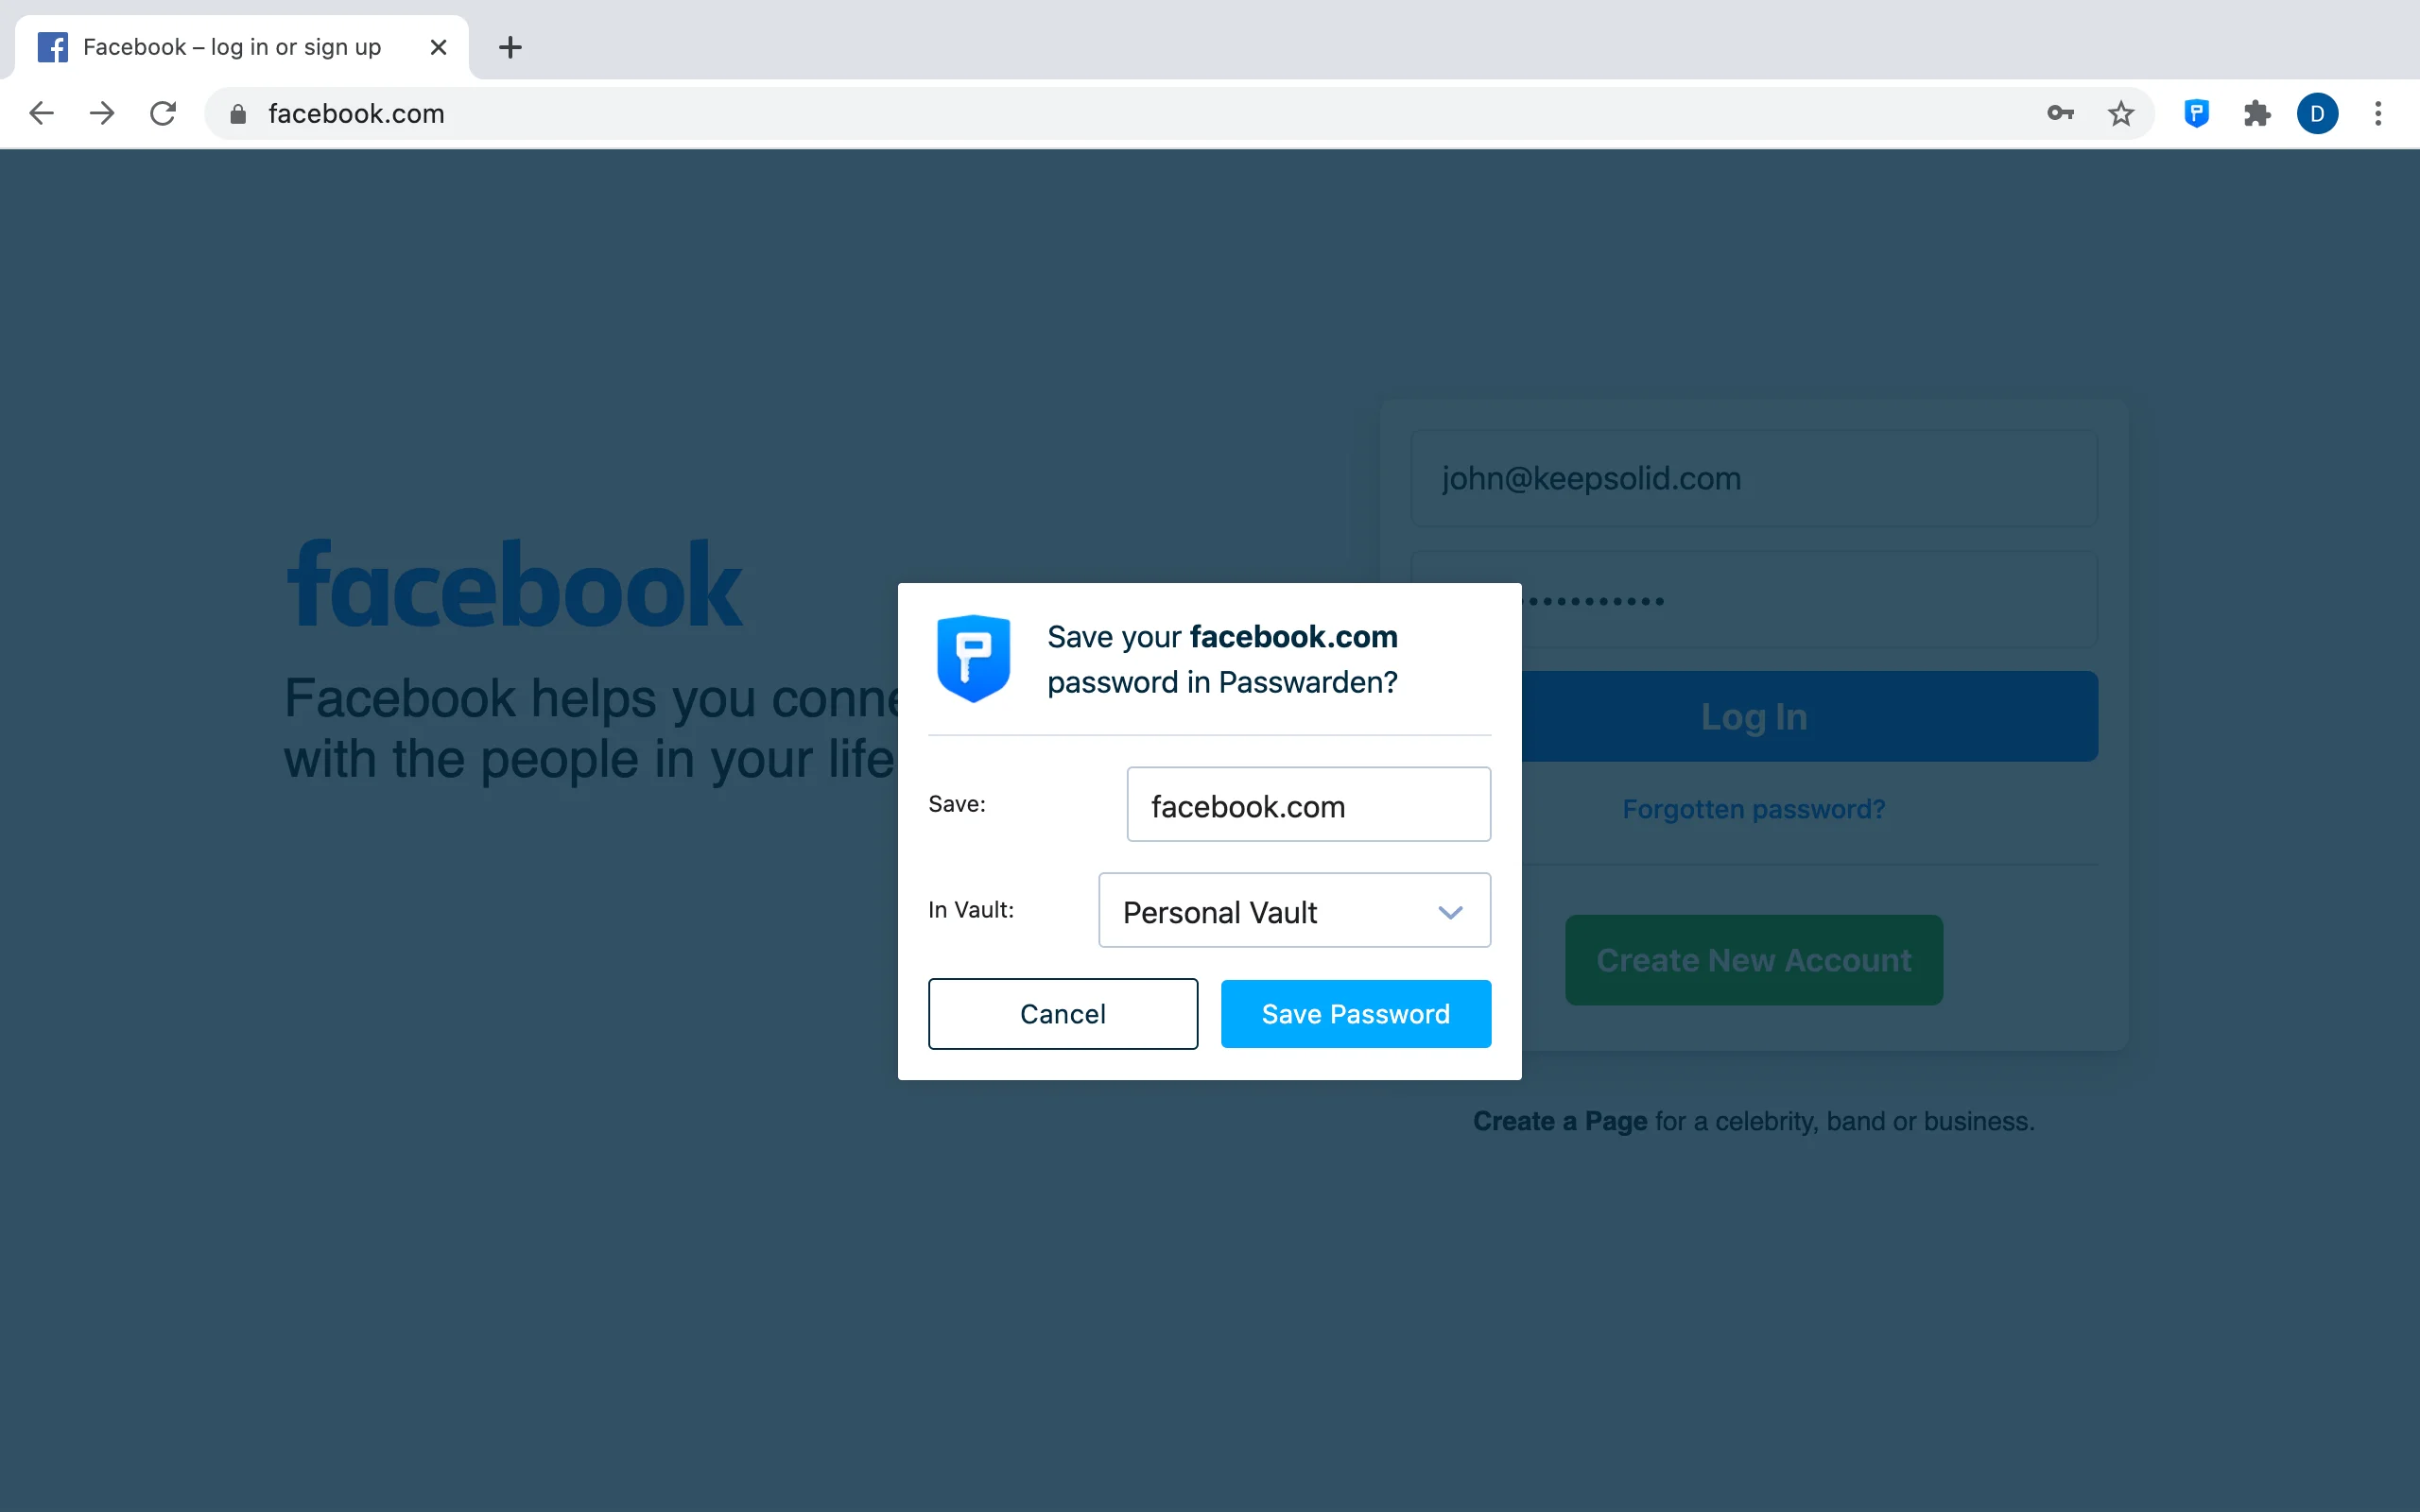
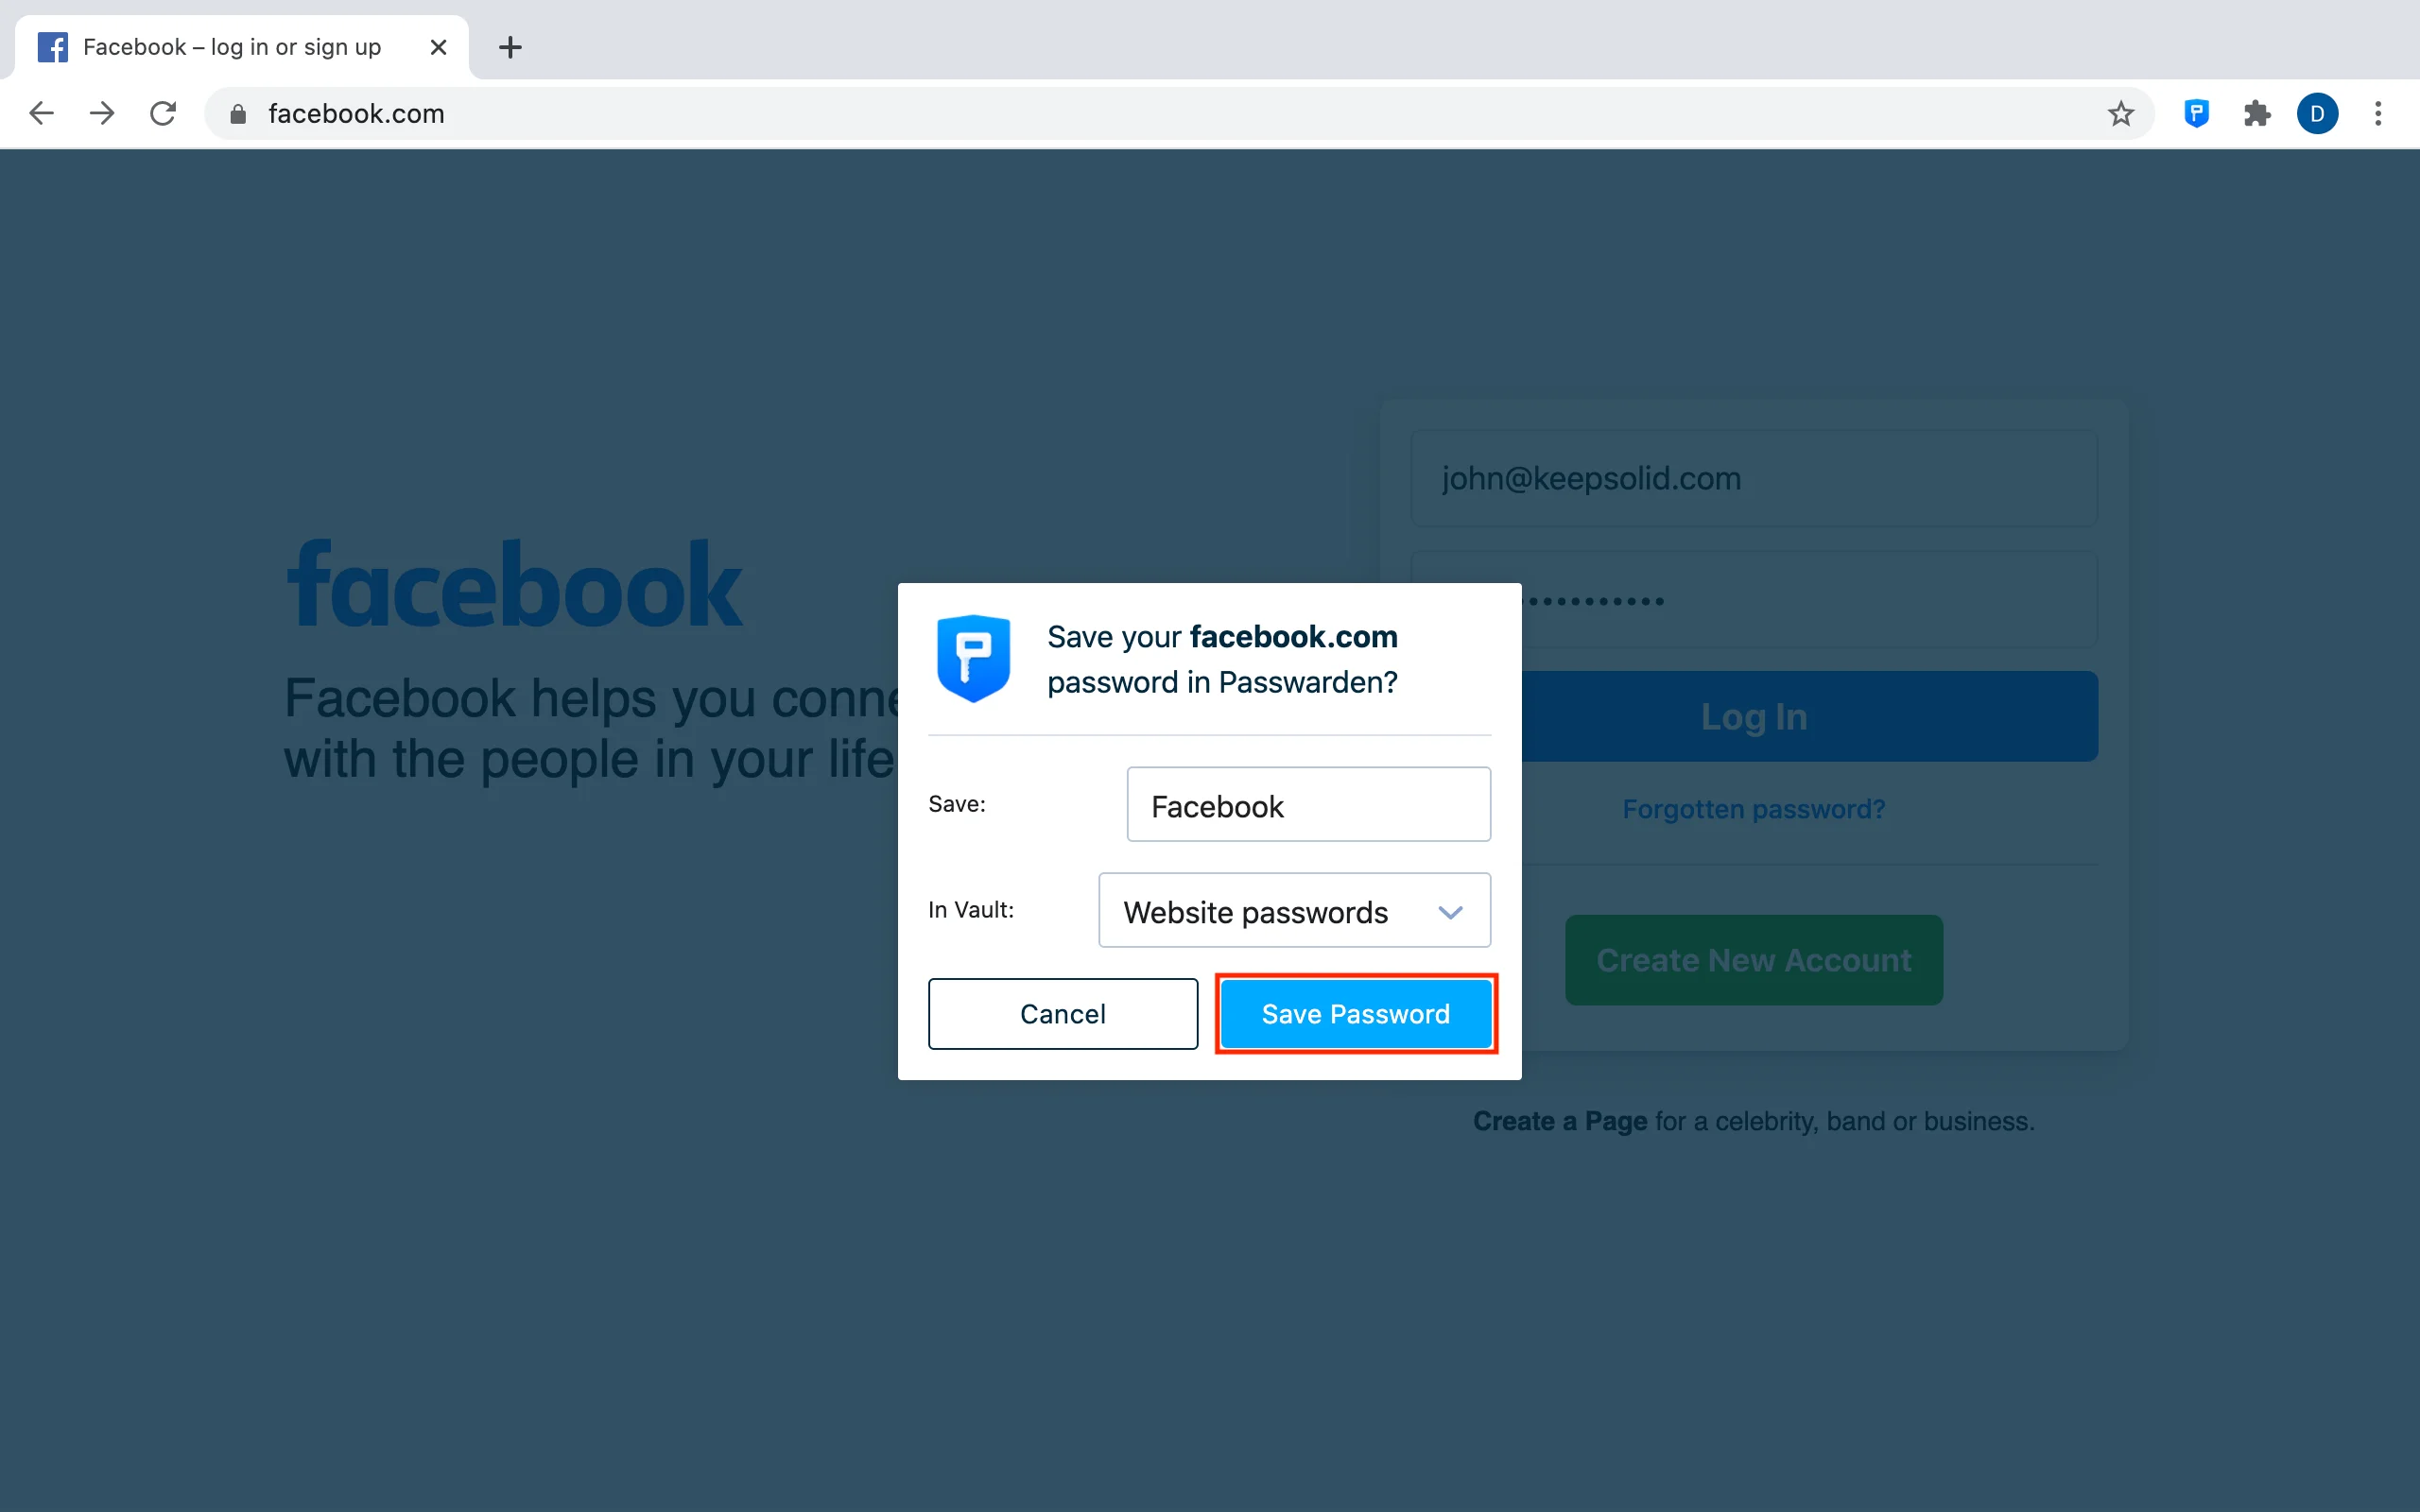
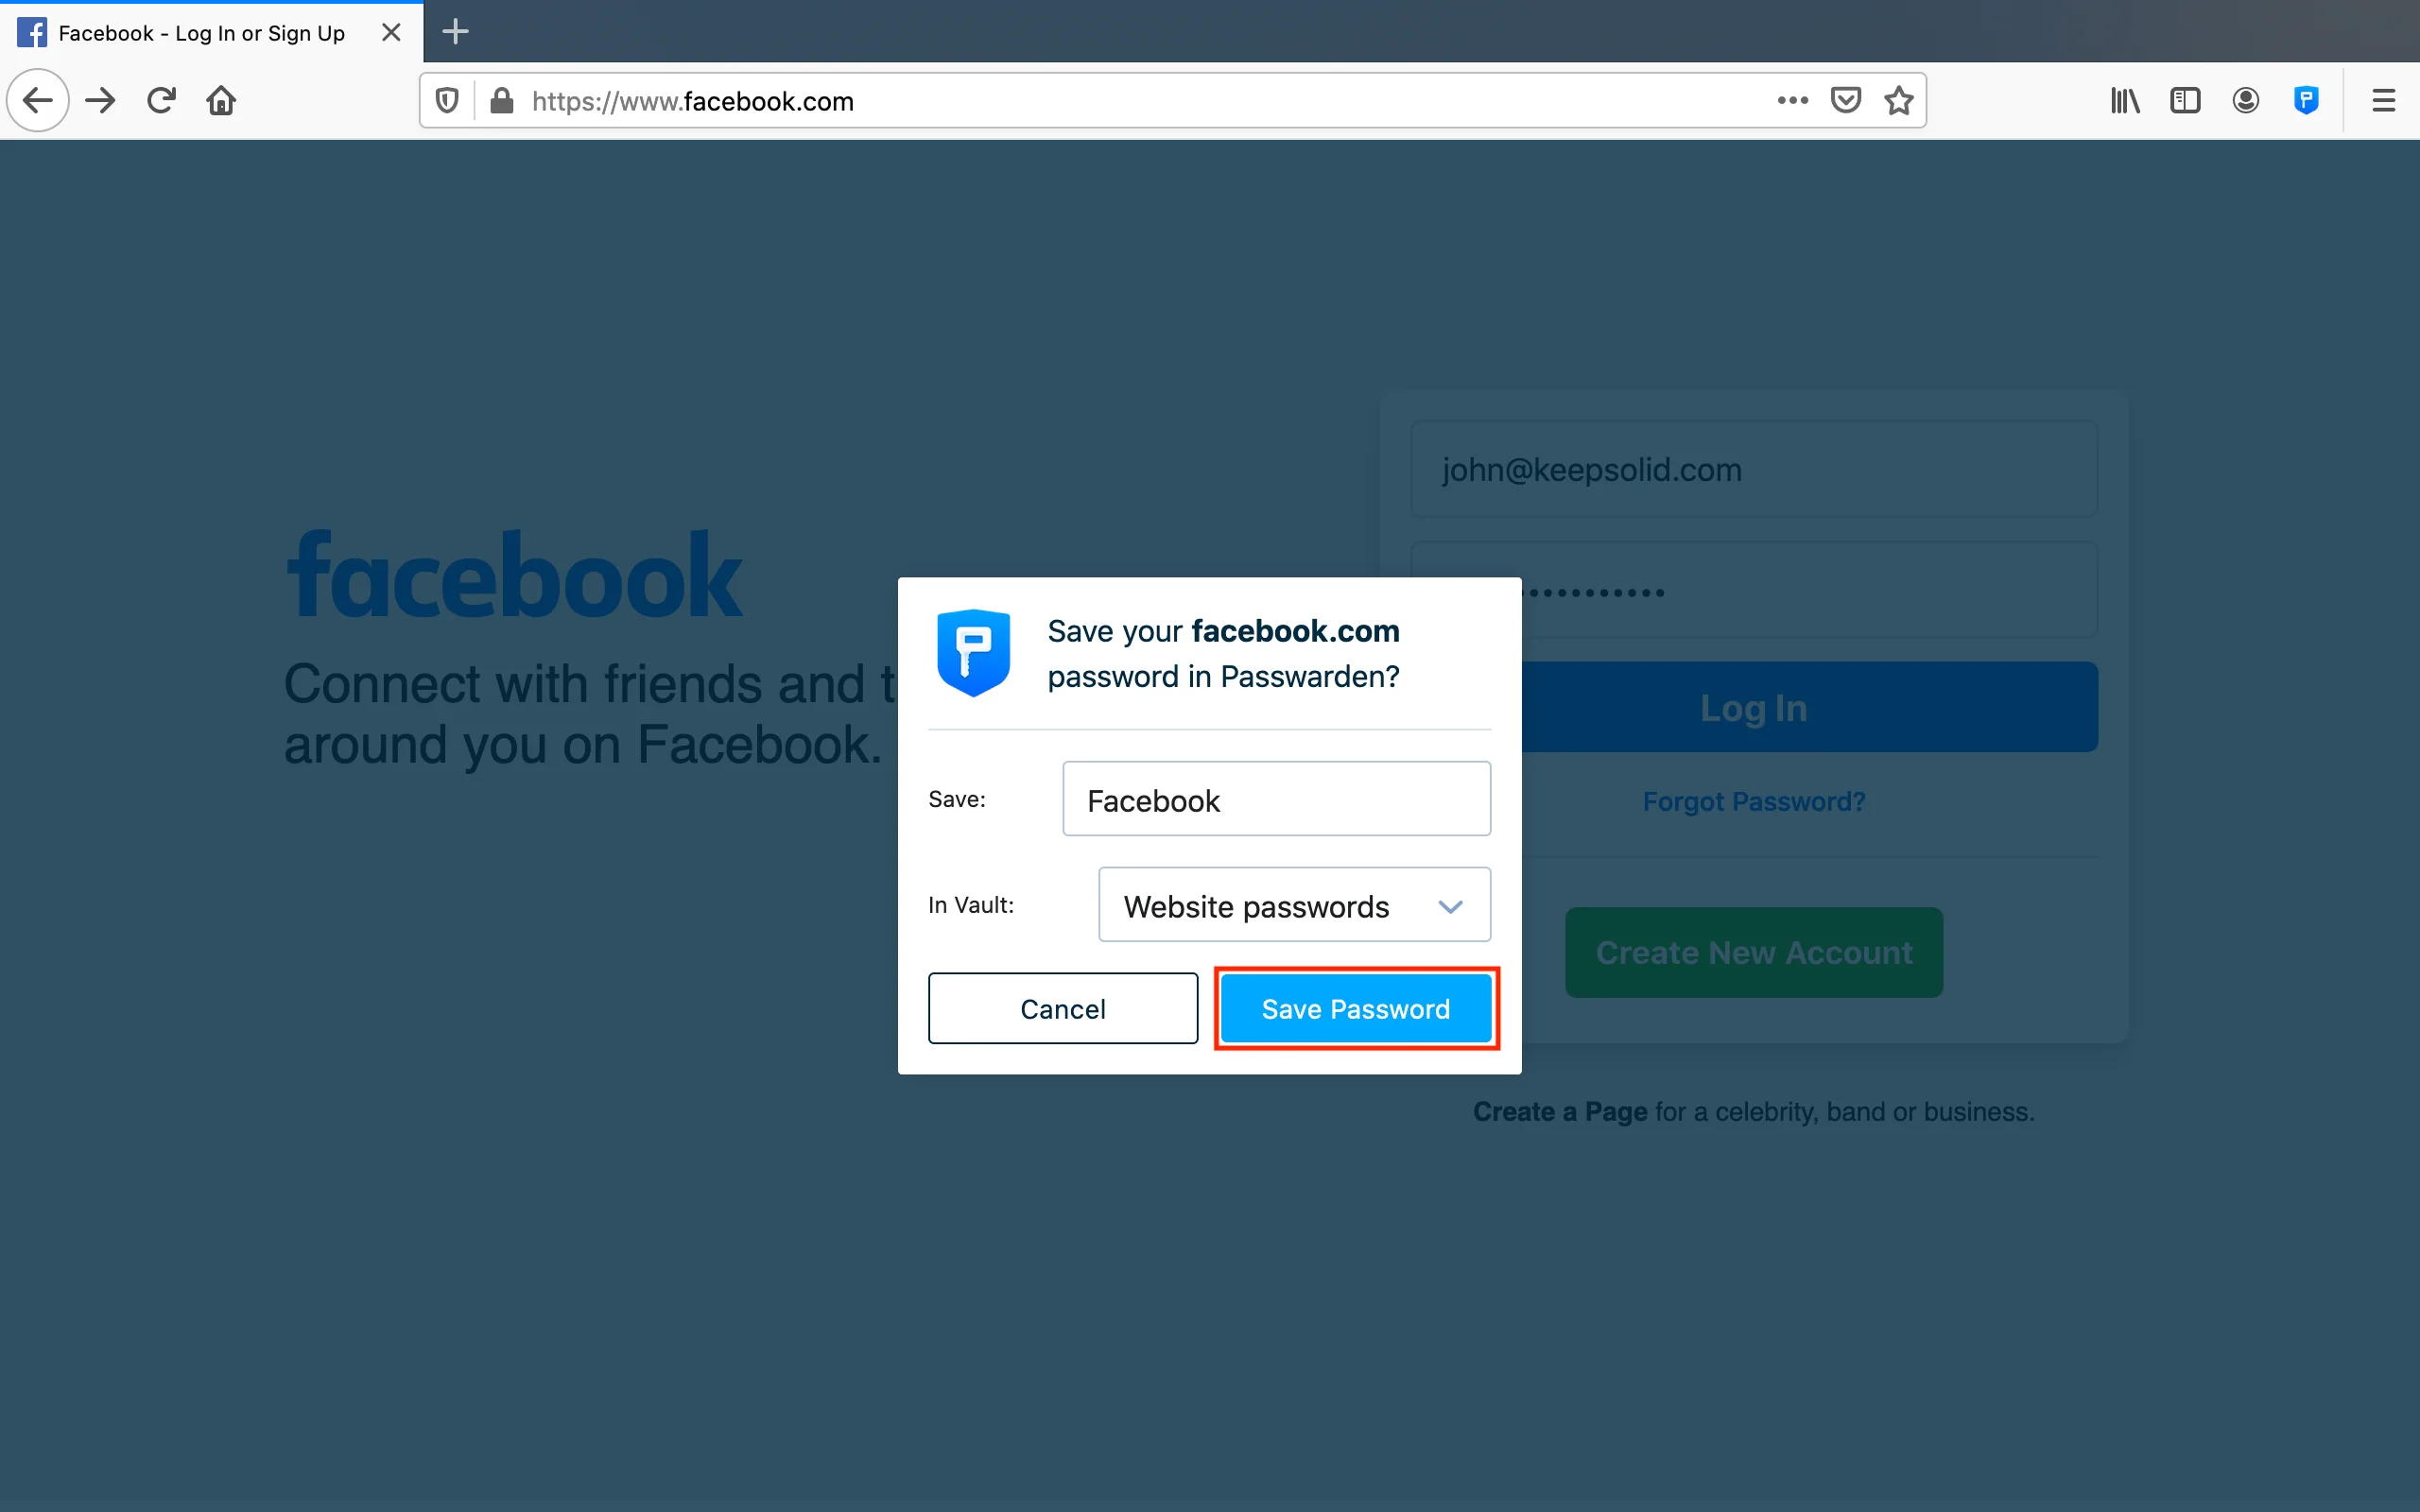
3. Choose the appropriate Vault and edit the new item’s name. The website domain name is entered by default.
4. Click Save Password.
Note: The Autofill feature is enabled by default. You can't turn it off or disable it in any way.
How to use Passwarden Autofill in Firefox browser?
1. Go to the appropriate website and point to the login field. The Passwarden icon and list of all relevant credentials appear.
Note: Make sure that your Passwarden profile is unlocked. Otherwise, the Autofill feature won’t work.
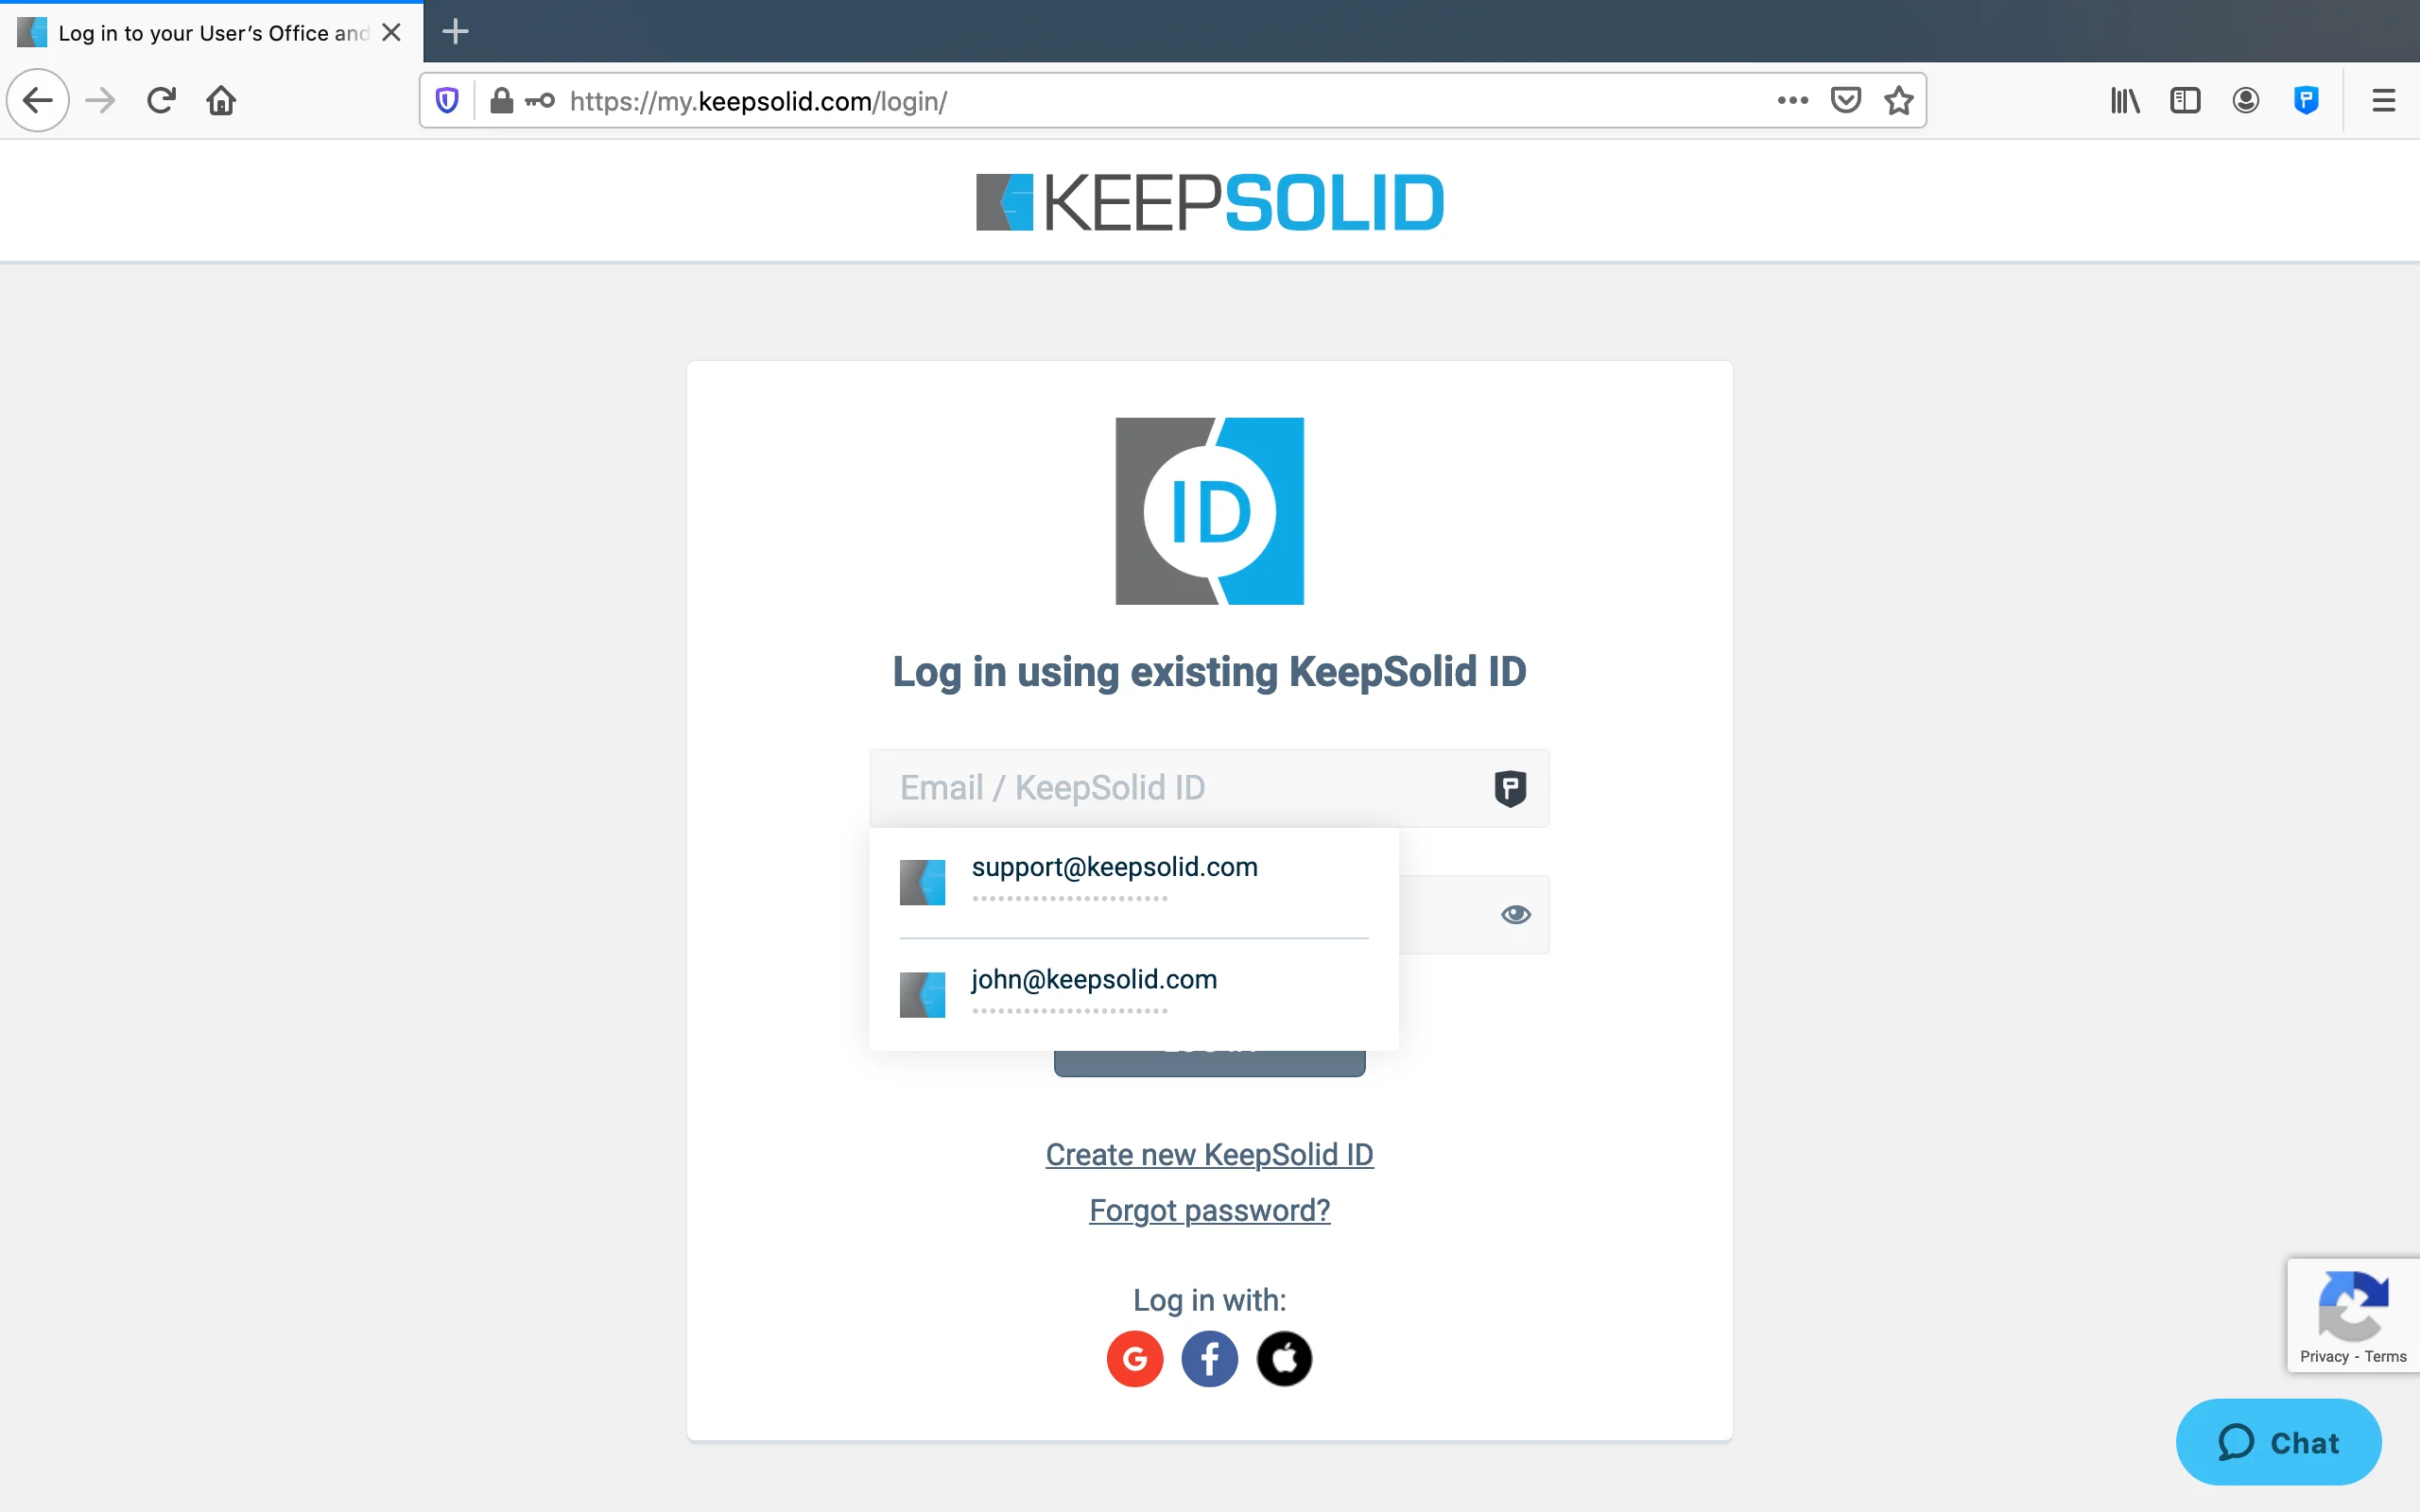
2. Choose the relevant item from the displayed list.
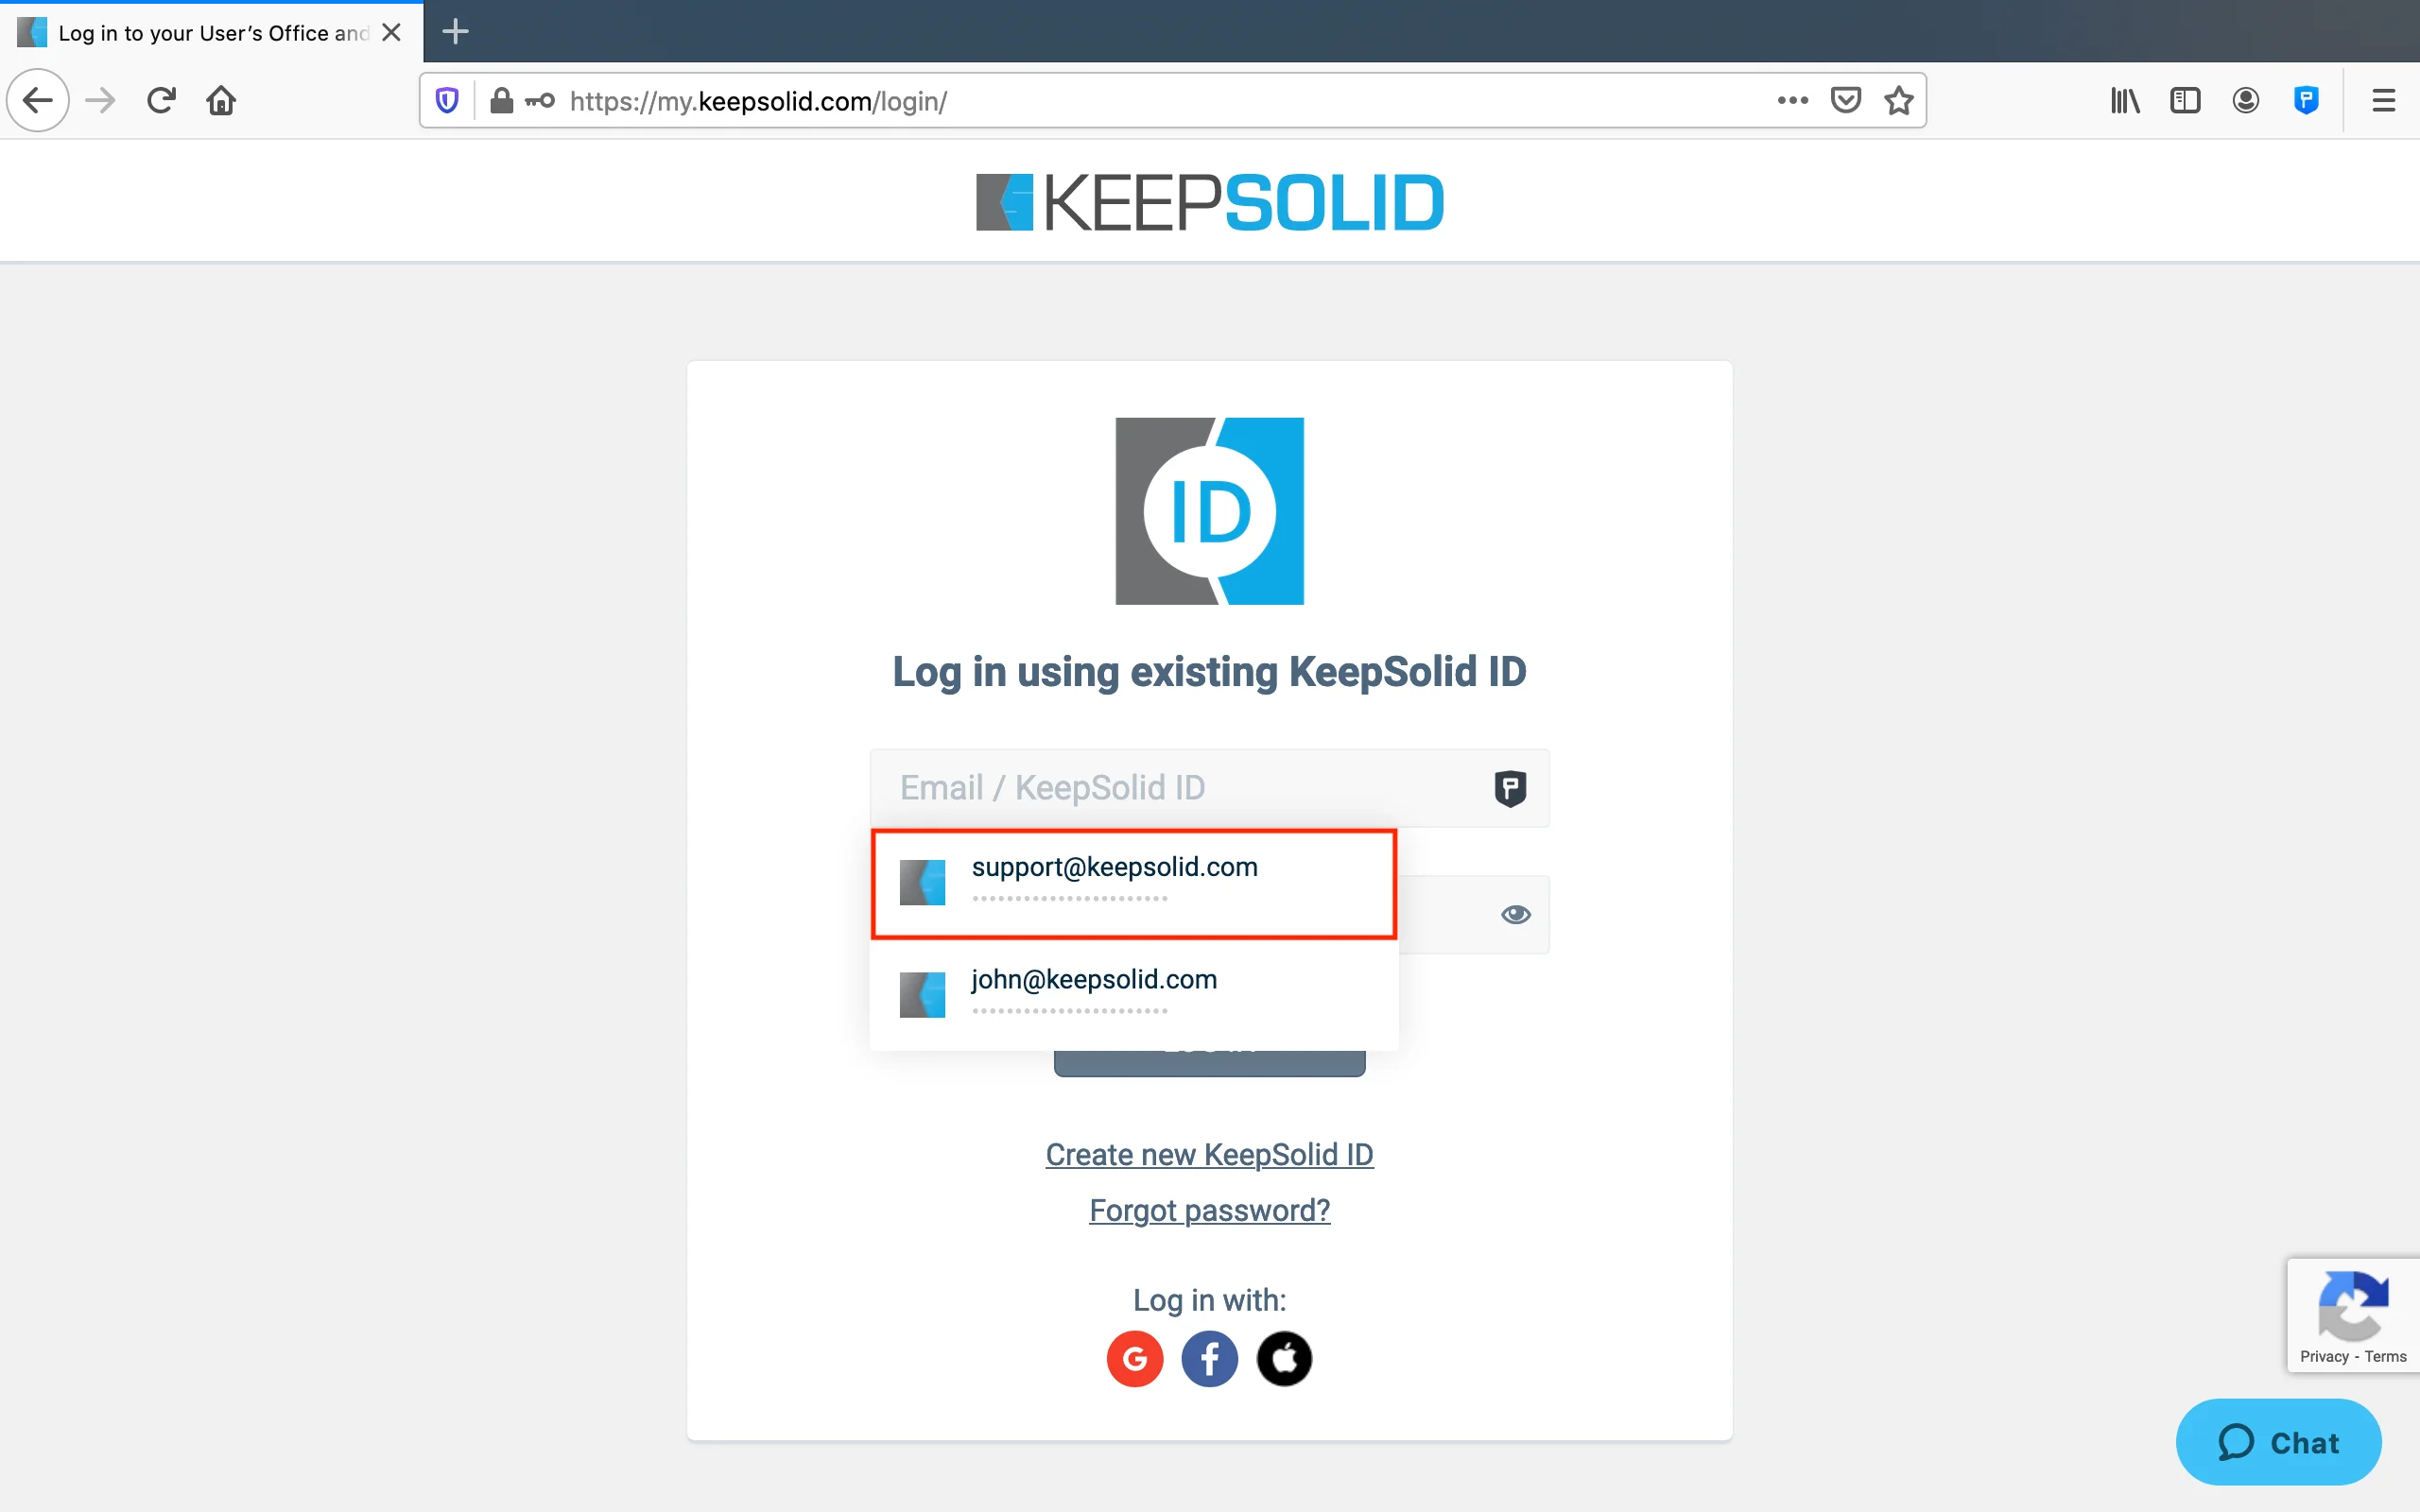
3. Once your credentials are filled out, complete the sign-in process, and that’s it!
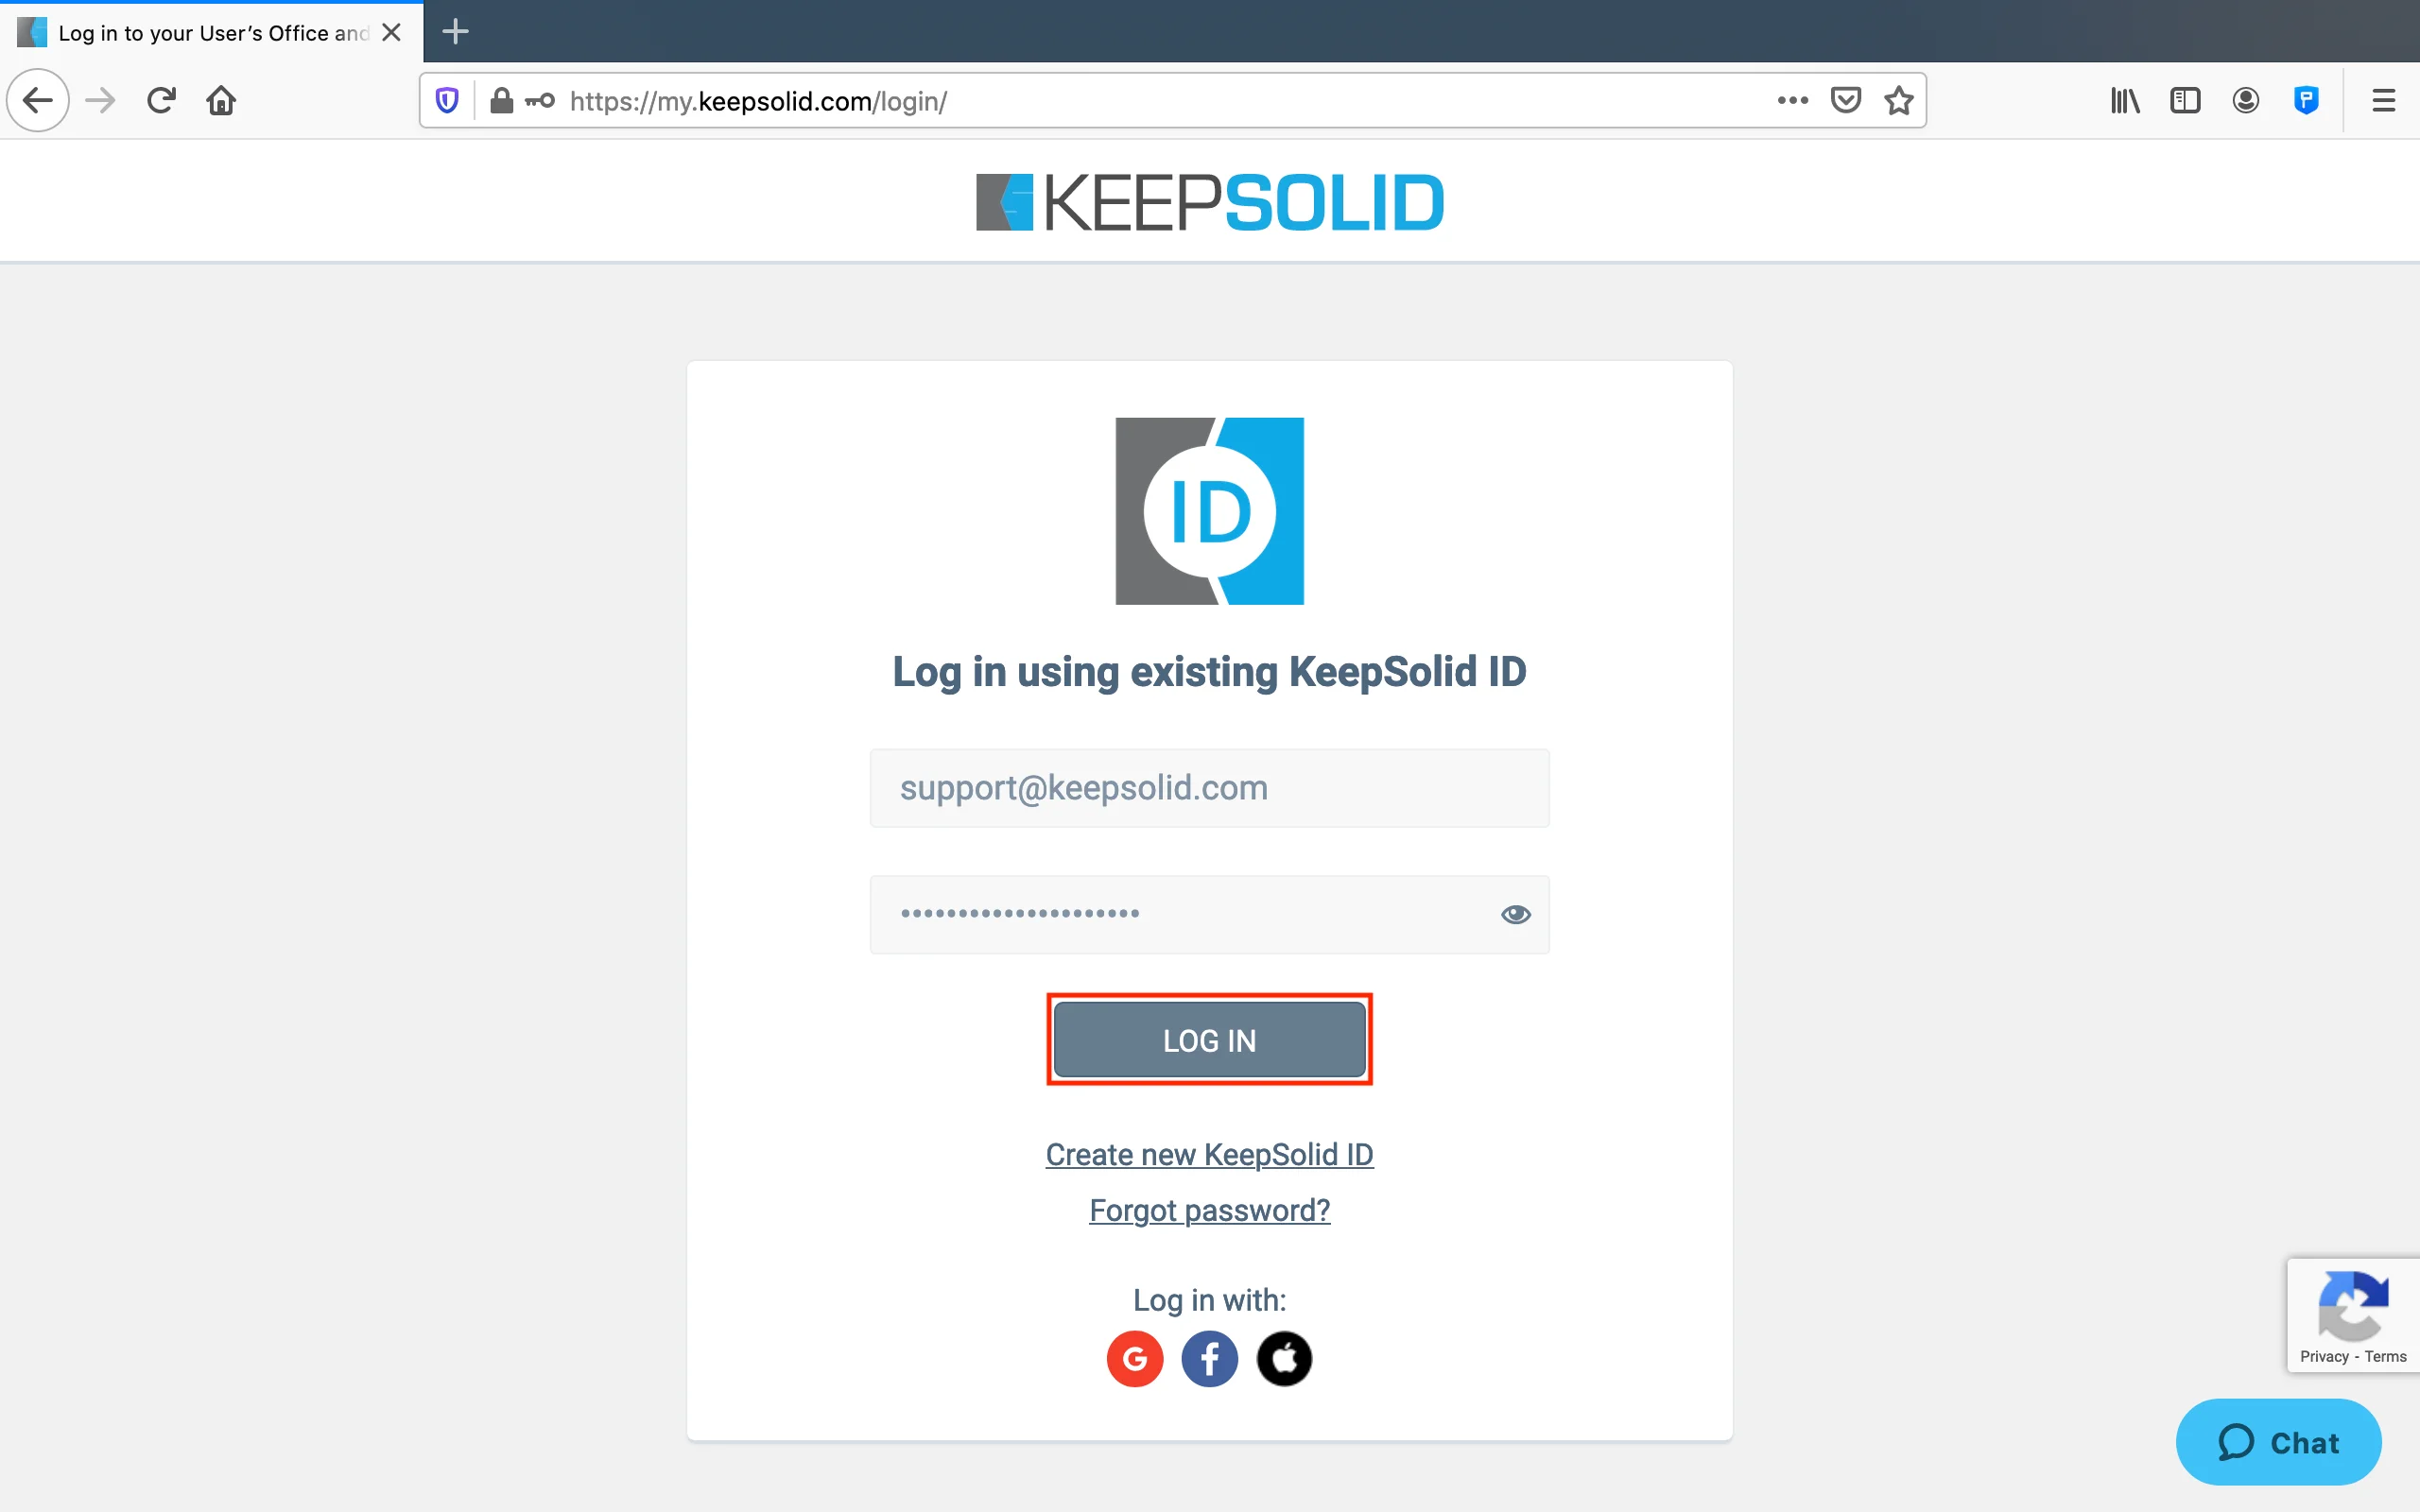
How to save passwords using the Passwarden extension?
1. Navigate to any website, for example, go to Facebook and log in as usual.
2.1. In case you already have credentials associated with this website, you see the following window. If you want to update your credentials, click Overwrite.
2.2. If entered credentials aren’t stored in your Passwarden profile, you will be asked to save them as a new item.
3. Select the Vault you want to save this item in and edit its name. The website domain name is entered by default.
4. Press Save Password.
Note: The Autofill feature is enabled by default. You can't turn it off or disable it in any way.
How to use passwords Autofill in Edge browser?
1. Open any website or online service and point to the login field. The Passwarden icon and the list of all relevant credentials appears.
Note: Make sure that your Passwarden profile is unlocked. Otherwise, the Autofill feature won’t work.
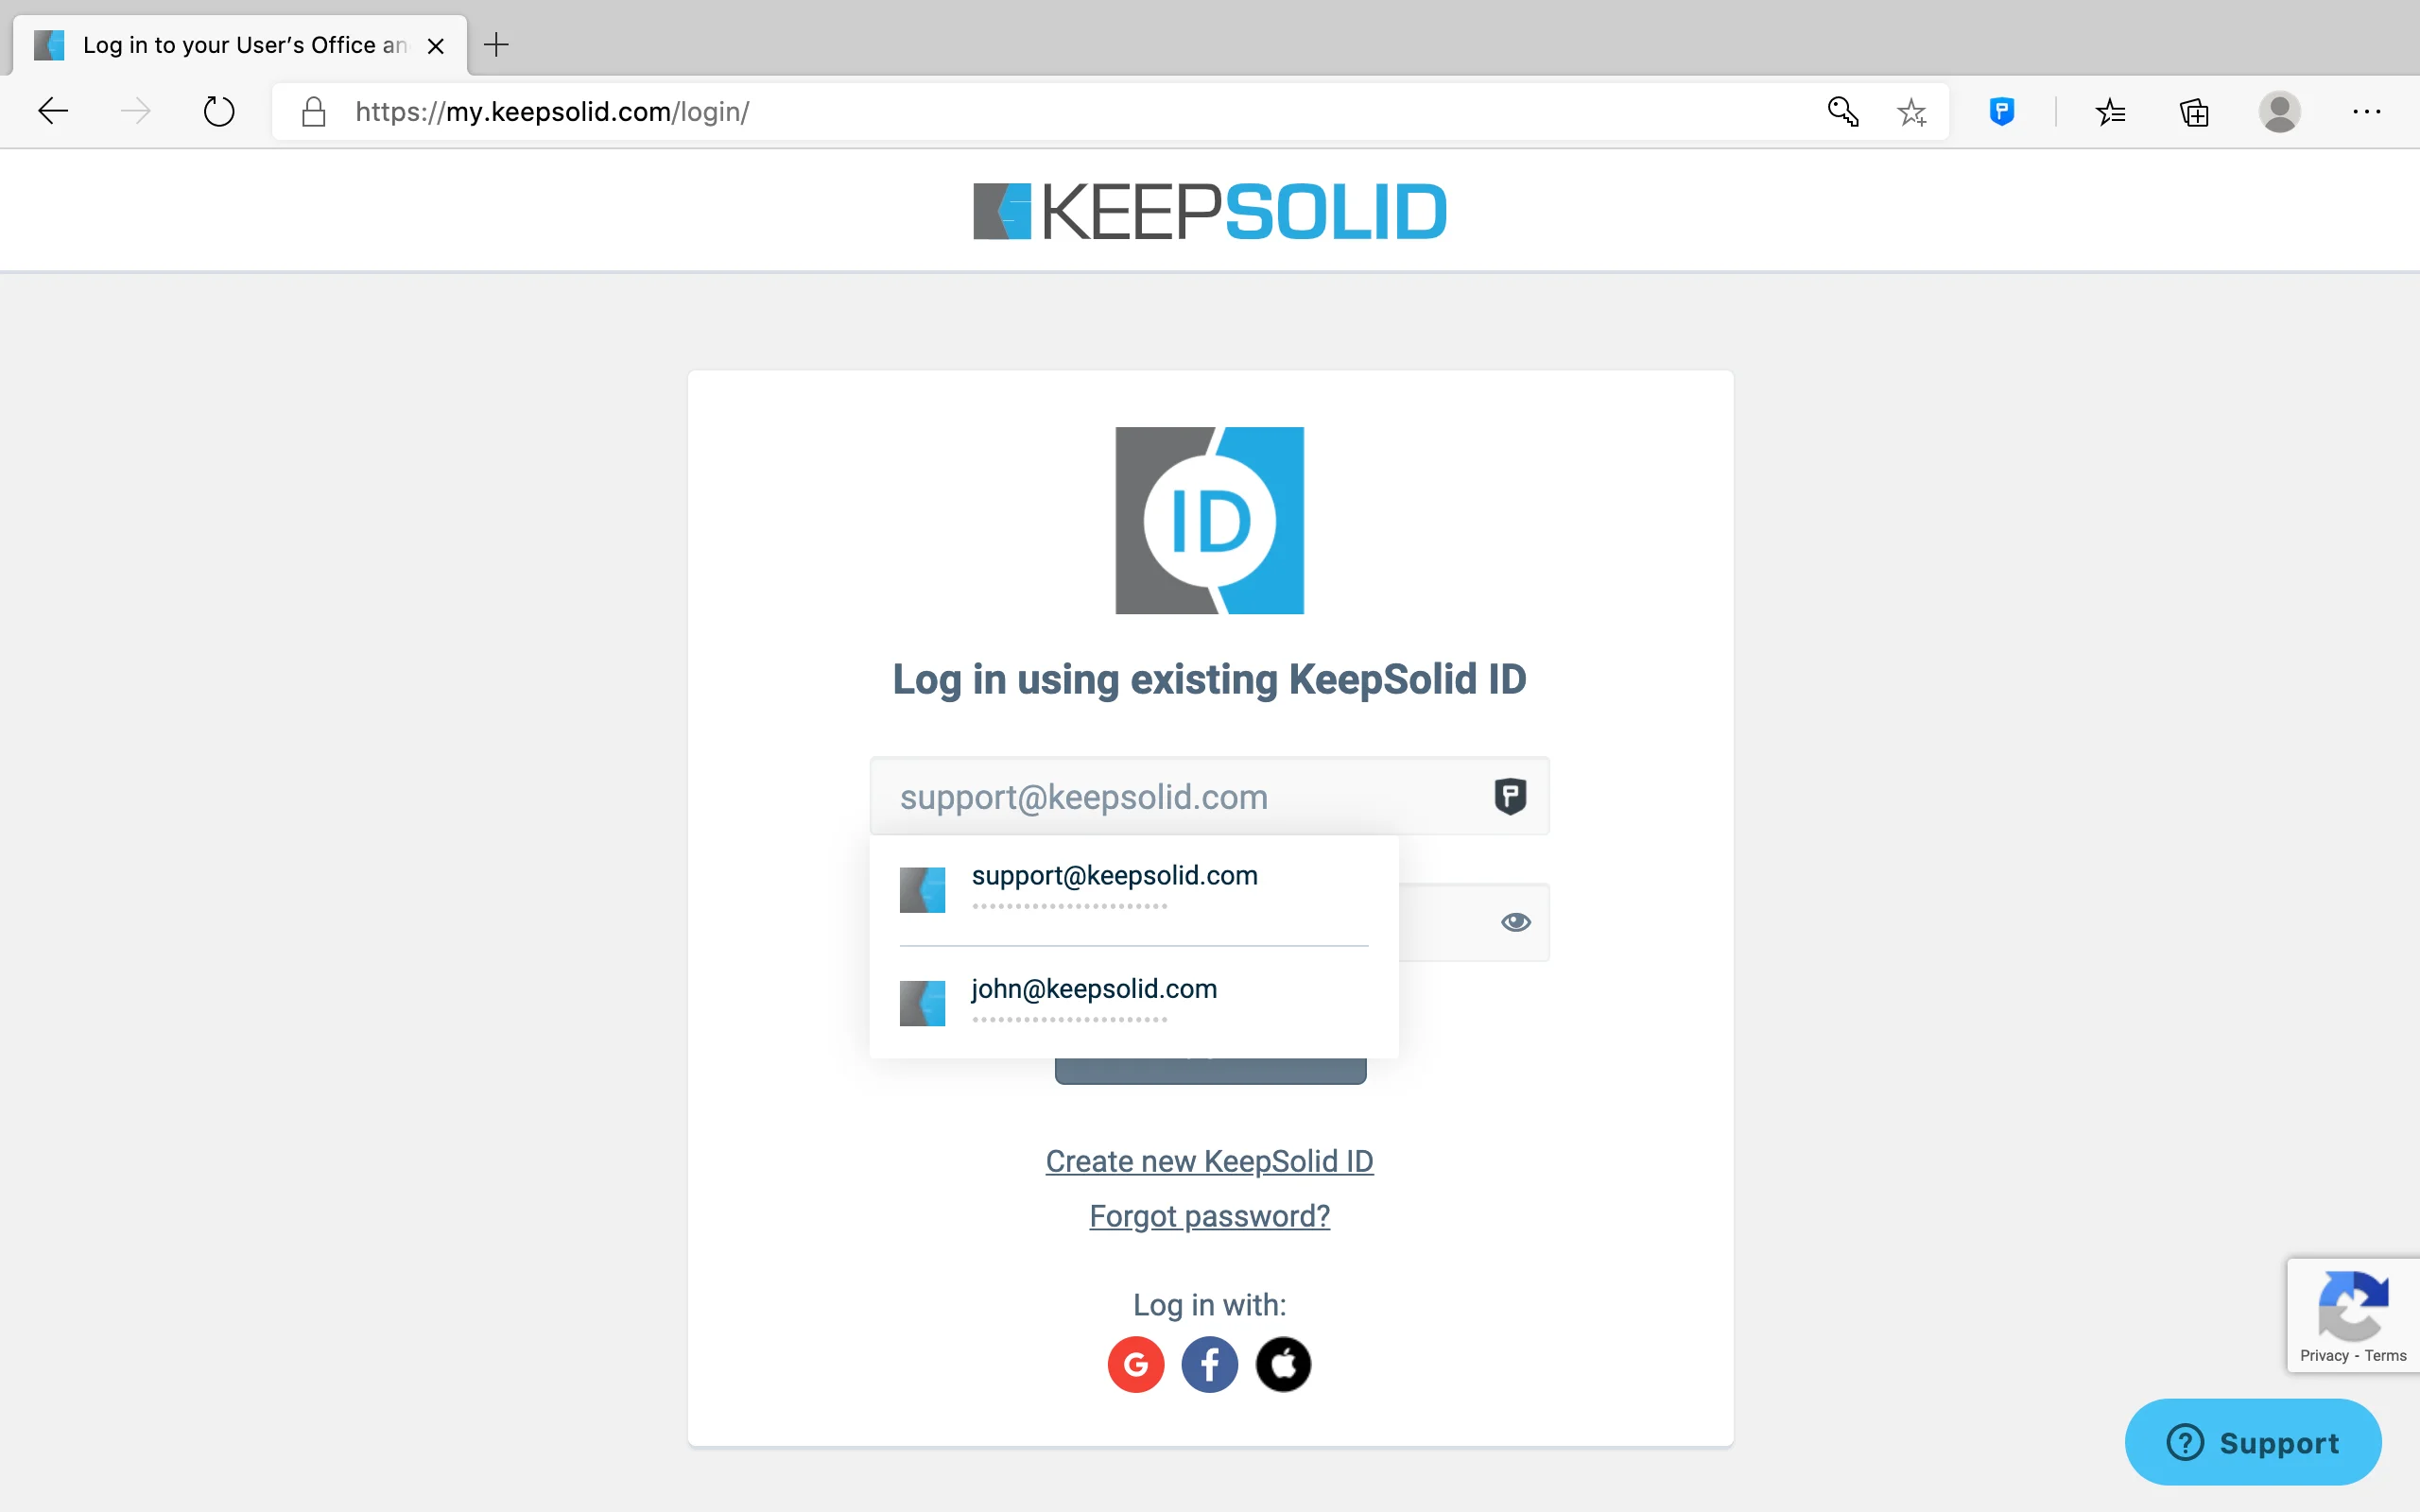
2. Select the appropriate item from the displayed list.
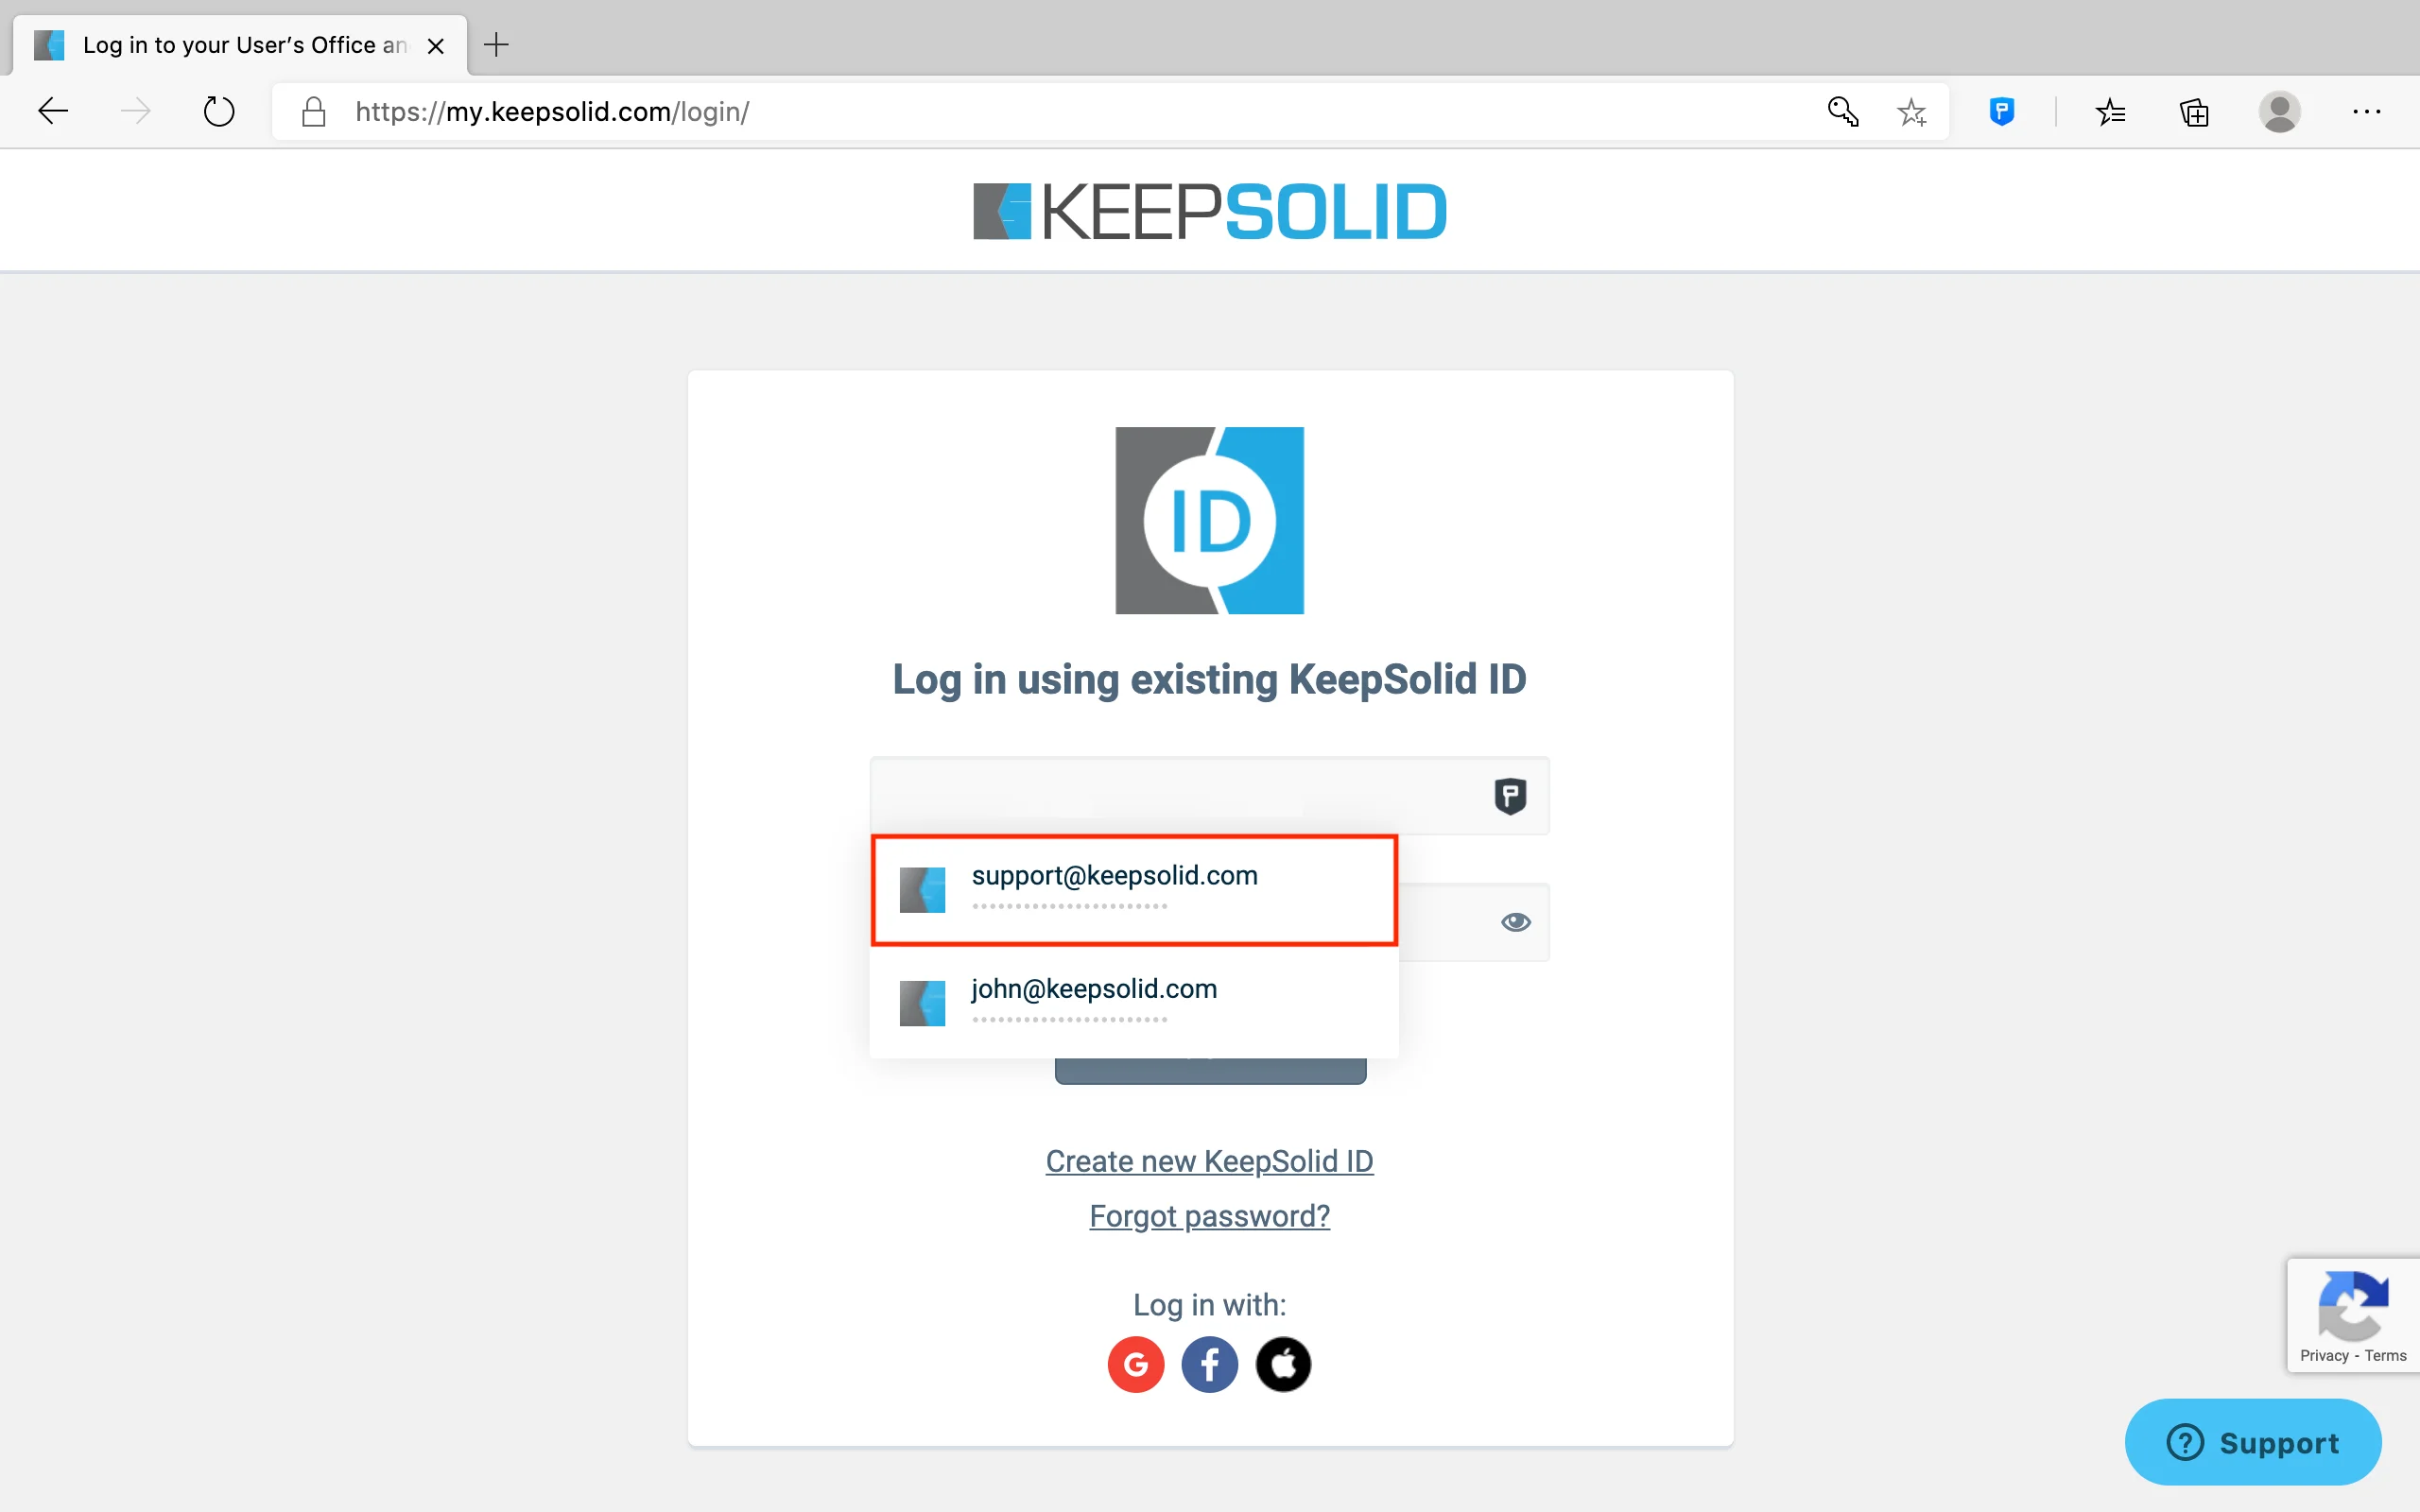
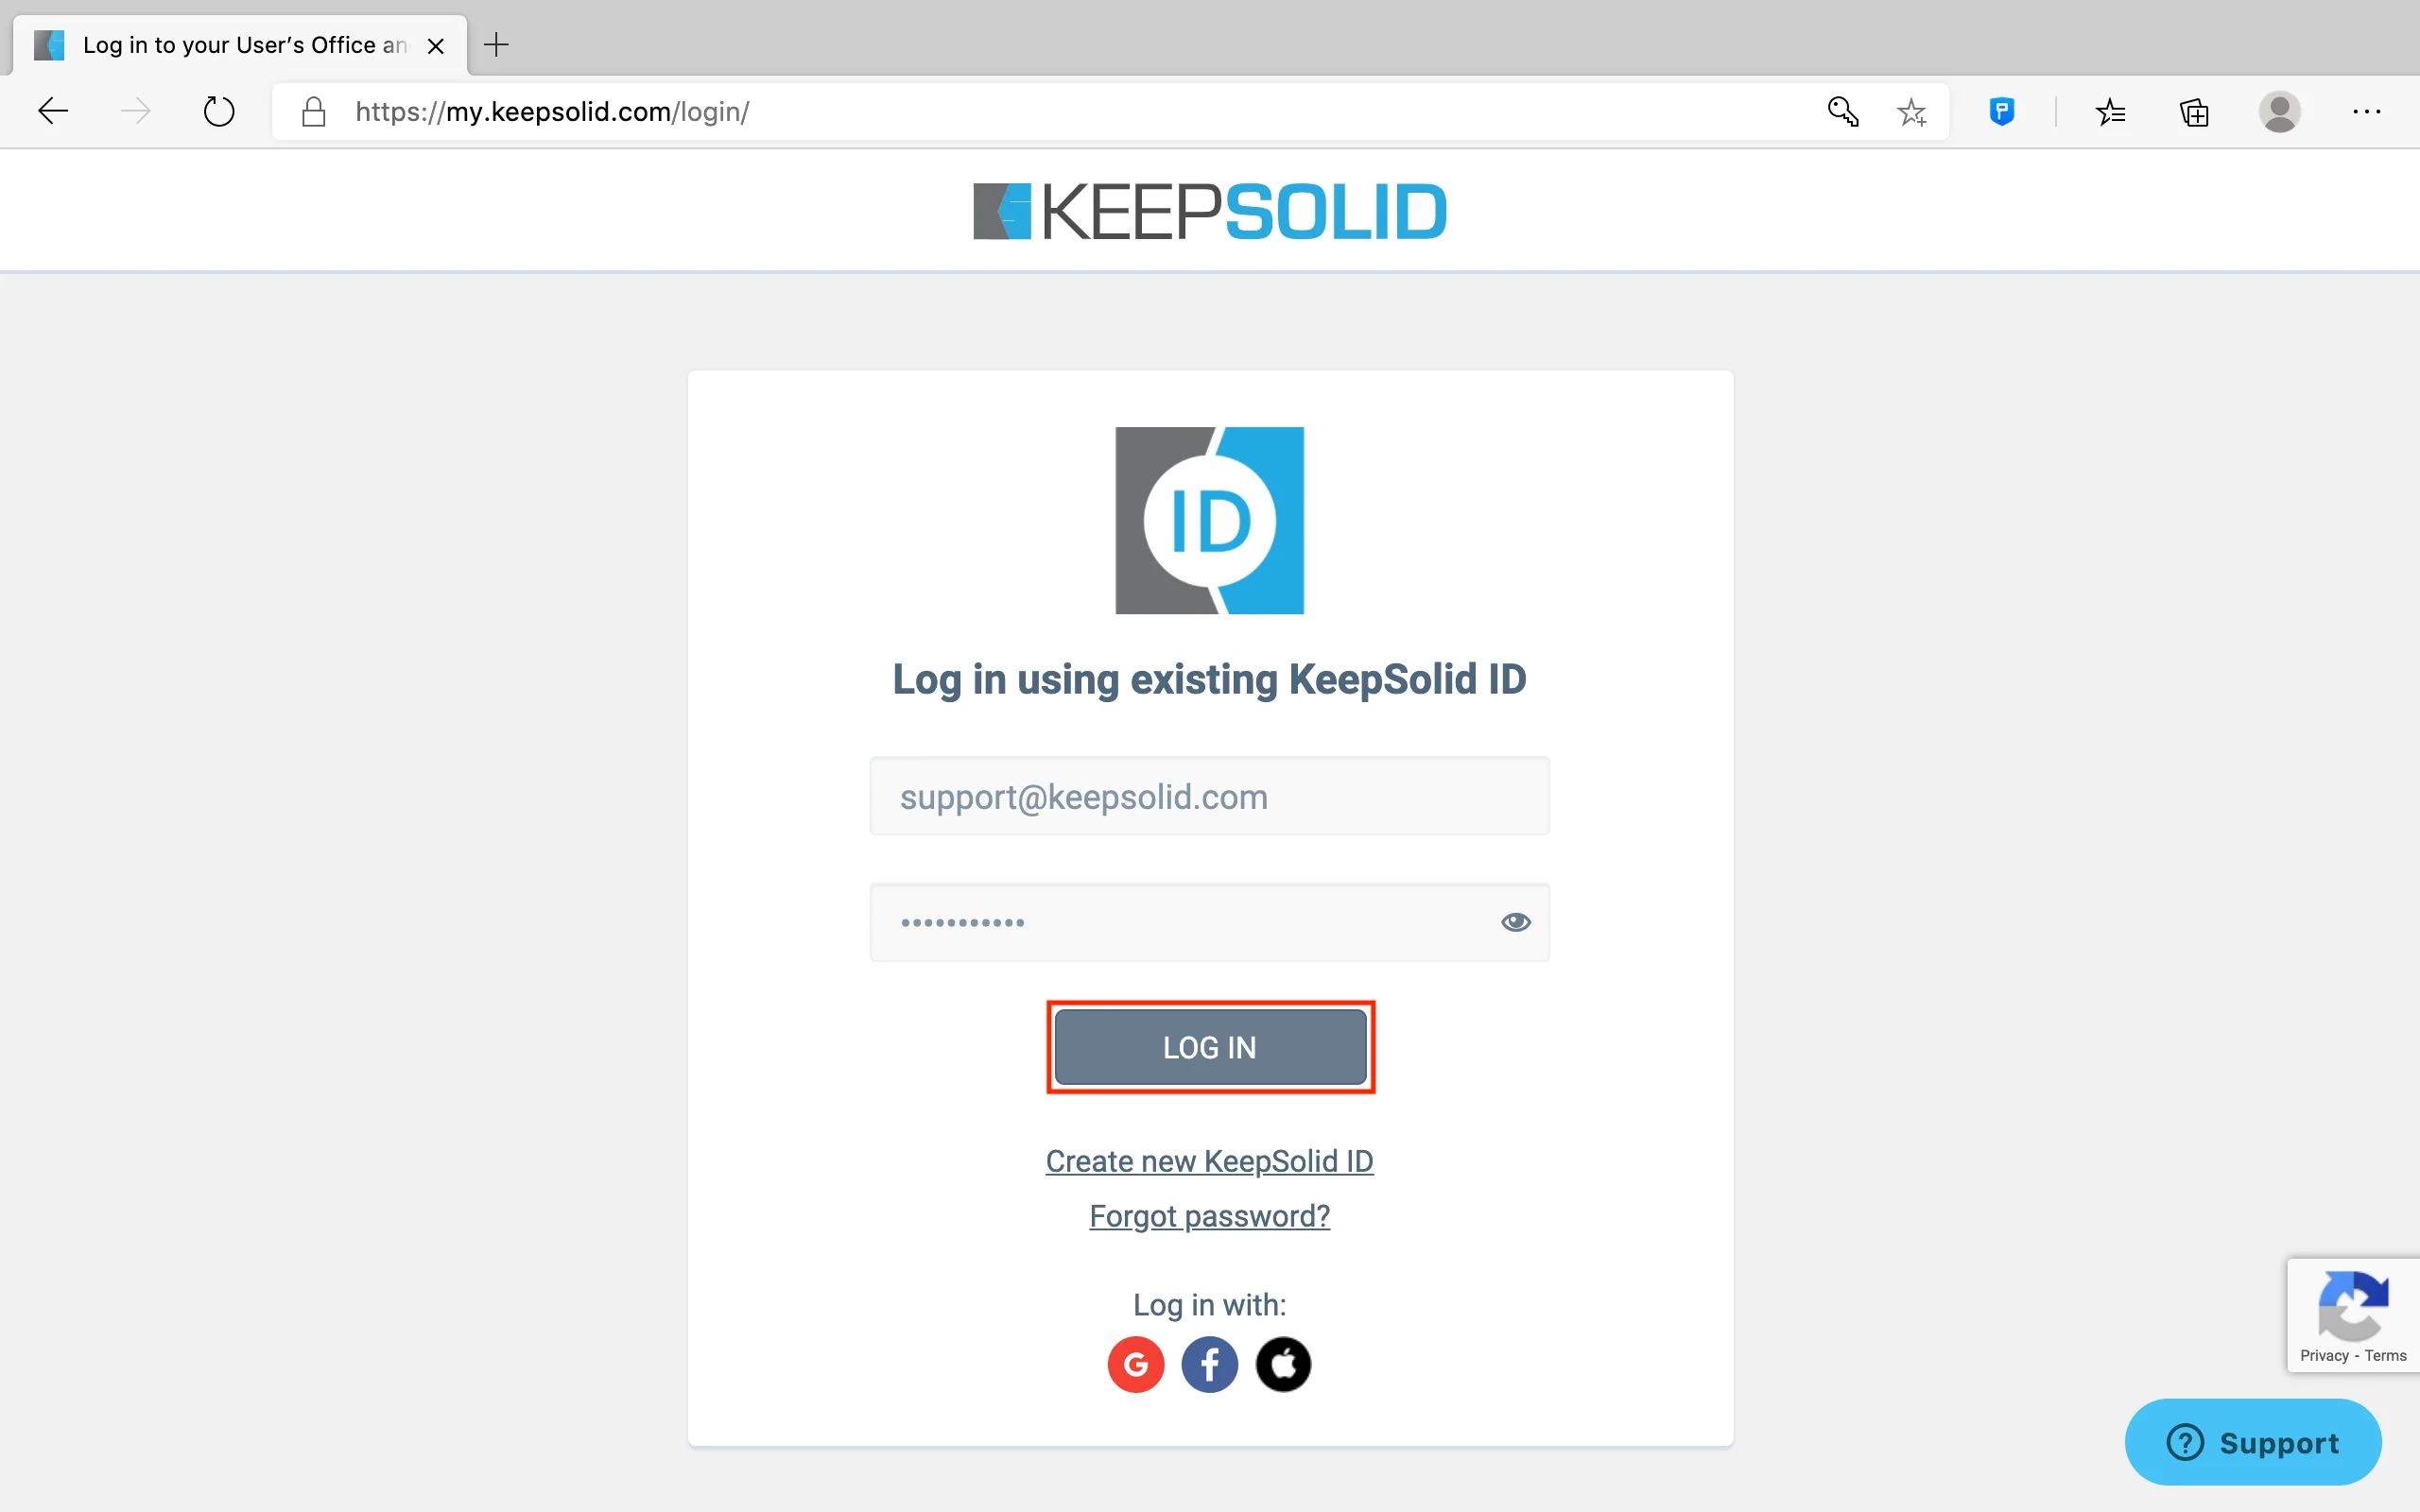
3. Great, now you can complete your sign-in process.
How to save passwords with Autofill in Microsoft Edge?
1. Go to any webpage, for example, open Facebook, and log in as usual.
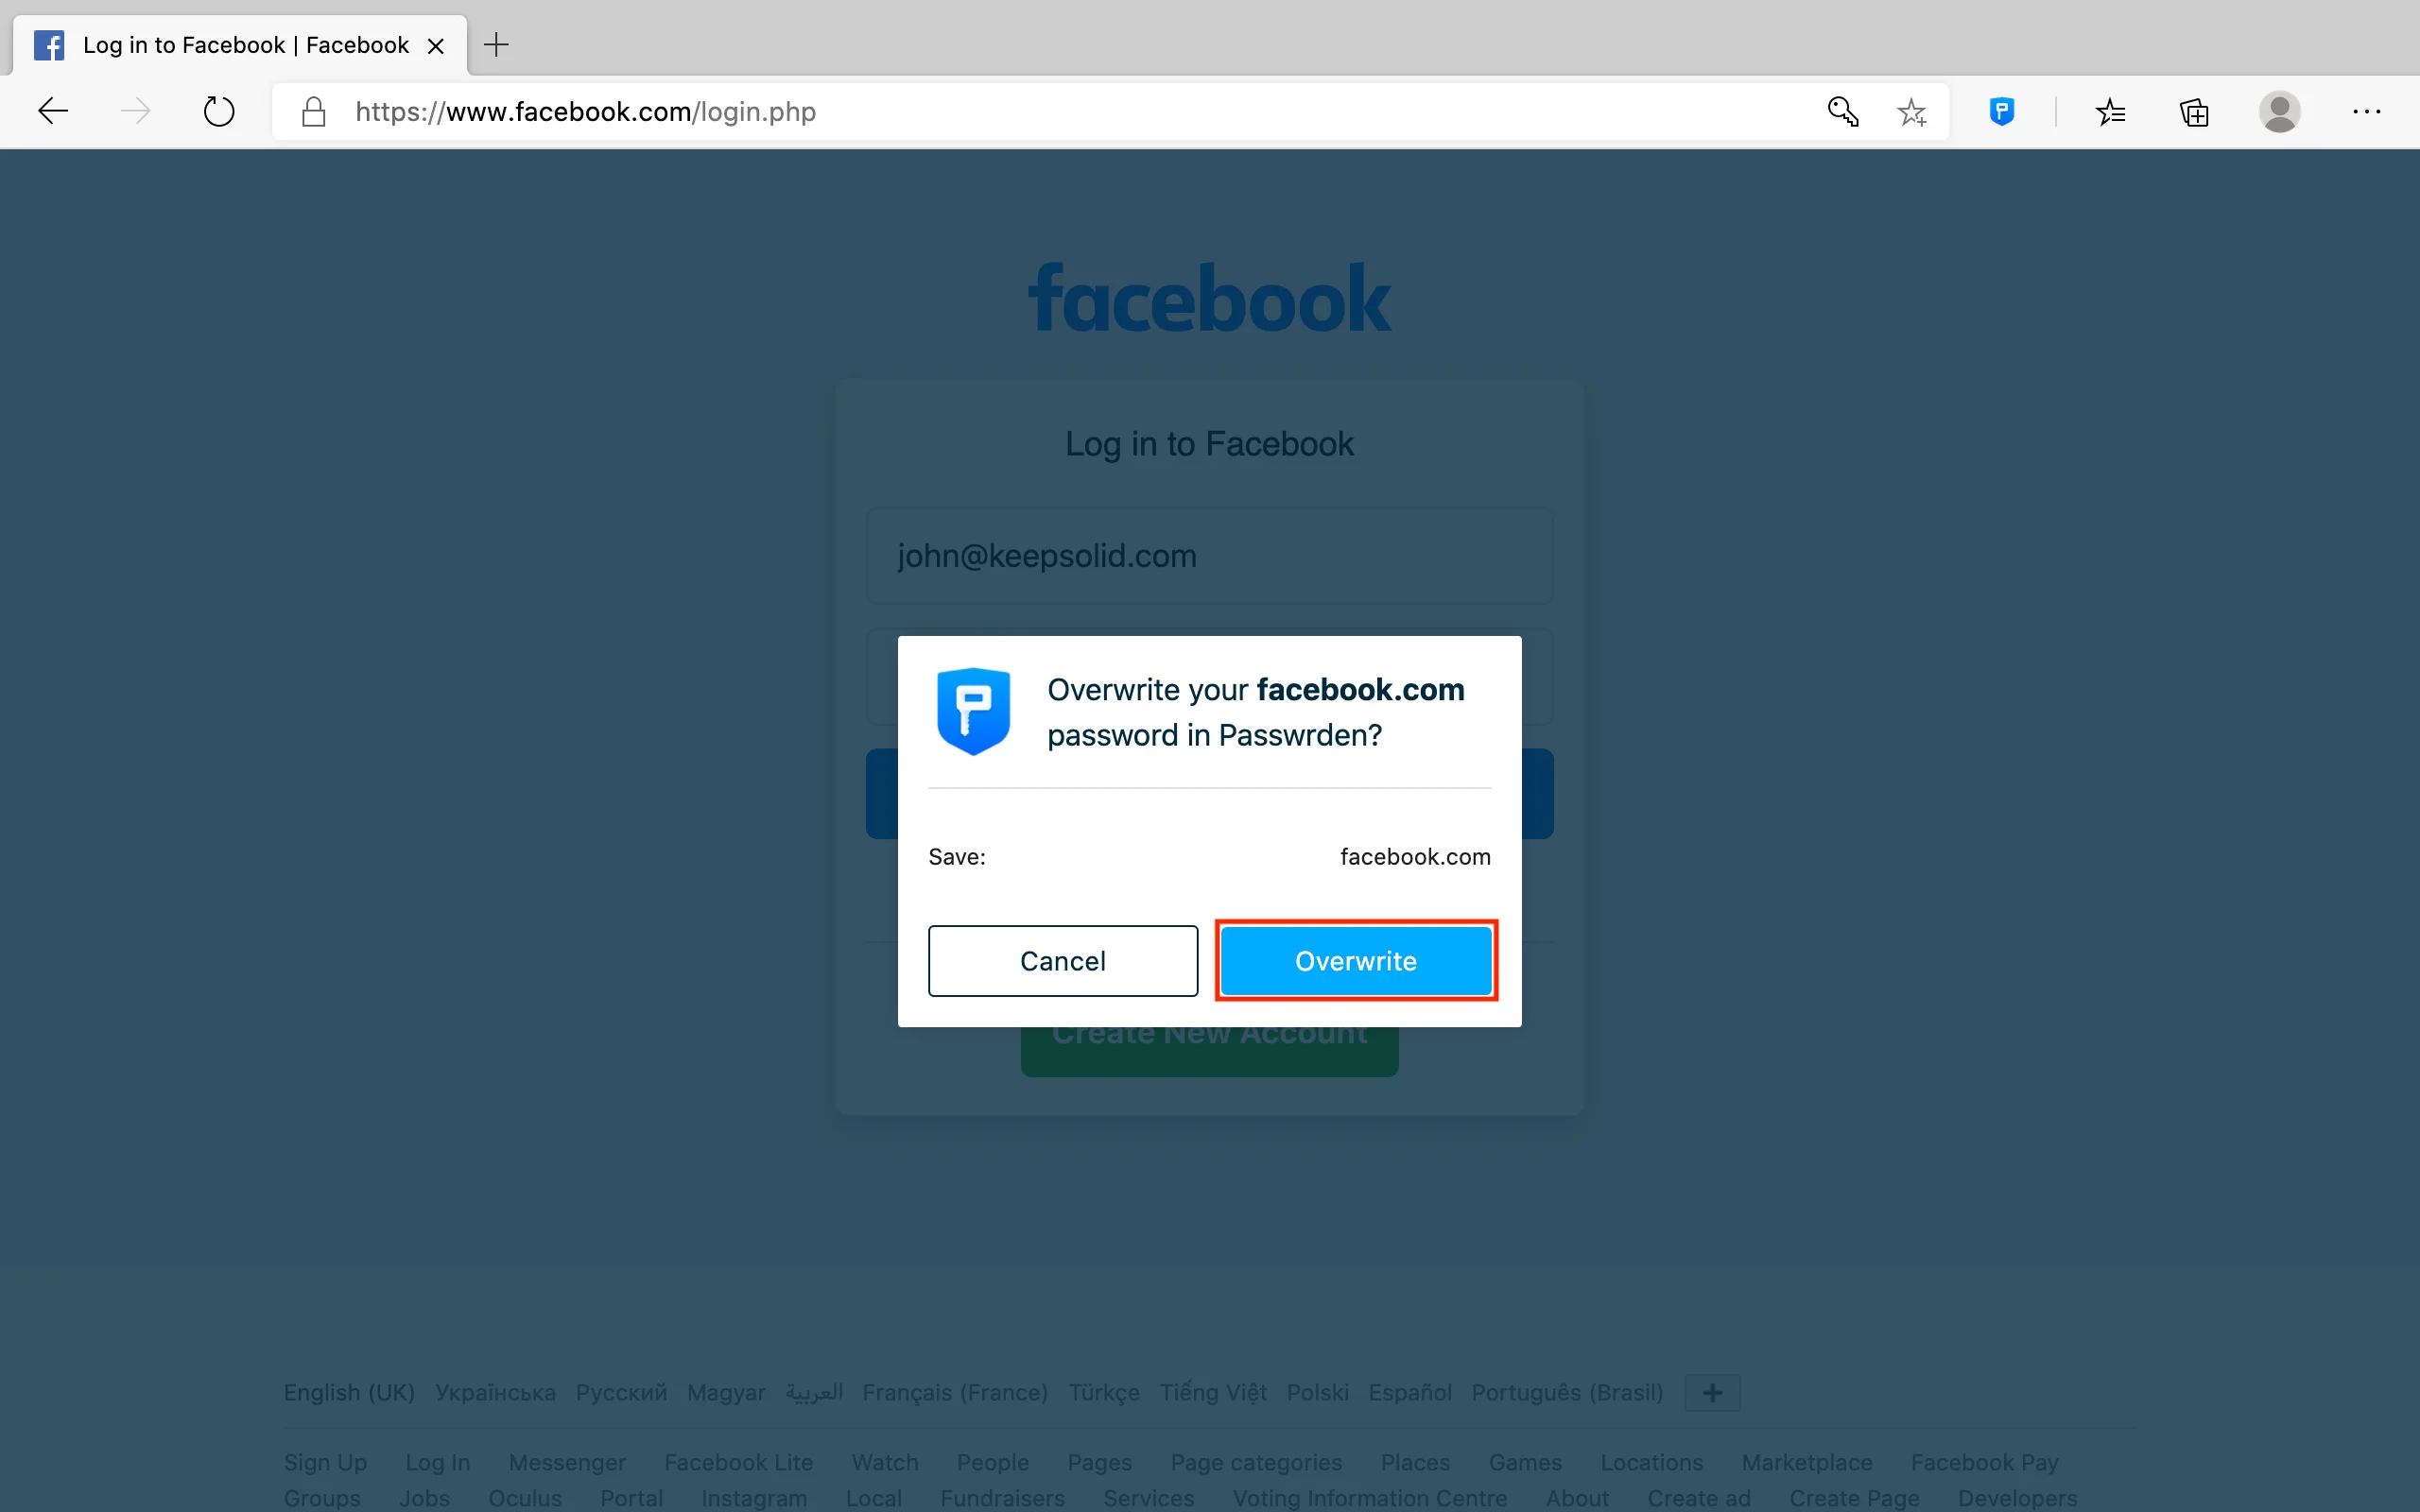
2.1. In case, you already have credentials associated with this website, you will be asked to update them. To do that, click Overwrite.
2.2. If these account credentials aren’t saved in your Passwarden storage, you will be asked to store them as a new item.
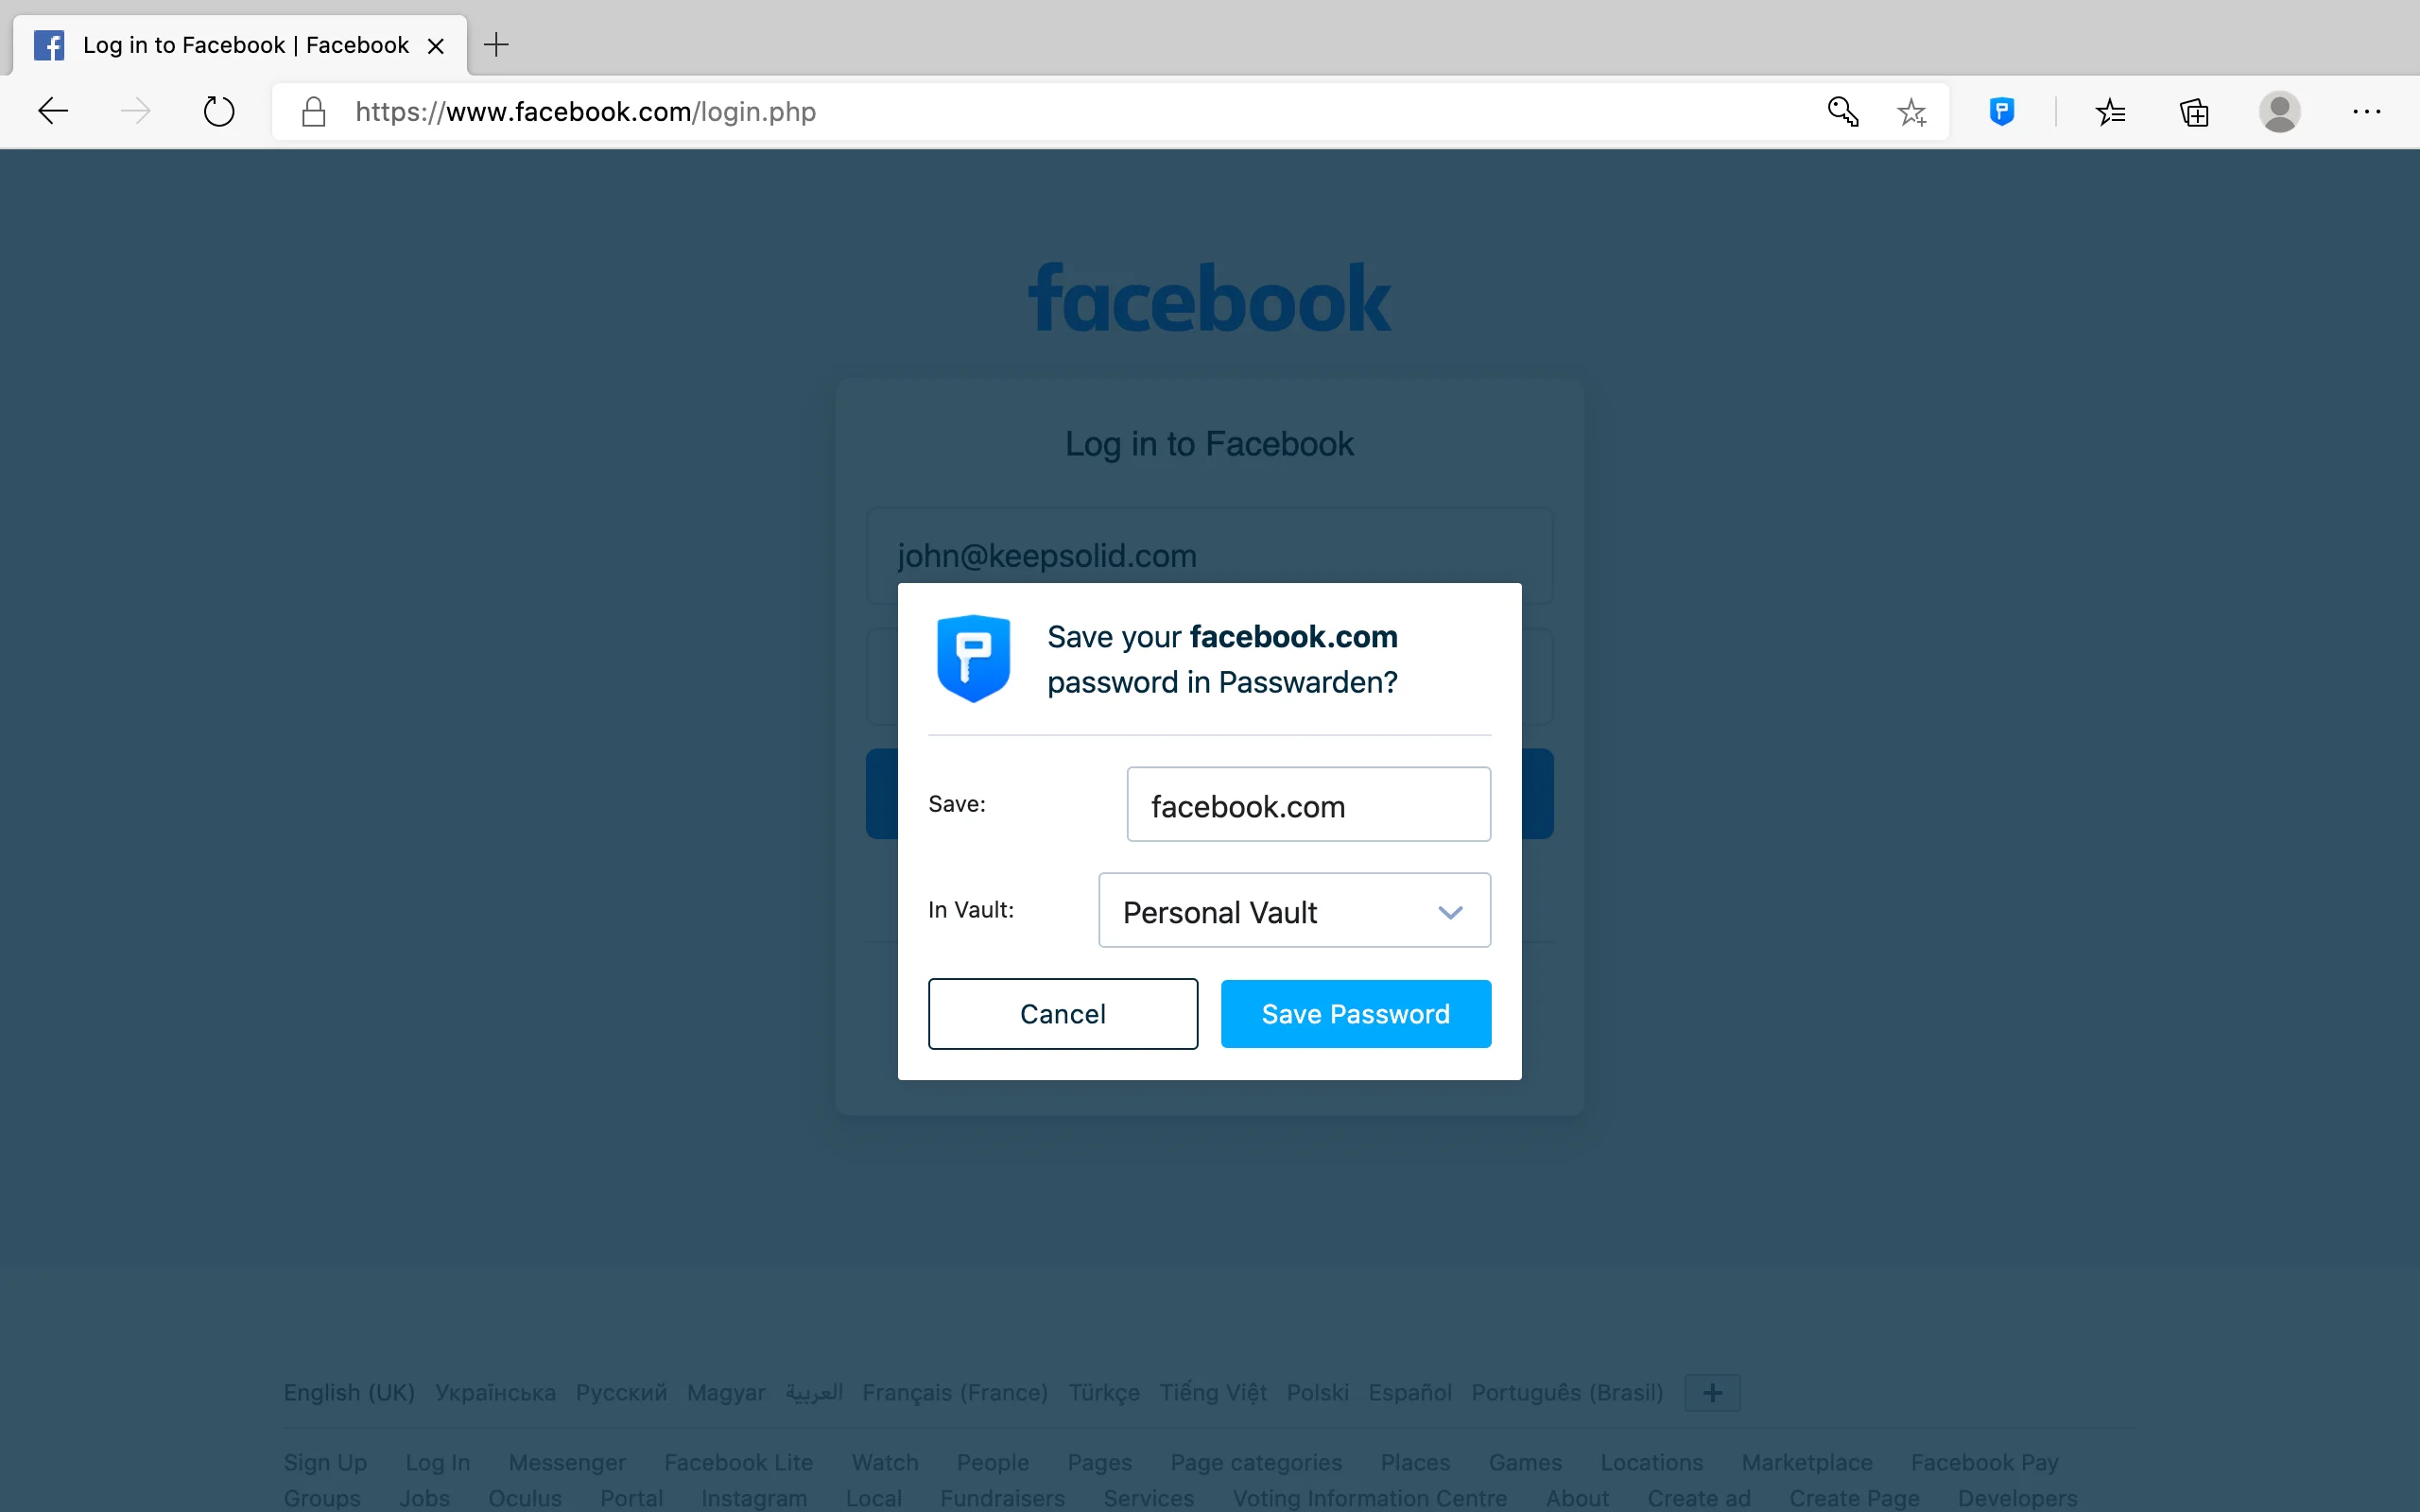
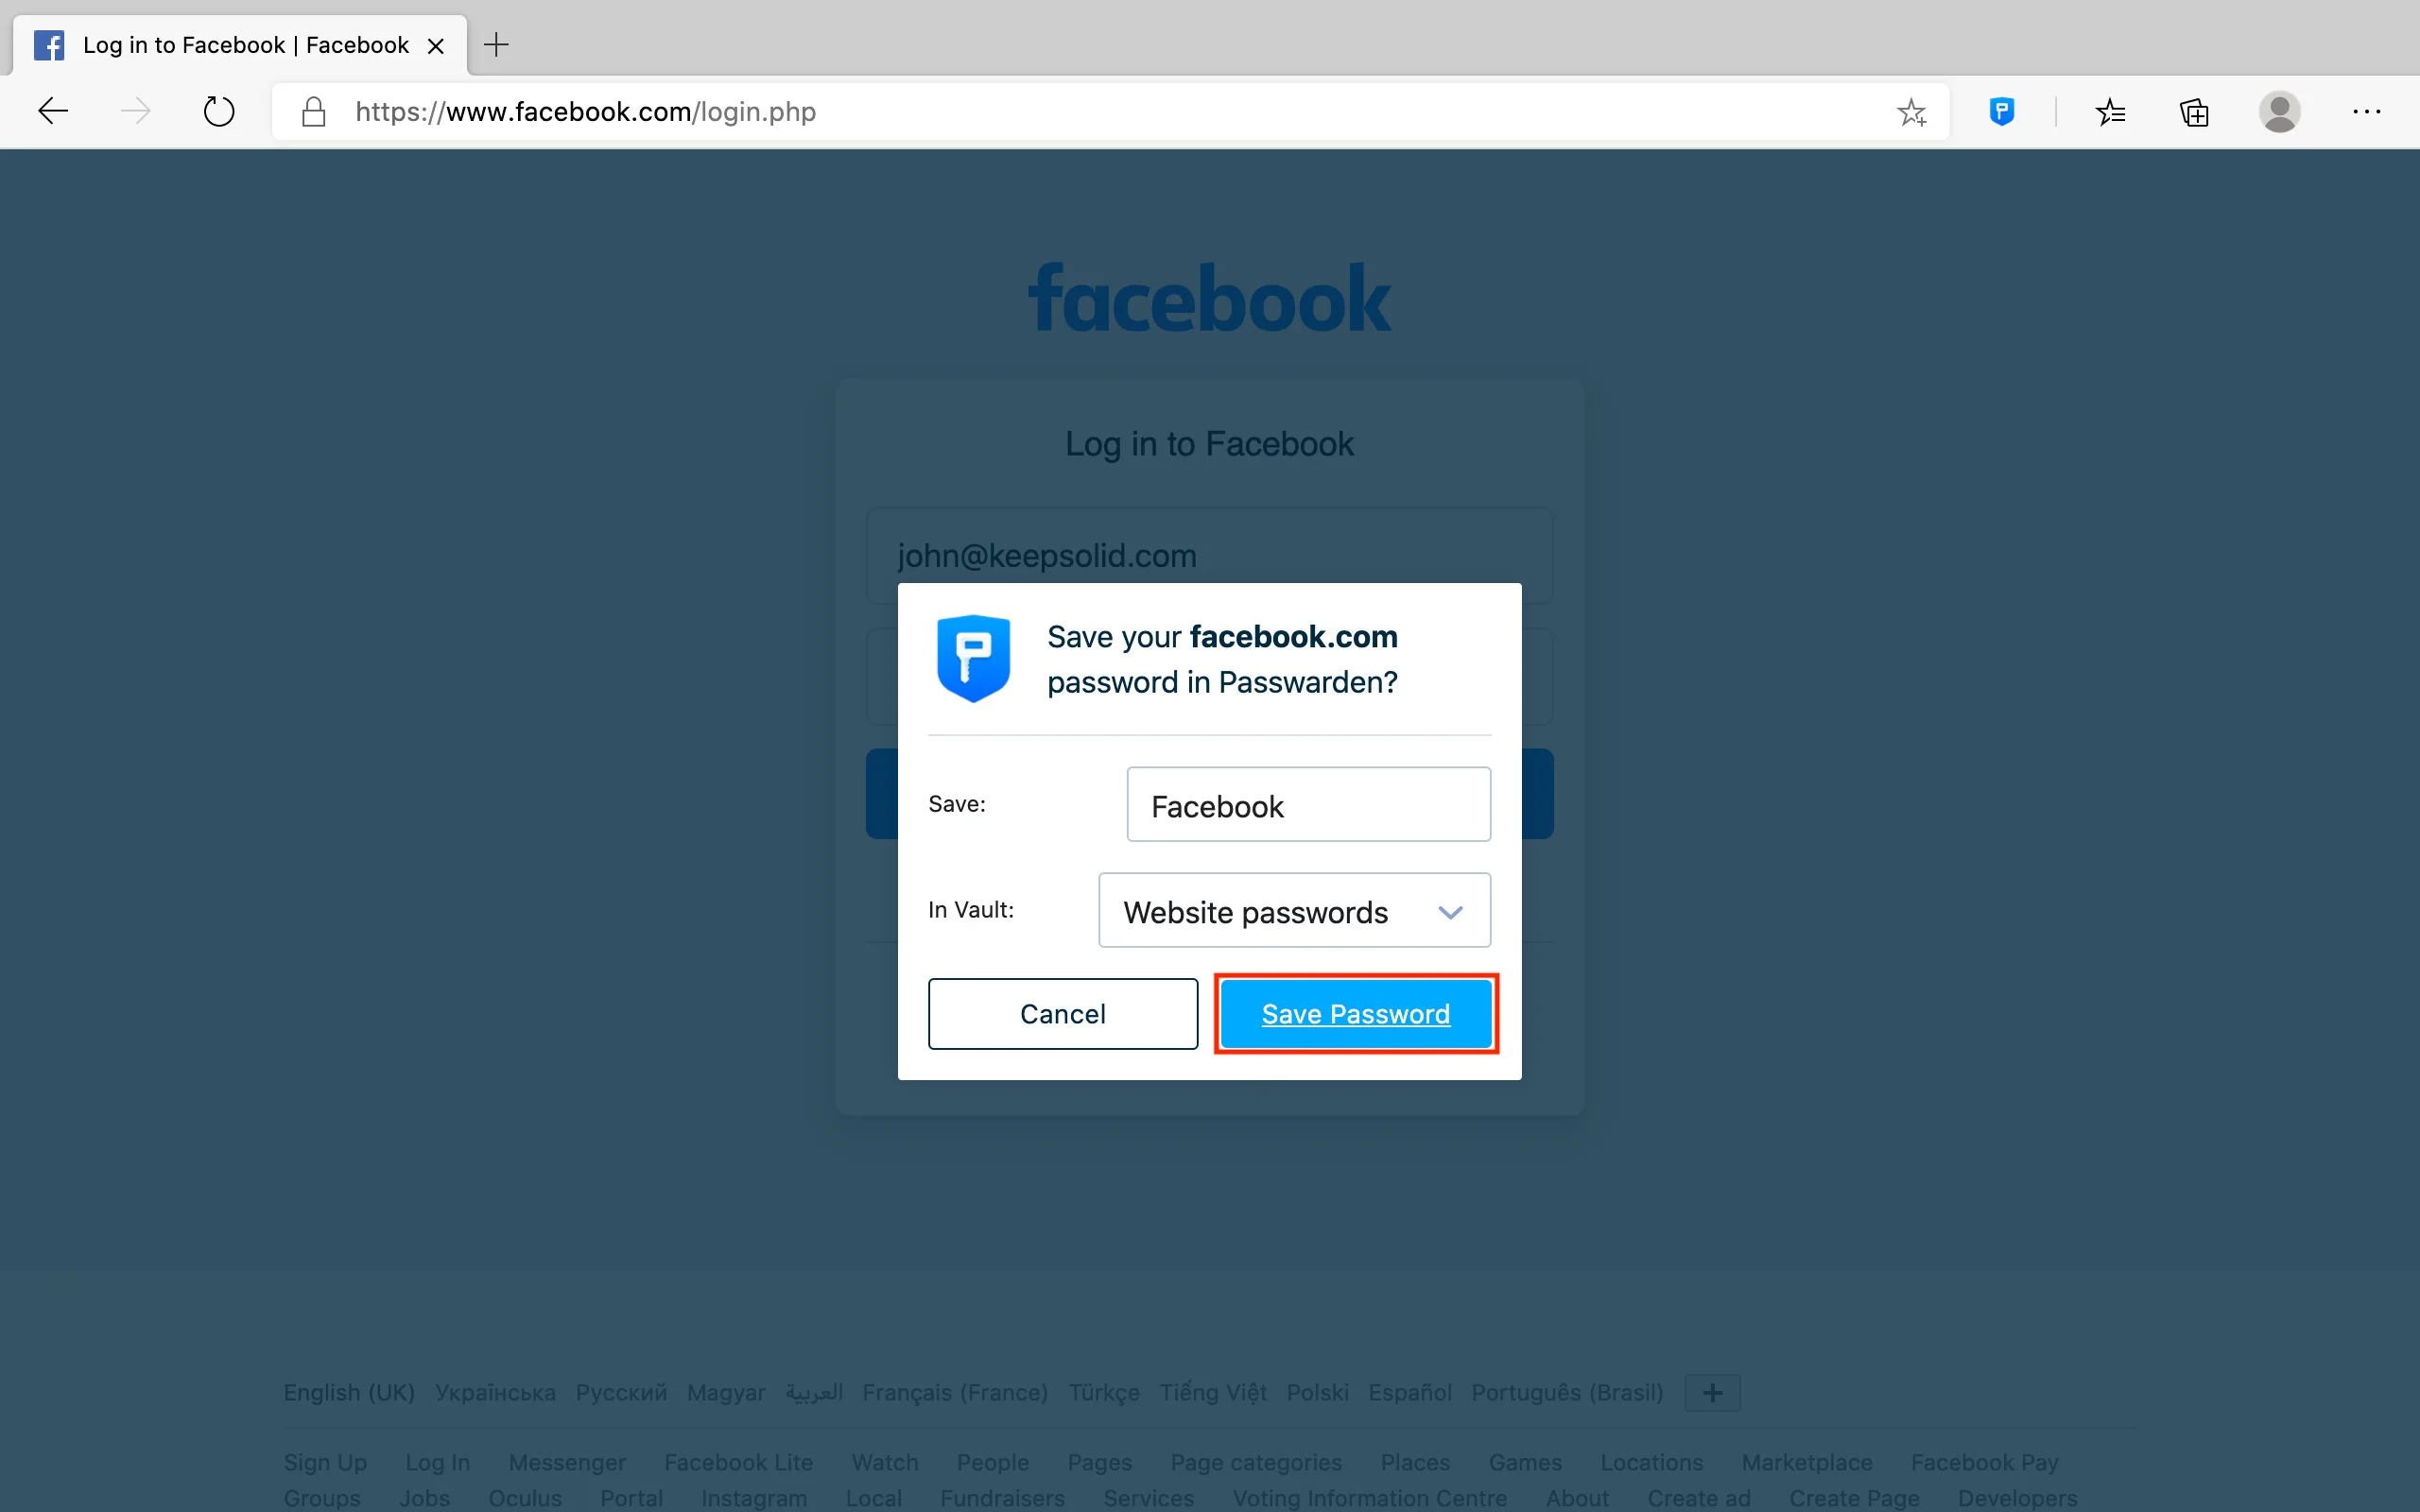
3. Choose the Vault where you want to save this item and print its name. The website domain name is entered by default.
4. Press Save Password.
If you still have any questions related to our secure password manager with the Autofill feature, feel free to contact our customer support team via support@keepsolid.com.
Want to install our reliable password manager extension?
Sure! Add Passwarden extension to your Chrome, Firefox, or Edge browser and check out all its features.